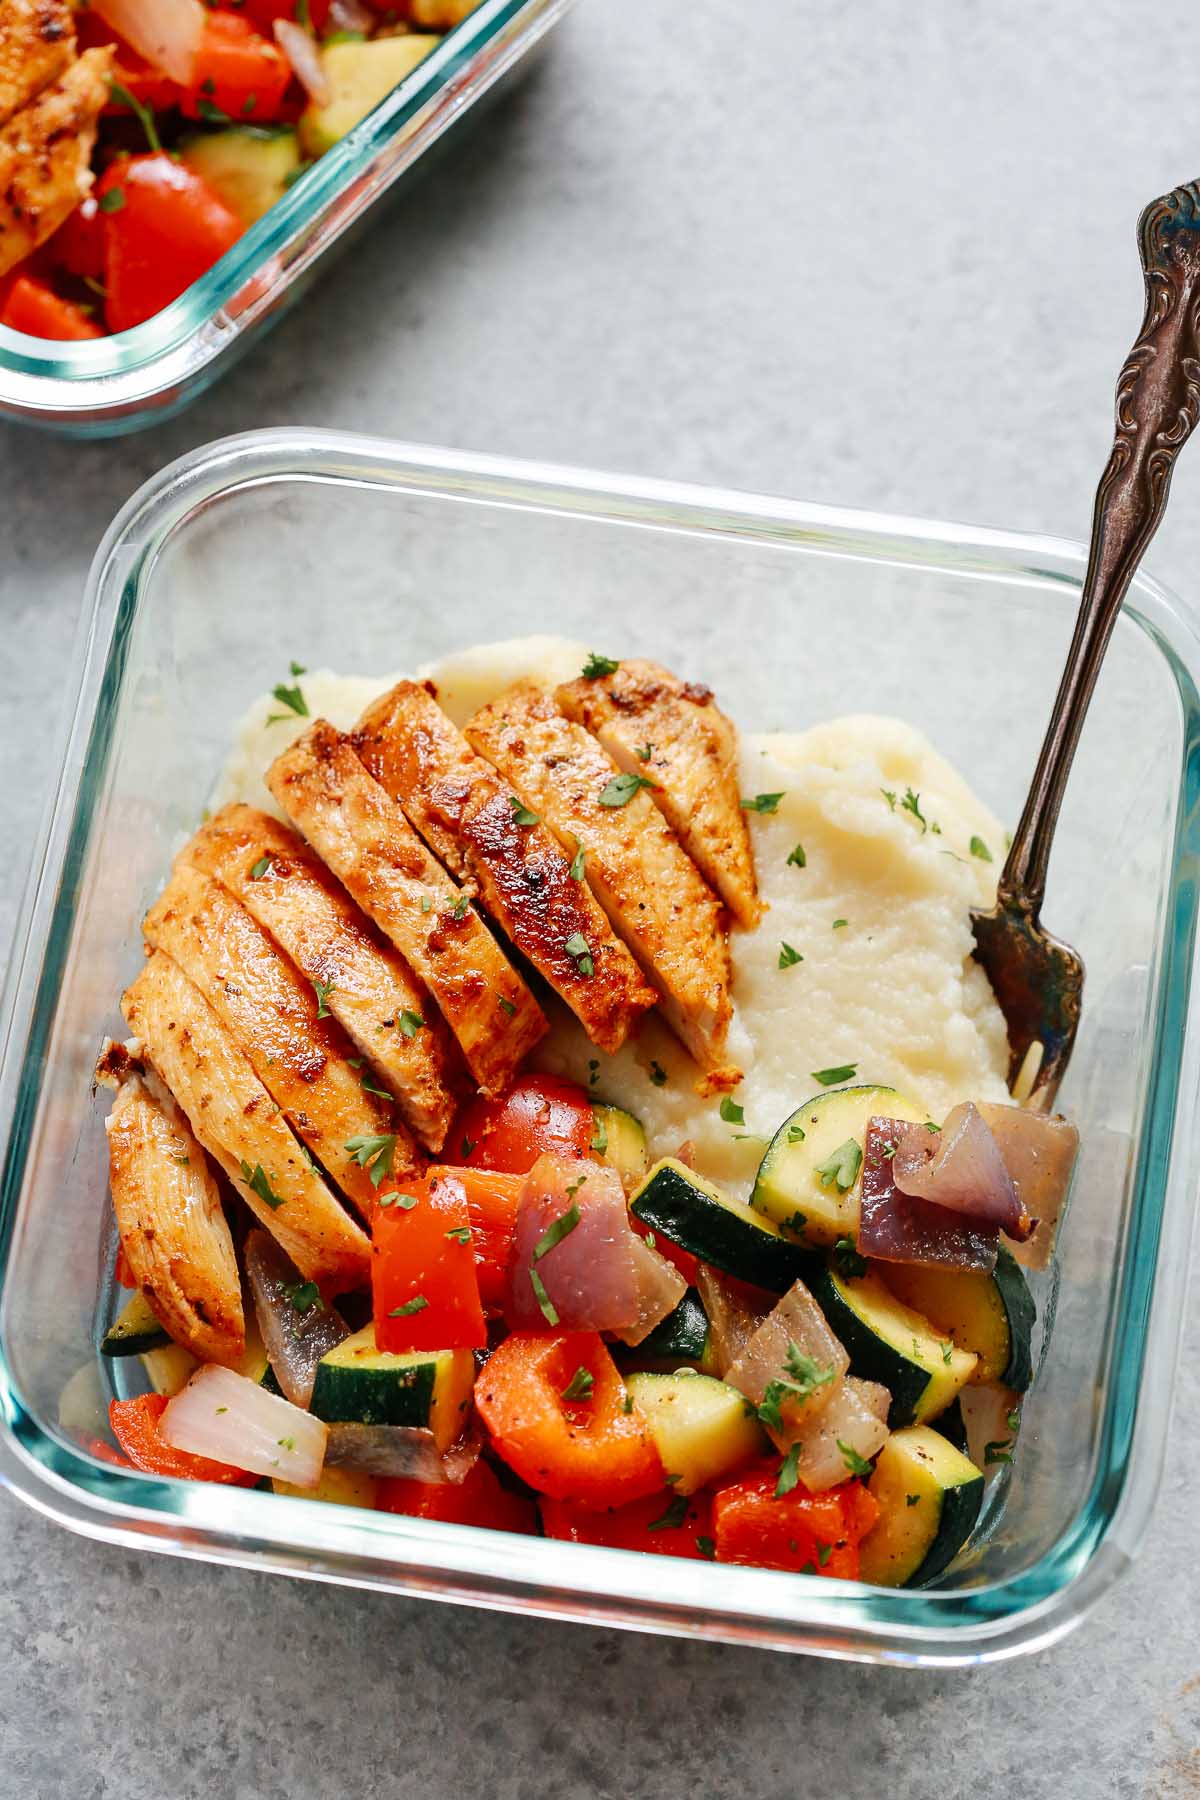
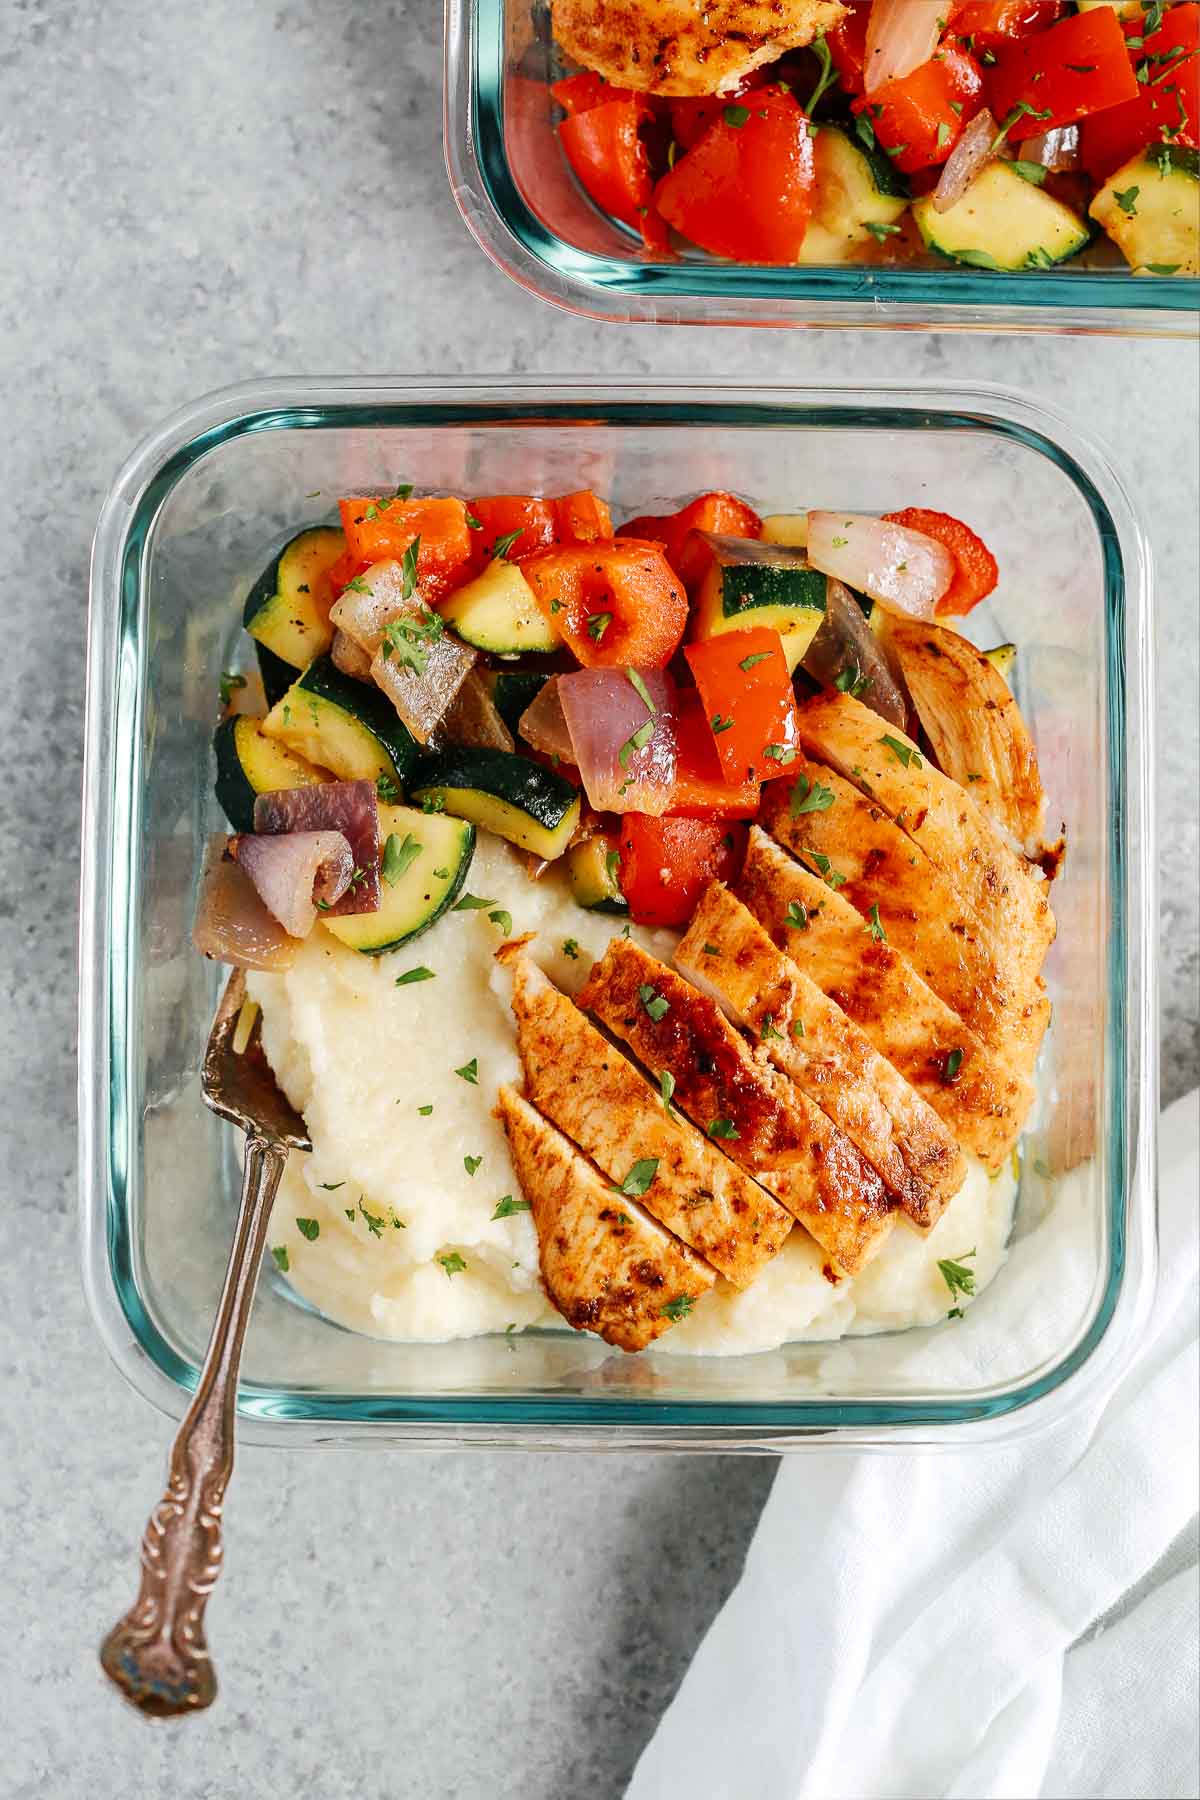
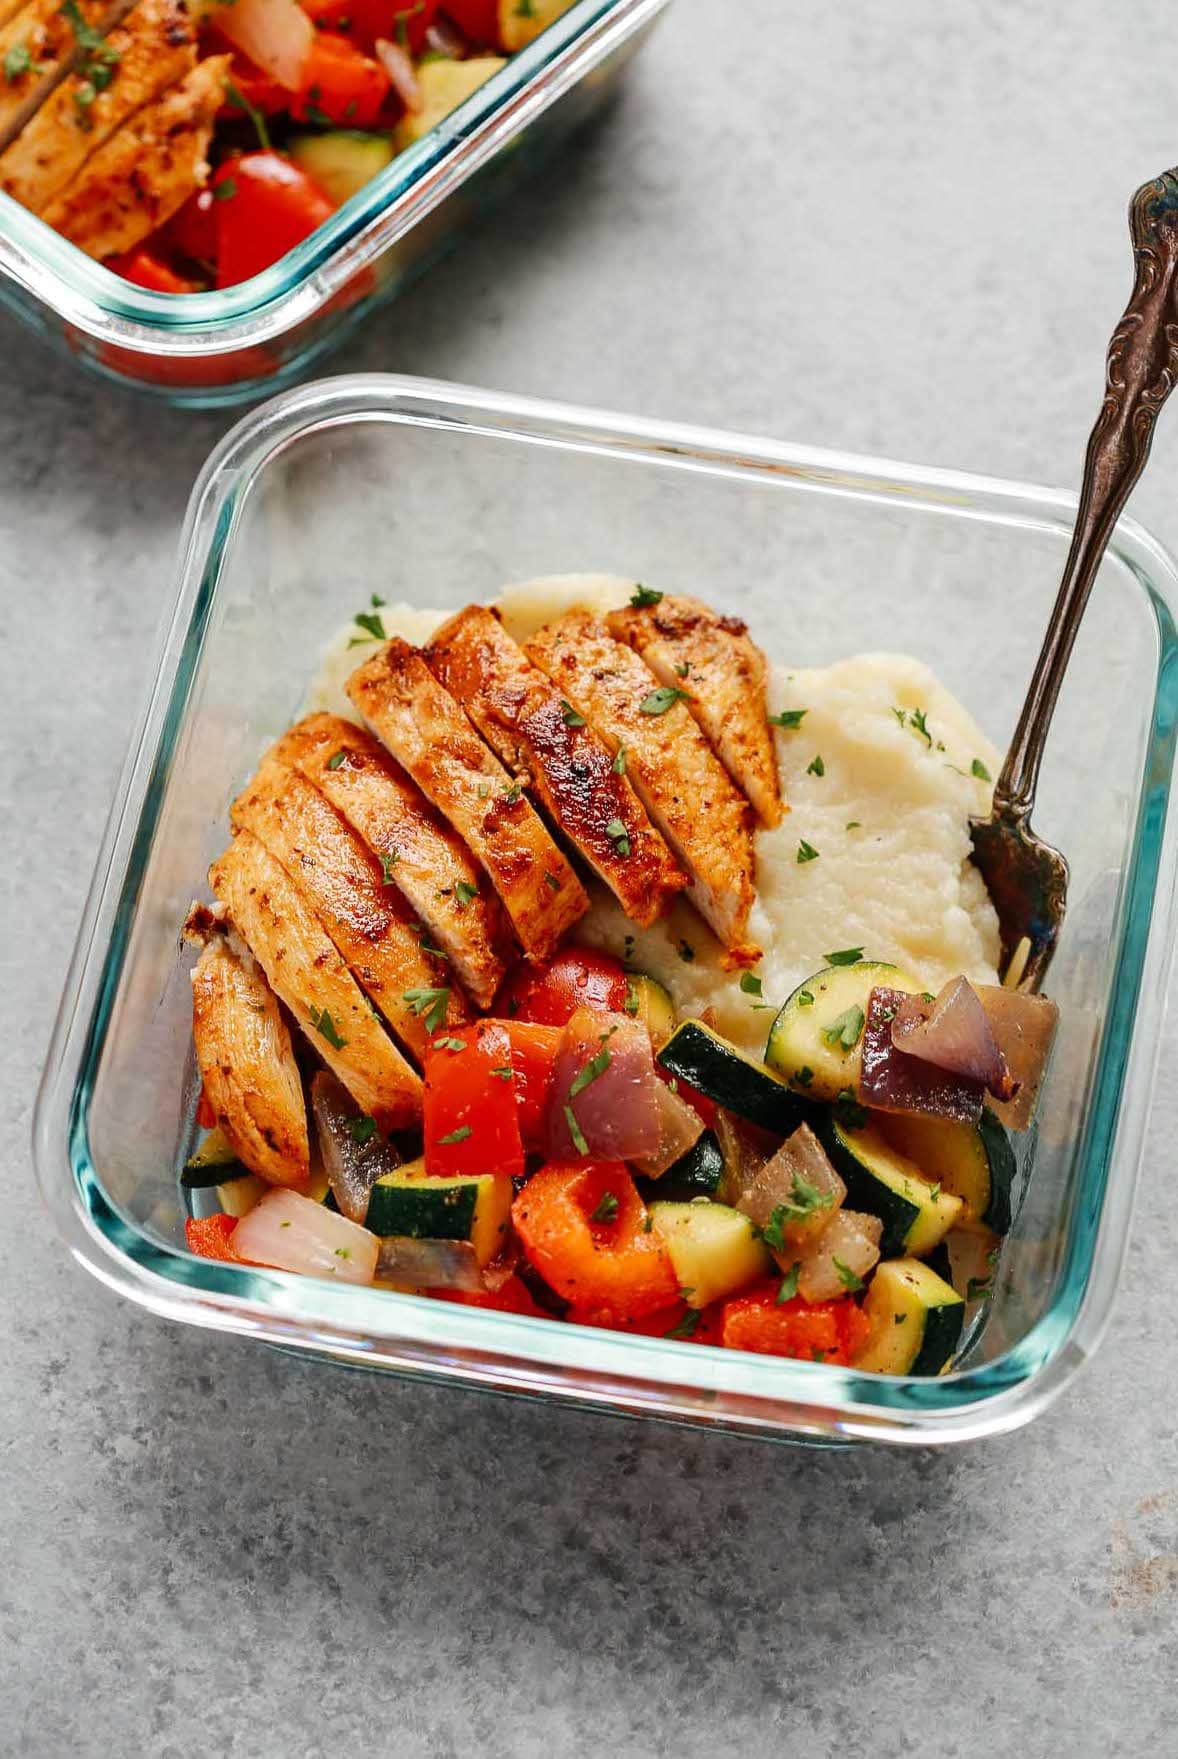
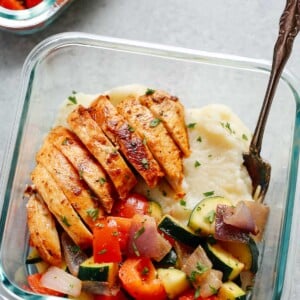
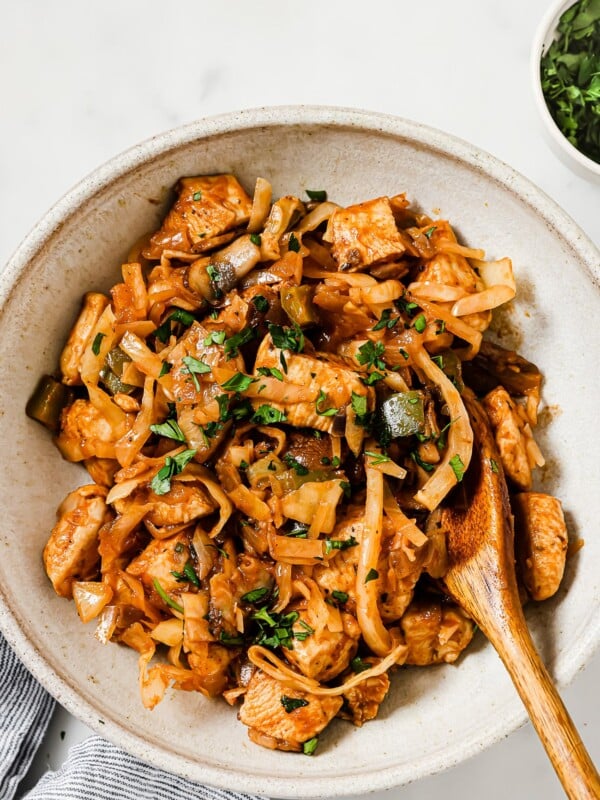
These chicken meal prep bowls have been part of my weekly routine for years. On Sunday afternoons, I season chicken breast with paprika and oregano, sear it until golden, make a batch of creamy Parmesan mashed cauliflower, and sauté zucchini, red pepper, and red onion in the same pan. Everything gets portioned into four containers, and just like that, we have real food ready for the whole week. No deciding what to cook at 6pm, no takeout temptation, just open the fridge and eat.
Why Meal Prep Works So Well

Chicken meal prep bowls have been part of my weekly routine for years.
When Thomas was smaller and my schedule got really packed, I started making these on Sunday afternoons so we would have real food ready when everyone is hungry.
This is the version I keep coming back to, with pan-seared chicken breast, creamy Parmesan mashed cauliflower, and sautéed vegetables, all portioned into four containers. Pierre, my husband, takes one for lunch, I eat one, and the other two are there for whoever needs them first during the week.
I love it because it is filling, it reheats beautifully, and every single component of it I can put together in under 40 minutes.
Key Ingredients:
Chicken Breasts — Boneless, skinless chicken breasts are what I always use here. I’ve tried this with chicken thighs and they work, but breasts hold up better in the fridge over four days without getting greasy or heavy. When I’m at the store, I look for breasts that are similar in size so they cook evenly. I always slice them into thin cutlets before cooking, and this is not a step I ever skip. Thinner pieces cook faster, take on the seasoning better, and stay juicy instead of drying out. A thick breast seared whole tends to finish cooking on the outside before the inside catches up, which is how you end up with dry meal prep chicken by day two.
Cauliflower — This is the ingredient that makes these bowls feel like a real meal instead of just a container of protein and vegetables. I steam it until it’s completely fork-tender, then blend it with butter and Parmesan until it’s smooth and creamy. The key is not rushing the steaming. If the cauliflower still has any firmness to it when it goes into the blender, the mash will be grainy instead of silky. When I’m picking one at the store, I look for a head that’s tight and white with no brown spots, those steam up much better than ones that are starting to separate.
Pro Tip: If fresh cauliflower isn’t available, frozen works too. Just thaw it completely and pat it dry before steaming, otherwise the extra moisture will make your mash watery.
Parmesan Cheese — Always shred it yourself. I know it takes an extra two minutes but it genuinely makes a difference in the mashed cauliflower. Pre-shredded Parmesan has a coating on it that stops it from melting properly, so instead of a smooth, creamy mash you end up with little bits of cheese that never fully incorporate. Freshly grated melts right in and gives the cauliflower a much richer, deeper flavour.
Zucchini, Red Bell Pepper, Red Onion and Garlic — I’ve swapped these vegetables around many times over the years and I always come back to this exact combination. The red pepper gets slightly sweet when it sautés, the zucchini adds softness without going mushy, the red onion brings depth, and the garlic ties everything together. One thing I’ve learned from making this so many times: cut the zucchini a little larger than you think you need to. Small pieces turn soft and watery by day three, but bigger chunks hold their texture through the whole week.
Butter and Olive Oil — I use both, and they each do something different. The olive oil takes the heat without burning, which is what you want when you’re searing chicken at medium-high. The butter goes into the mashed cauliflower and the vegetable sauté, where it adds a richness that olive oil alone doesn’t give you. I’ve made this with just olive oil throughout and the flavour is noticeably flatter.
How to Make Chicken Meal Prep Bowls
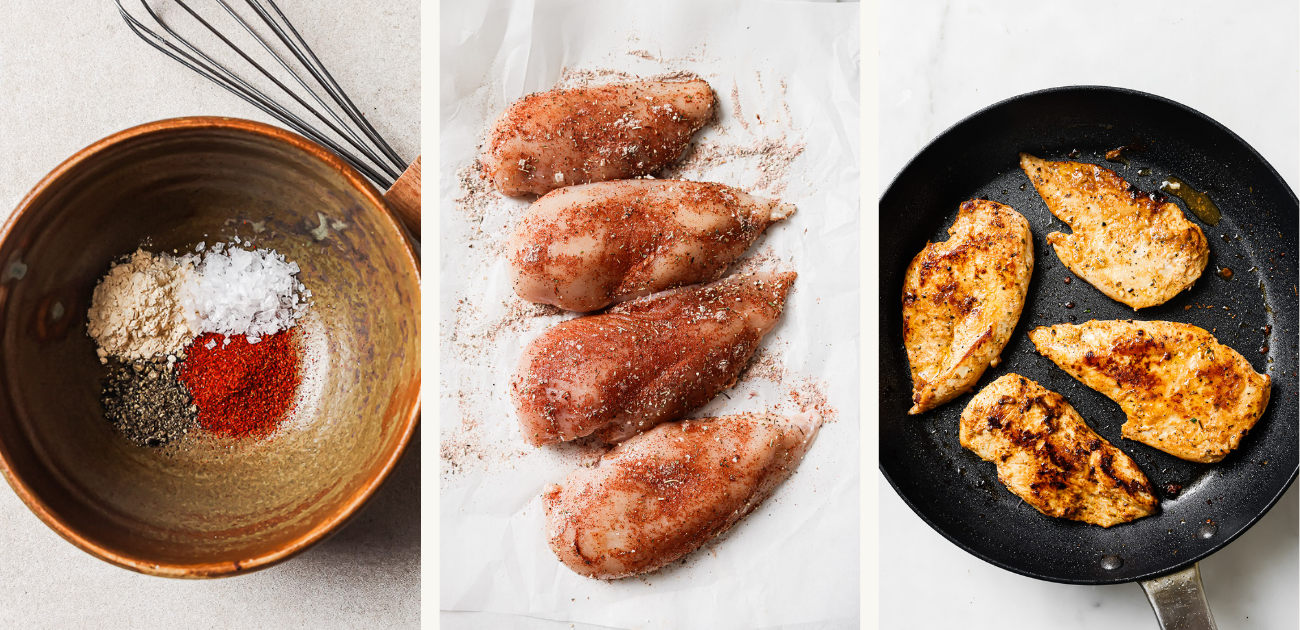
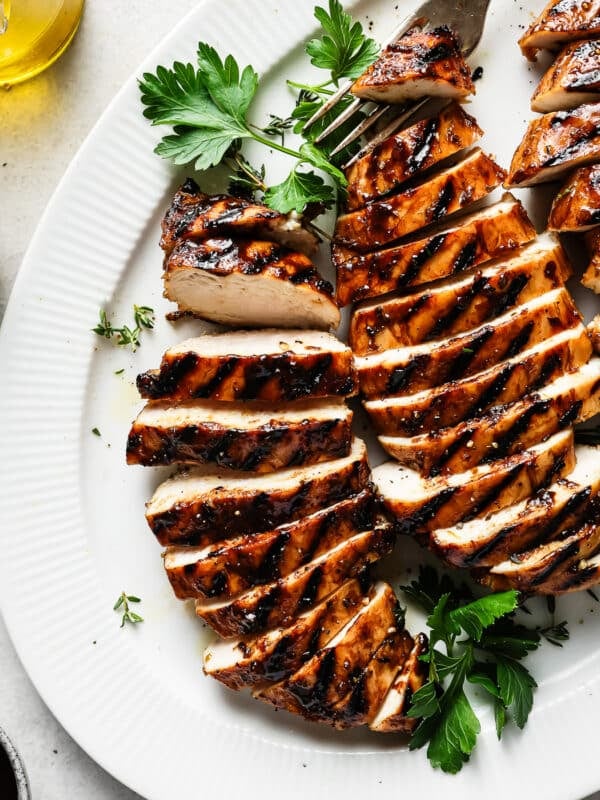
Step 1: Season and slice the chicken Before anything else, slice your chicken breasts horizontally into thin cutlets. Place the chicken on a cutting board, press it flat with one hand, and run a sharp knife through the middle to create two even pieces. Then add the olive oil, paprika, oregano, onion powder, salt, and pepper directly to the chicken and toss everything together. I let it sit for a few minutes while I prep the cauliflower and vegetables. Even that short rest helps the seasoning absorb into the meat before it hits the pan.
Step 2: Sear the chicken Heat your skillet over medium-high heat before the chicken goes in. A hot pan is what gives you that golden crust on the outside, and that crust is what seals in the moisture. I use my cast iron skillet here because it holds heat really evenly, but any heavy skillet works. Cook the cutlets for about 5 minutes per side without moving them around. Once the chicken releases easily from the pan, it’s ready to flip. If it’s sticking, it needs another minute. Transfer to a plate and let it rest for at least 5 minutes before slicing. This is the step most people skip and it’s the reason meal prep chicken turns out dry. Cutting into it too early lets all the juices run out onto the cutting board instead of staying in the meat.
Prop Tip: If you have an instant-read thermometer, use it. You’re looking for 165ºF at the thickest part. It takes the guesswork out completely and means you never accidentally overcook it.
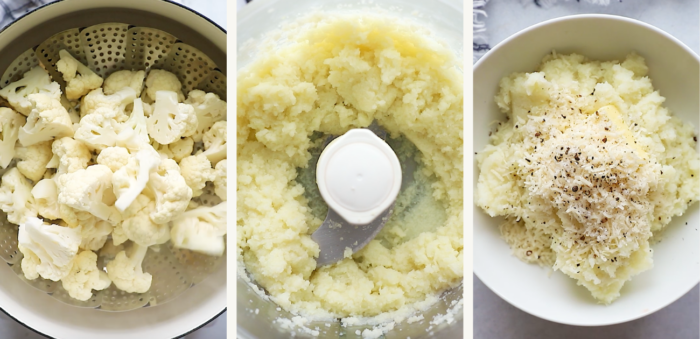
Step 3: Steam the cauliflower While the chicken rests, get your cauliflower going. Add about 2 cups of water to a large pot, bring it to a boil, and place a steamer basket inside. Add the cauliflower florets, cover, and steam for 6 to 8 minutes until completely fork-tender. You want no resistance at all when you poke it. Remove from heat and let it cool uncovered for a few minutes before blending, this helps some of the extra moisture escape so your mash doesn’t turn out watery.
Step 4: Make the mashed cauliflower Transfer the cooled cauliflower to a food processor along with the minced garlic and blend until completely smooth. Then add the butter, freshly grated Parmesan, salt, and pepper and stir everything together. Taste it here and adjust the seasoning. The mash should be creamy and rich, not bland. If it feels a little thick, a small pat of extra butter loosens it up nicely.
Step 5: Sauté the vegetables Use the same skillet you cooked the chicken in. All those little browned bits left behind add real flavour to the vegetables. Add the olive oil and butter over medium heat, then add the red onion, red bell pepper, and zucchini. Sauté for 4 to 5 minutes, stirring occasionally, until everything is tender but still has a little texture. Season with garlic powder, salt, and pepper. You don’t want the vegetables fully soft here because they will continue to soften slightly each time you reheat the bowls through the week.
Step 6: Assemble and portion Slice the rested chicken and divide it evenly between four airtight containers. Add an equal portion of mashed cauliflower and sautéed vegetables to each one. Let everything cool completely before putting the lids on, this prevents condensation from building up inside the containers, which is one of the main reasons meal prep food gets soggy. Store in the fridge for up to 4 days. When you’re ready to eat, reheat in the microwave for about 1.5 to 2 minutes, and place a damp paper towel over the container to keep the chicken moist.
How Far Ahead Can I Meal Prep Chicken?
Chicken can be meal-prepped up to 4 days ahead of time. Be sure to store the chicken in an airtight container to ensure freshness. Before storing it in the fridge, let the chicken cool to avoid condensation. Be sure to keep the meals refrigerated until you’re ready to eat.
Chicken Meal Prep Bowls
Video
Ingredients
FOR THE CHICKEN
- 2 chicken breasts
- 1 tablespoons extra virgin olive oil
- 1 teaspoon dried oregano
- 1 teaspoon paprika
- 1 teaspoon onion powder
- salt and pepper
FOR THE MASHED CAULIFLOWER
- 1 medium cauliflower cut into florets
- ¼ teaspoon garlic clove minced
- 1 ½ tablespoons butter
- ¼ cup Parmesan cheese shredded
- salt and black pepper to taste
FOR THE VEGGIES
- 1 tablespoon olive oil
- ½ tablespoon butter
- 2 cups zucchini chopped
- 2 cups red bell pepper chopped
- 2 cups red onions chopped
- 1 teaspoon garlic powder
- Salt and black pepper
Instructions
FOR THE CHICKEN:
- Cut the chicken breasts into thinner cut by placing chicken breast on a cutting board. Hold it flat with one hand. Using a sharp knife, slice the chicken breast horizontally into two even pieces*.
- Heat the oil in a medium skillet over medium-high heat. In a medium bowl, place the chicken with olive oil, oregano, paprika, onion powder, salt, and pepper. Toss everything together.
- Place seasoned chicken breast in the pan. Cook for about 5 minutes per side, turning once. Chicken will be ready when it gets the internal temperature of 165˚F. Transfer the chicken breasts to a plate.
FOR THE MASHED CAULIFLOWER
- Fill a large pot with about 2 cups of water, and bring it to a boil. Then, place a steamer basket in the bottom of the pot. Add the cauliflower florets to the steamer basket.
- Cover the pot, and steam until the cauliflower is fork-tender, about 6-8 minutes. Remove from the heat, uncover the pot and let the cauliflower cool for 3-5 minutes.
- Place the steamed cauliflower and garlic in a food processor or blender jar, and puree/blend until the cauliflower is completely smooth.
- Transfer to a bowl, add the butter, Parmesan, salt, and ground black pepper, and stir well to combine. Set aside.
FOR THE VEGGIES
- In the same skillet you seared chicken breast, heat oil and butter. Add onions, bell pepper and zucchini. Saute them until tender. It’s about 4-5 minutes. Season with garlic powder, salt and pepper. Mix to combine.
MEAL PREPPING:
- Place an even amount of chicken, veggies, and mashed cauliflower into 4 glass containers. Cover with the lid, and place in the fridge for up 4 days. Heat in the microwave for about 1½ – 2 minutes. The time depends on the power of your microwave.
Notes
- To store: Store the chicken bowls in the fridge for up to 4 days.
- To reheat: Reheat the bowls in the microwave until heated through.
- To freeze: I would recommend only freezing the chicken as the vegetables won’t hold up well. Freeze the chicken in a freezer-safe bag or container for up to 3 months.
Nutrition
Nutrition information is automatically calculated, so should only be used as an approximation.
Did You Make This?
Follow @primaverakitchen on Instagram, snap a photo, and tag it #primaverakitchen. We’d love to see your recreation.


How many net carbs are in this recipe? How much is the serving? I am making 15 bowls, 5 each for 3 people. And how can I put the recipe in Carb Manager? I can’t seem to find it! thank you xo.
You probably need to add all the ingredients individually on the Carb Manager app to get this info. Thanks
I made this yesterday and am having it for lunch. It’s delicious 😋
Happy to hear that!
Great meal prep option! I spread this across 5 meals and added some extra veggies such as sugar snap peas, asparagus and Swiss chard. Very filling lunch option, thank you!!
Happy you liked it!
I made this tonight and it was a hit! DELICIOUS! I will definitely be making this again. I also added roasted garlic and chopped up some red onion in the spinach. I do need to season the chicken a little more before baking, but it was really tasty.
Happy you liked this recipe. Spinach and red onions are great addiction to this recipe.
Can I add another cheese instead of parmesan please
You can skip parmesan if you prefer.
I just made these for my husband and he said they where fantastic and that I need to add these to my meal prep list for him because he definitely wants them again
That’s amazing! happy to hear that 😉
What if you dont have onion powder
You can replace it for your favorite ground spices.
Just made this and gosh it’s so yummy! Even the kids enjoyed the chicken and Mashed Cauliflower and were asking for seconds! Definitely a new Fave!!
Aww so happy to hear that. Your comment made my day!
I do not have a streamer available. Can I boil the cauliflower until it’s tender?
Yes you can.
Very tasty, but I would cut down on the oil and butter next time
You can totally adjust it according to your liking 😉