
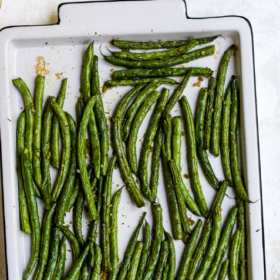
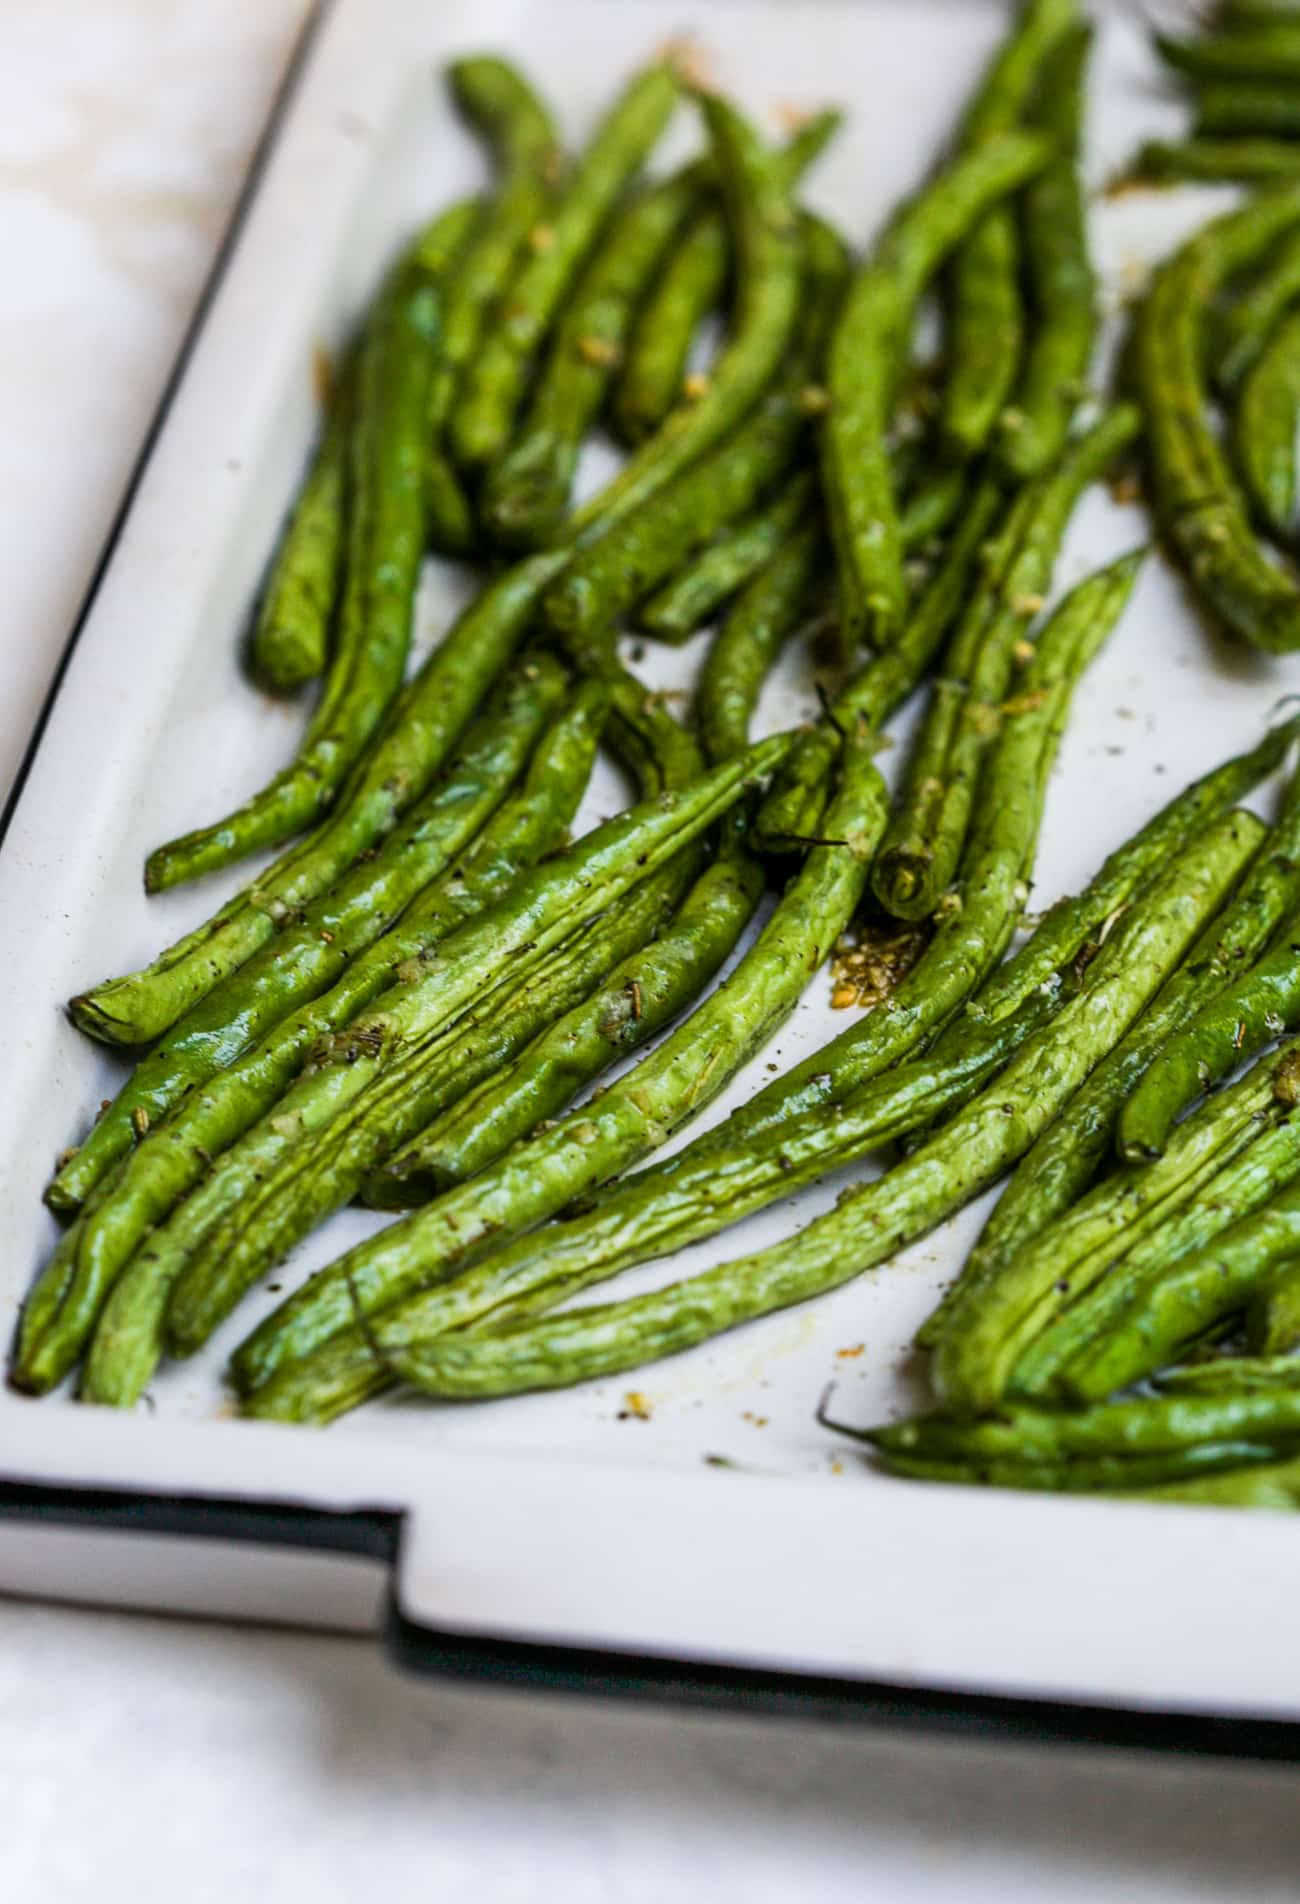
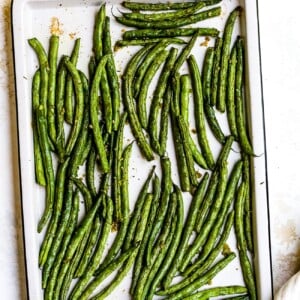
Crispy green beans roasted on a preheated sheet pan until the edges blister and turn golden while the inside stays tender with a little snap. All you need is fresh green beans, olive oil, garlic and Italian seasoning. They’re ready in under 30 minutes, which makes them my favourite easy side dish for busy weeknight dinners and holiday tables.



Why My Green Beans Sizzle Now
I first shared this recipe in 2014, and oven roasted green beans have been on my table ever since. Over the years, some of you told me your beans came out soft instead of crispy. You were right. My original method used too little oil and too short a roast, so I went back to my kitchen and retested it many times until I had beans that were really crispy.
The biggest change was heating the sheet pans in the oven before the beans go on. When the beans hit the hot metal, they sizzle like they would in a skillet, and that’s what gives you the blistered, golden spots. I also stopped adding the garlic at the start. At 425°F it burns and turns bitter, so now it goes in for the last few minutes.
On weeknights, I serve these with my garlic butter baked chicken breast, since both roast at the same temperature and finish around the same time. When I want dinner on the table even faster, I pair them with my honey garlic salmon. And if you love green beans as much as I do, my roasted Parmesan green beans are the cheesy version I make for holidays.
All ingredients and their amounts are listed in the recipe card at the bottom of this post.
Fresh Green Beans: I use 2 pounds, which serves 4 as a side. I look for beans that are firm and bright green and snap cleanly when I bend them. Rubbery beans have already lost moisture unevenly and won’t blister the same way. Thinner beans get crispy faster, so if you see French green beans (haricots verts), grab them. Pre trimmed bags are a real time saver on busy nights. I use them often, but they tend to be damp inside the bag.
Pro Tip: Dry the beans more than you think you need to. I spin them in a salad spinner and then roll them in a kitchen towel. Any water left on the beans turns into steam in the oven, and steam is the reason most roasted green beans come out soft.
Extra Virgin Olive Oil: I’ve tested this recipe with 4 teaspoons of oil, which is what my original version used, and with 2 tablespoons. With less oil, the beans shrivel and dry out before they have a chance to brown. With 2 tablespoons for 2 pounds, every bean gets a light shine and the heat reaches the whole surface. Avocado oil works just as well if you prefer a milder flavour.
Fresh Garlic: I love fresh garlic here, but I’ve learned it can’t go in at the beginning. Minced garlic burns in about 10 minutes at 425°F. I add it for the last 3 to 5 minutes, and it turns golden and fragrant instead of bitter. On really busy nights, I use ½ teaspoon of garlic powder instead and toss it with the beans at the start, since powder doesn’t burn the same way.
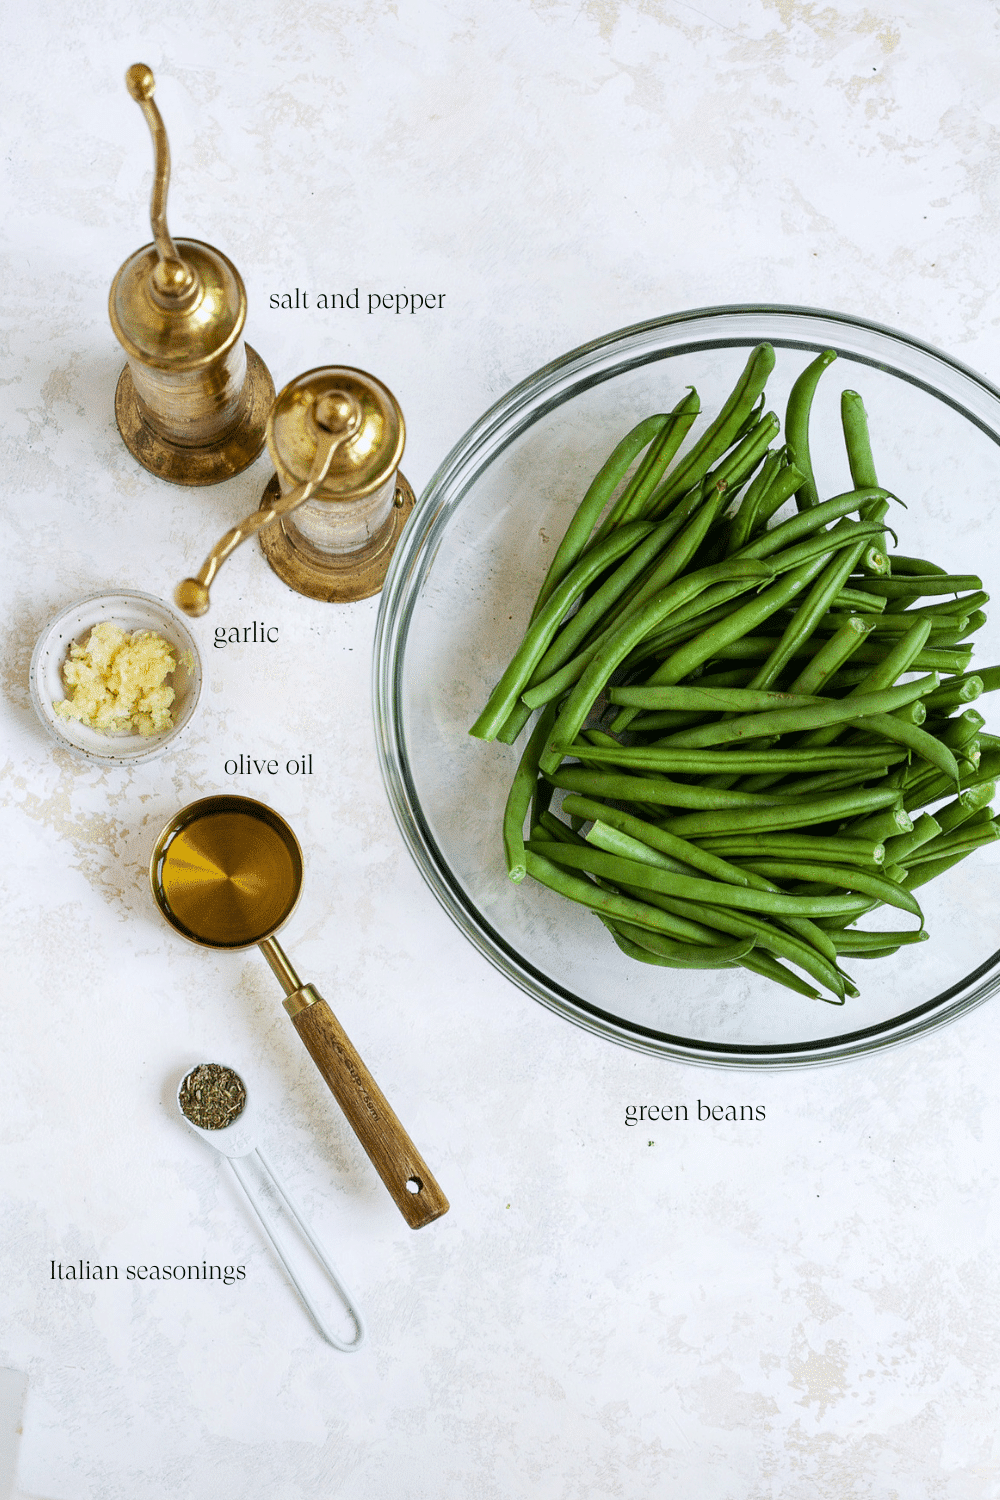
Before you start: Place one oven rack in the upper third and one in the lower third. Put two large rimmed sheet pans on the racks and preheat the oven to 425°F (220°C) with the pans inside.
I preheat the pans with the oven. This is the step that makes the biggest difference. A cold pan slowly warms up with the beans on it, so they steam first and brown later, if they brown at all. A hot pan starts searing them the second they touch it.
I rinse, dry and trim the beans. After drying them really well, I line up a handful on the cutting board and slice off all the stem ends at once. The stem end is tough and woody, so it always goes. The thin, curly tail is tender, so I leave it on because I like how it crisps up.
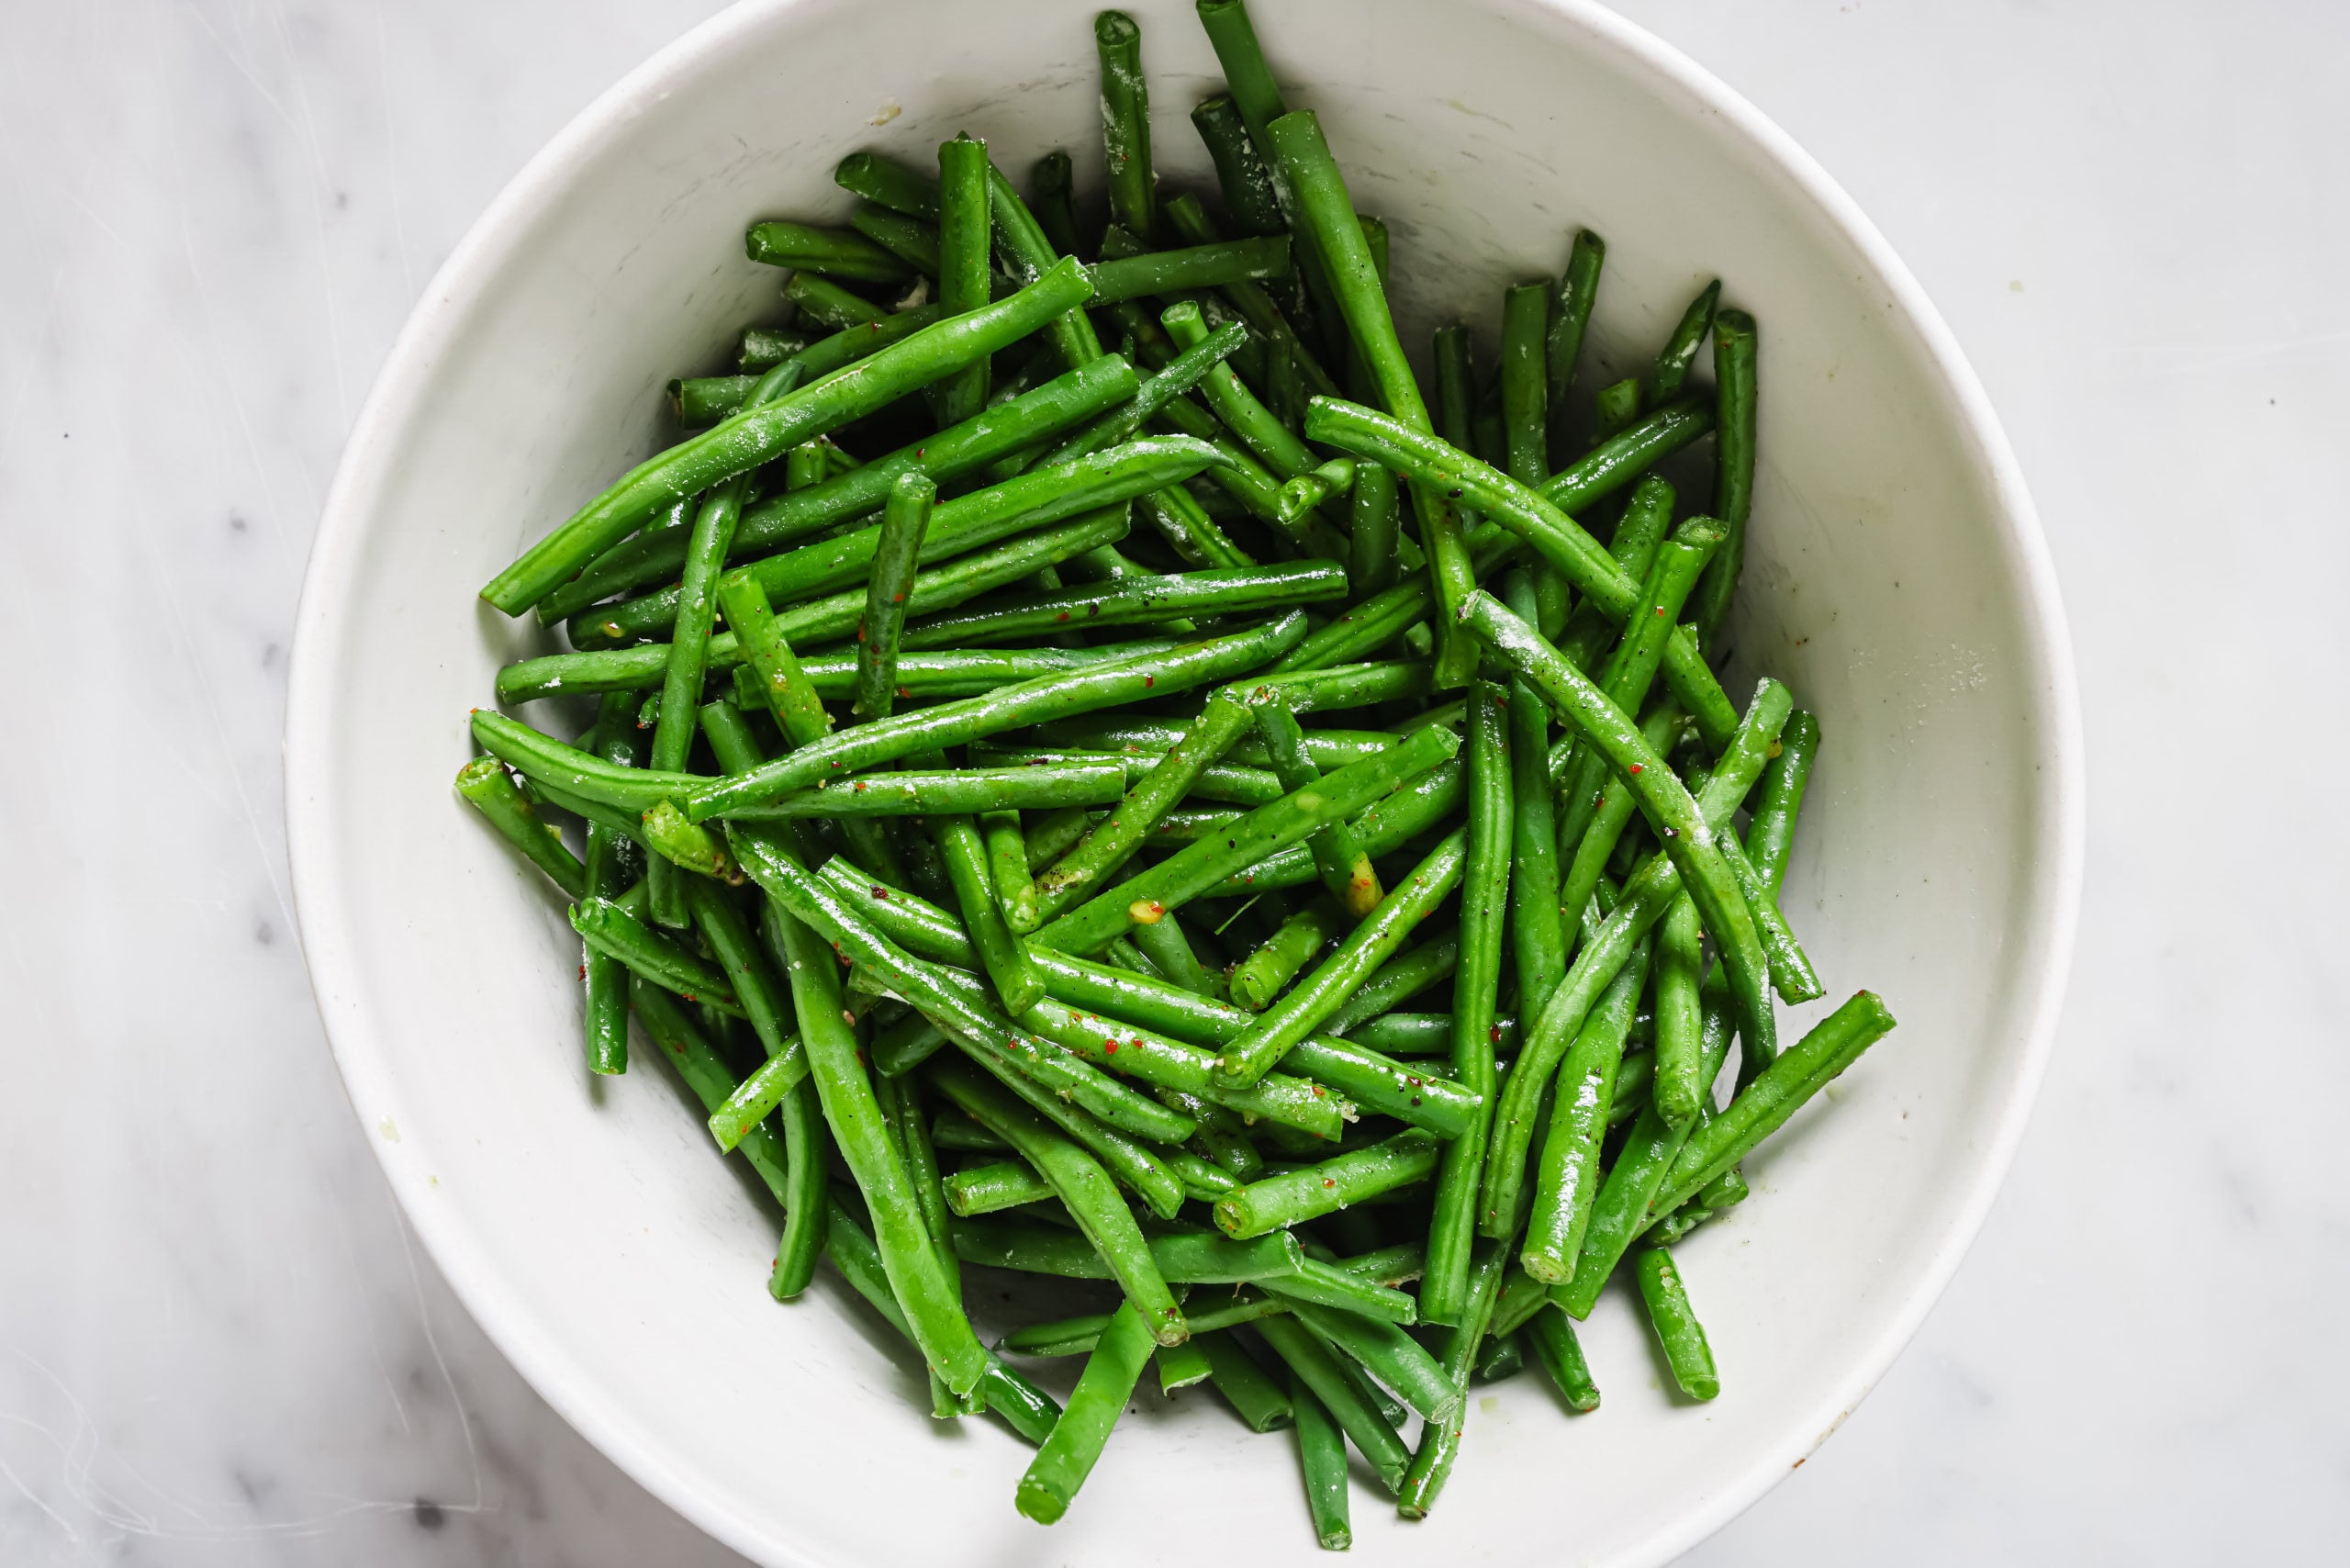
I toss everything in a large bowl. First the oil, until every bean looks shiny, then the Italian seasoning, salt and pepper. I always add the salt after the oil because it sticks to the beans instead of falling to the bottom of the bowl. Tossing in a bowl instead of on the pan gives you an even coat, with no oily puddles on the pan and dry beans on the edges.
I spread the beans on the hot pans in a single layer. I carefully pull the pans out with oven mitts and divide the beans between them. You should hear a sizzle right away. If you don’t, put the pans back for a few more minutes. Using two pans for 2 pounds is not optional. When beans are piled on top of each other, they trap steam and turn soft.
I roast, toss and switch the pans. After 8 minutes, I toss the beans with a spatula and swap the pans between the top and bottom racks. The top rack browns faster in most ovens, so switching gives both pans the same colour.
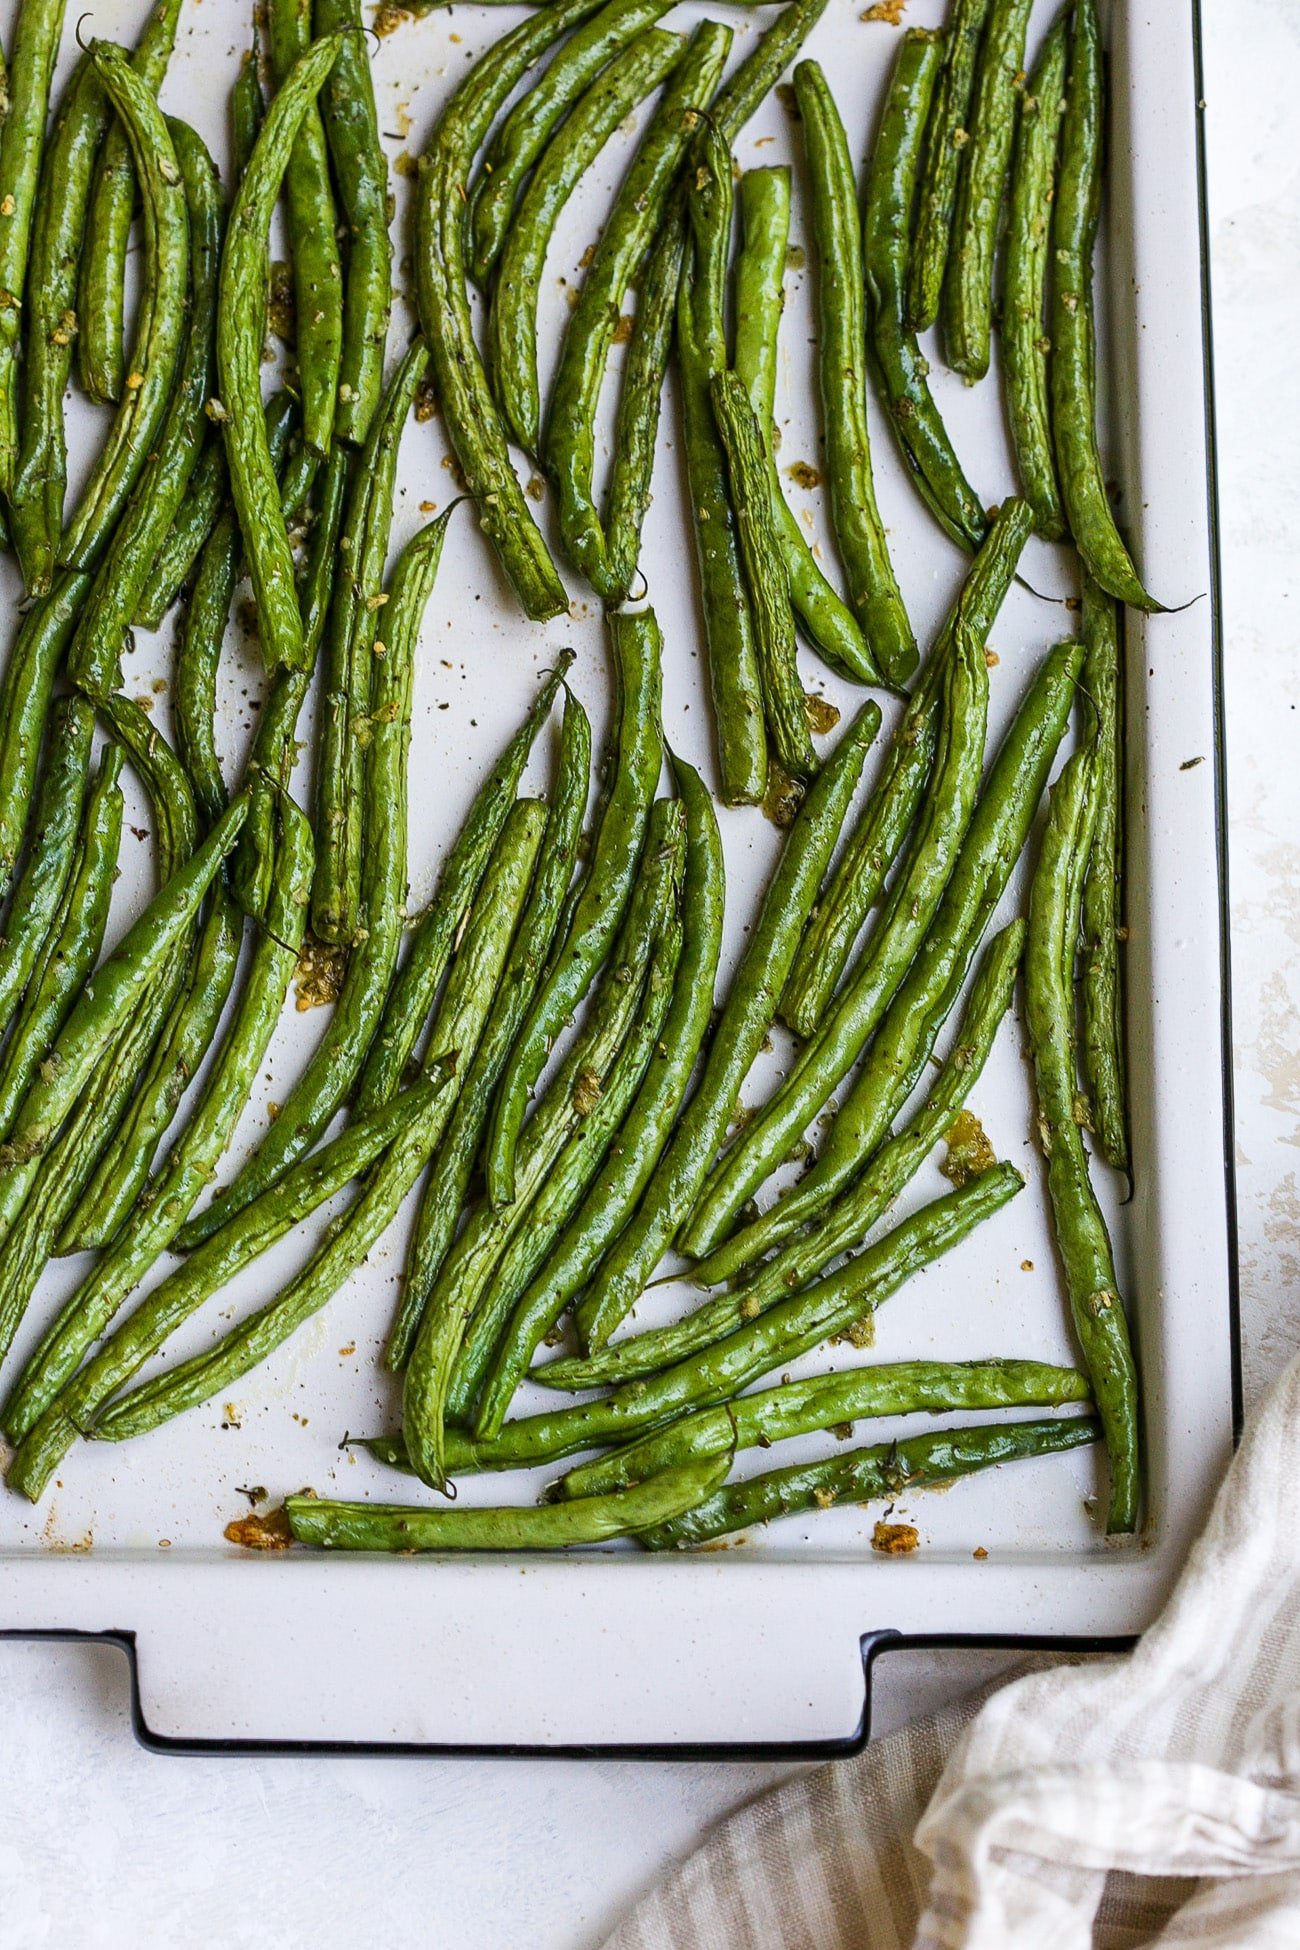
I add the garlic for the final minutes. After 5 more minutes, I sprinkle the minced garlic over the beans and roast for a final 3 to 5 minutes. They’re done when you see blistered, golden brown spots and slightly wrinkled edges, and the inside is tender with a little snap. I serve them right away, because they’re crispiest in the first 10 minutes out of the oven.
Recipe Tips
- Skip blanching. Many recipes tell you to blanch green beans before roasting. I’ve tested it, and I don’t think it’s worth the extra pot. Blanching adds water to the beans, and that’s exactly what you’re trying to remove. Roasting from raw on a hot pan gives you a crispier result with fewer dishes.
- Choose your texture with the timer. At 425°F, the beans are crisp tender and bright green at 10 to 12 minutes and fully crispy at 15 to 18 minutes. At 400°F, plan on 20 to 25 minutes for crispy. I prefer 425°F because the beans brown before they have time to go limp.
- Add lemon only at the end. A squeeze of lemon juice is lovely on roasted green beans, but I add it right before serving. Acid dulls the bright green colour if it goes on before roasting.
- For a softer side, use the stovetop. If your family prefers tender, buttery beans over crispy ones, my garlic butter green beans are ready in 15 minutes and don’t need the oven at all.

Crispy Green Beans
Video
Ingredients
- 2 pounds fresh green beans trimmed and dried well
- 2 tablespoons extra virgin olive oil or avocado oil
- 1 teaspoon Italian seasoning
- 2 garlic cloves minced (or ½ teaspoon garlic powder)
- Salt and ground fresh black pepper
Instructions
- Place two large rimmed sheet pans on the upper and lower racks of the oven and preheat to 425°F (220°C).
- Rinse the green beans, dry them very well and trim the stem ends.In a large bowl, toss the beans with the oil until coated. Add the Italian seasoning, salt and pepper and toss again. If using garlic powder, add it now.
- Carefully spread the beans in a single layer on the hot pans. Roast for 8 minutes. Toss the beans and switch the pans between the racks. Roast 5 more minutes.
- Sprinkle the minced garlic over the beans and roast 3 to 5 more minutes, until blistered and golden in spots. Serve right away.
Notes
To reheat: Reheat in the oven or air fryer at 425°F for 4 to 5 minutes. You can also reheat them in the microwave.
To freeze: Freeze in a freezer safe bag for up to 3 months.
Nutrition
Nutrition information is automatically calculated, so should only be used as an approximation.
Did You Make This?
Follow @primaverakitchen on Instagram, snap a photo, and tag it #primaverakitchen. We’d love to see your recreation.








Wow great tips, I had no idea. For sure next time I will make sure I follow all three. Thanks for this post! The green beans look superb by the way. I could probably eat the entire plate all on my own.
You are so welcome, Miryam! So glad you stopped by 😉
I loveee green beans and this recipe looks so great. Awesome tip about putting the pan in the oven ahead of time!!
Thanks a lot!
Green beans have always been a vegetable that I tend to avoid cooking as when I do cook them they always end up really bland, watery and flavourless. You have definitely inspired me to try your roasted version, they look great and I bet they are bursting full of yummy flavour!
Please try this recipe. For sure you would love this roasted green beans!
Happy birthday!!!! Sounds like you had a great time in vegas! 🙂 I always think I’ll have time to work a little on vacation and it just never happens!
These green beans sound completely delicious – I loveeee green beans!
Thanks a lot, Ashley! Have a great week 😉
It sounds like you had a wonderful time in Vegas! I think that’s a pretty good reason not to post! I love green beans, but haven’t had them in ages. Thanks for the tips, will have to try this recipe 🙂
We had, Louisa! It was a very fun trip! I hope you try this recipe 😉
After reading this, I’m feeling rather ashamed that I’ve never roasted green beans before!
Now that I know how, I’m definitely going to!
Your trip sounds wonderful, Olivia … I’d love to go to Las Vegas!
You would love Vegas, Helen. So much to do there 😉
I hope you like my tips! Thanks a lot!
I have been married over 50 years, and this is the worst dish my wife has ever made. Inedible. Nachos tonight.
If I make these hours ahead of time will they remain crispy???
Unfortunately no. I made these hours ahead of time one day and they weren’t very crispy, but they were tasty anyway 😉
The ads on this page make it unbearable.
I’m sorry about that, Bthom. I’ll talk to the ad manager to see what we can do to make this page more reader friendly.
OMG… get a life. Everyone and there dogs goes to Vegas. How desperate are you?
PS I never read about your shittie road trip… I just skimmed to the part where it actually starst to talk about the Subject line and was surprised of how big of a loser you have to be to write that much about a trip instead of the true subject. I’m guessing your husband can’t stand you which is why you have to write so much about “GREEN BEANS” LMAO
Yo. Your the f in loser , look at you big tough guy talking shit online cause u got a small tool. Why do u even come here. Oh cause u have no life and you feel powerful behind a keyboard. I would bitch slap if I ever met you … Go ahead talk smack to me. I’ll get your IP. Number
You have a cook time of 18 minutes at the top of the recipe but the instructions call for baking 8 minutes. Are you including the pan preheat of 10 minutes in the cook time or is the 8 minutes a typo?
How can I keep the green beanstalk warm and tasty, without getting soggy or taking up oven space over THanksgiving. Once they are cooked can I keep them warm in a cracked open crock pot? Thoughts. Then I could cook them at my house and transport to in-laws. I want to be healthy and helpful. There is counter space, but the oven is full. 😢 Any ideas at all? Thanks so much and I hope this reaches someone.