Soft and fluffy, this Gluten Free Cornbread is so easy to make! Far from dry, this cornbread recipe is moist, tender, and sweet. The perfect side dish for the holidays or any meal, you’re going to want to make a double batch as they’ll disappear fast.
You are going to love this gluten free cornbread recipe! All you need are a handful of simple ingredients to make this delicious recipe and a couple of minutes to prepare. It comes together so quickly and easily, making it the perfect side dish to throw together before dinner.
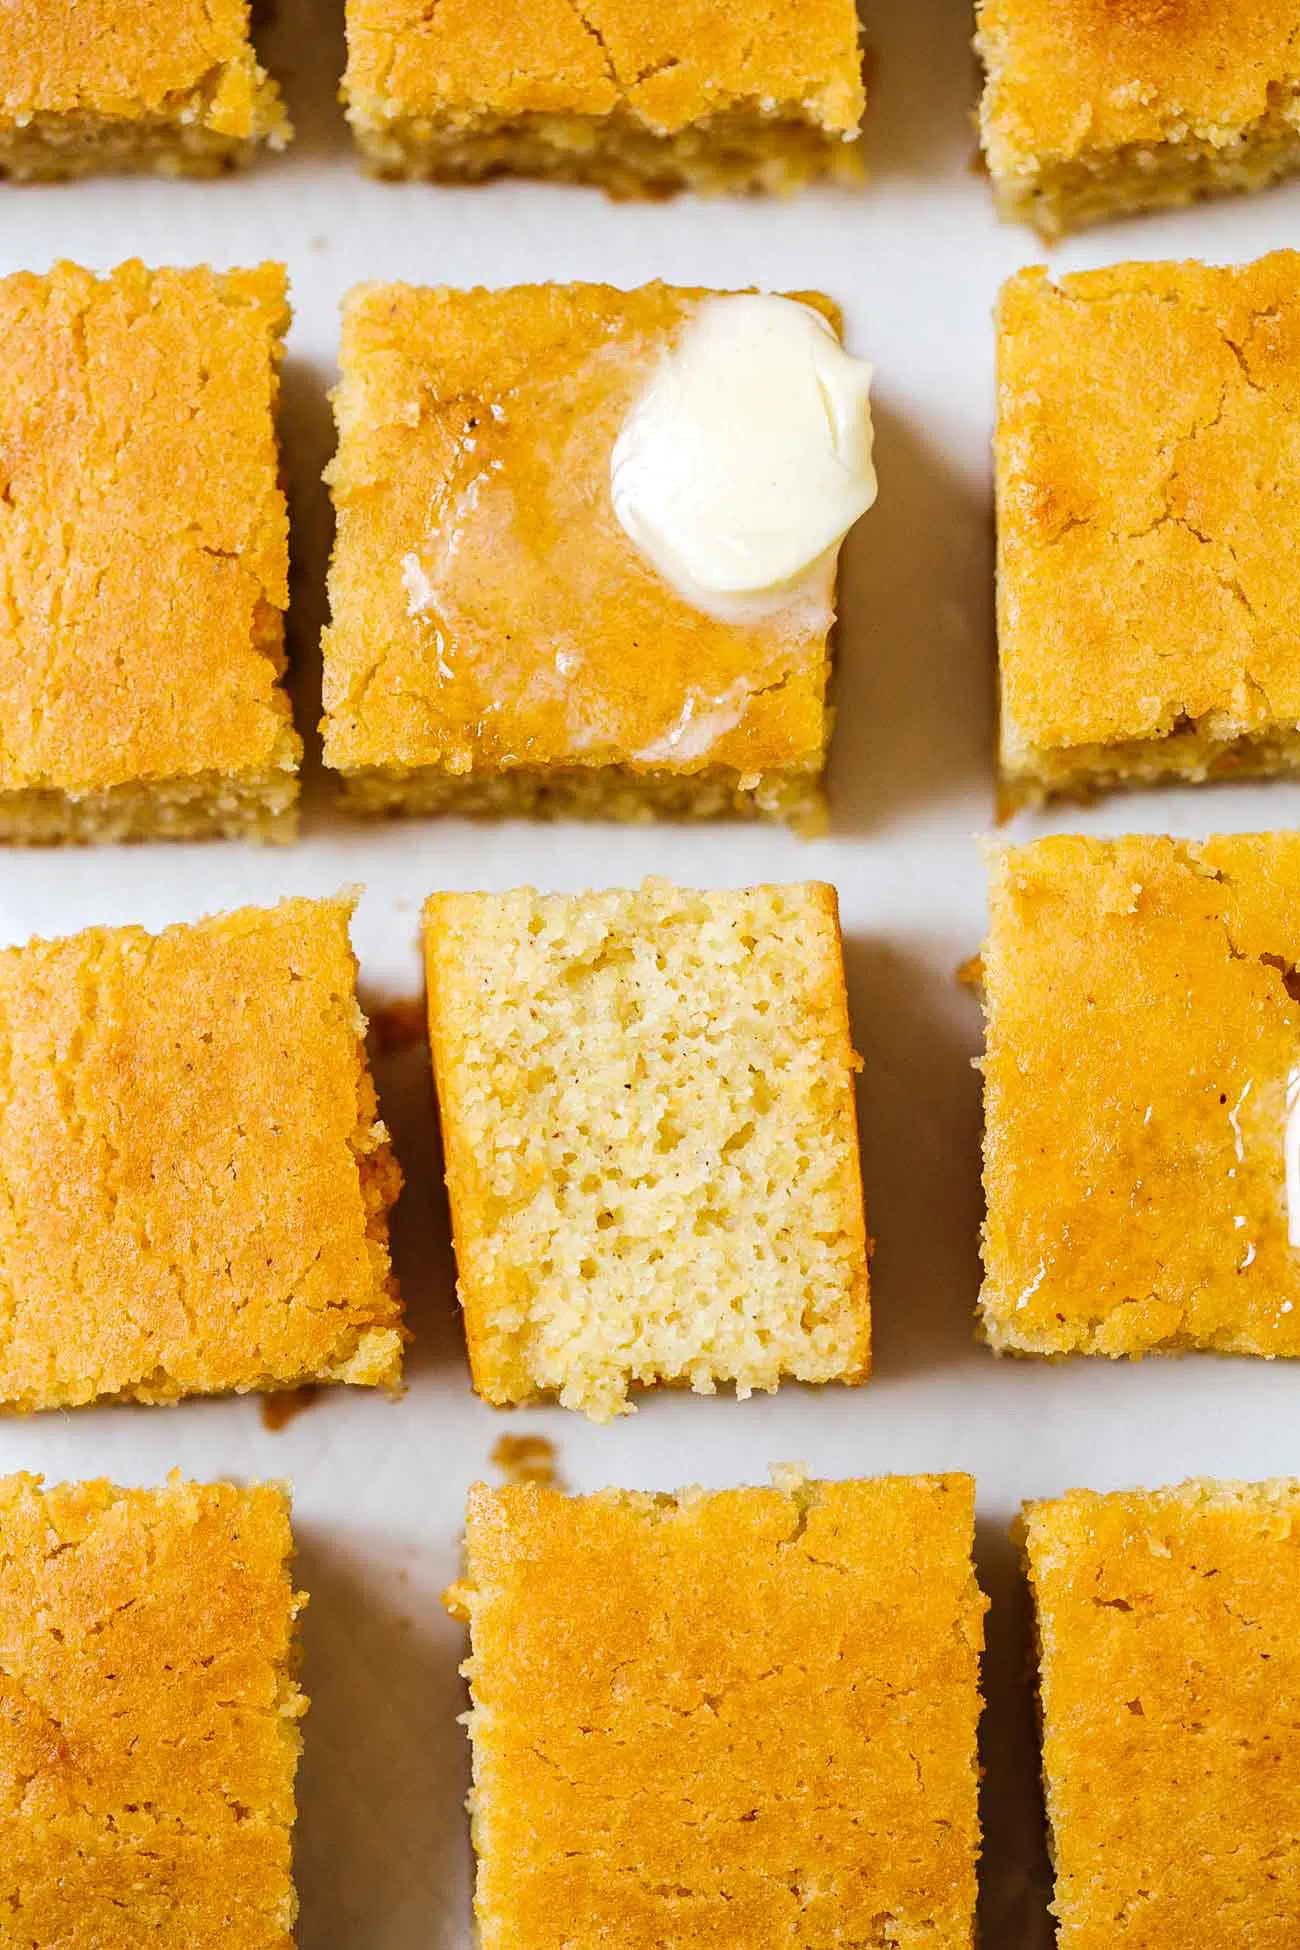
If you haven’t making cornbread then you’re in for a treat. This easy gluten-free cornbread recipe goes with so many different recipes like chili, soup, stews, and BBQ on top of being perfect for holidays like Thanksgiving or Christmas!
Since cornbread is such a versatile recipe, I’ve decided to share a gluten-free version of cornbread today because it just wouldn’t be fair if you served it up and some guests were unable to enjoy it! It took a couple of tries but I’ve finally perfected a gluten free version of cornbread that tastes exactly the same. This way, no one is missing out and everyone’s happy.
Don’t you love a good gluten free baking recipe? If so, let’s make this delicious gluten free cornbread together.
How to Make Gluten Free Cornbread
Ingredients
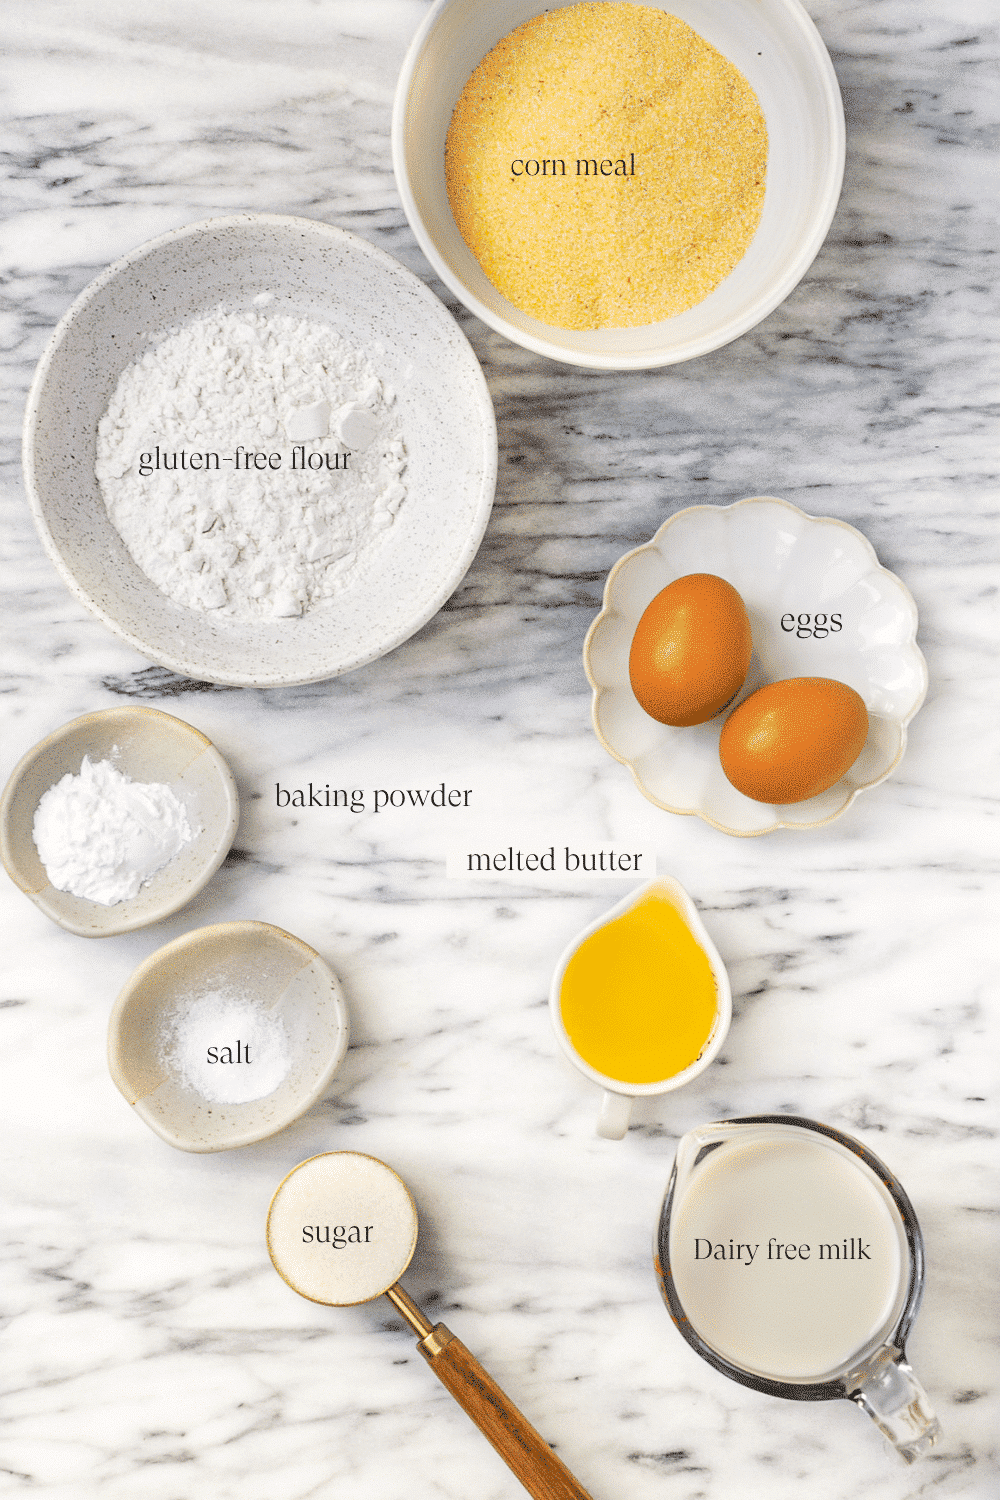
- Gluten-free all propose flour — My go-to is the measure for measure gluten-free flour instead of using almond flour or oat flour. I find the measure for measure flour to yield the best texture for gluten free cornbread. For this recipe I used 1 cup gluten-free flour blend.
- Gluten-free cornmeal — I recommend using stone-ground cornmeal. If the cornmeal is too fine or too coarse, the texture of the cornbread won’t come out right. Also, cornmeal is not the same as corn flour. They are not interchangeable.
- Granulated sugar — You need some sugar to add sweetness to the cornbread. The recipe is a sweet cornbread, so if you’re a fan of savory cornbread, feel free to scale back the sugar.
- Gluten-free baking powder — Did you know that baking powder has gluten in it? Make sure to get a gluten free version.
- Salt — Just a pinch!
- Eggs — Makes sure the egg is at room temperature. I used large eggs. If you are looking for an egg substitute, you can use one flaxegg (1 tablespoon of flaxseed meal + 3 tablespoons water) per egg called for.
- Dairy-free milk — You can also use regular milk if you do not require this to be dairy-free. I used unsweetened almond milk. You don’t need to use buttermilk for this recipe.
- Melted butter
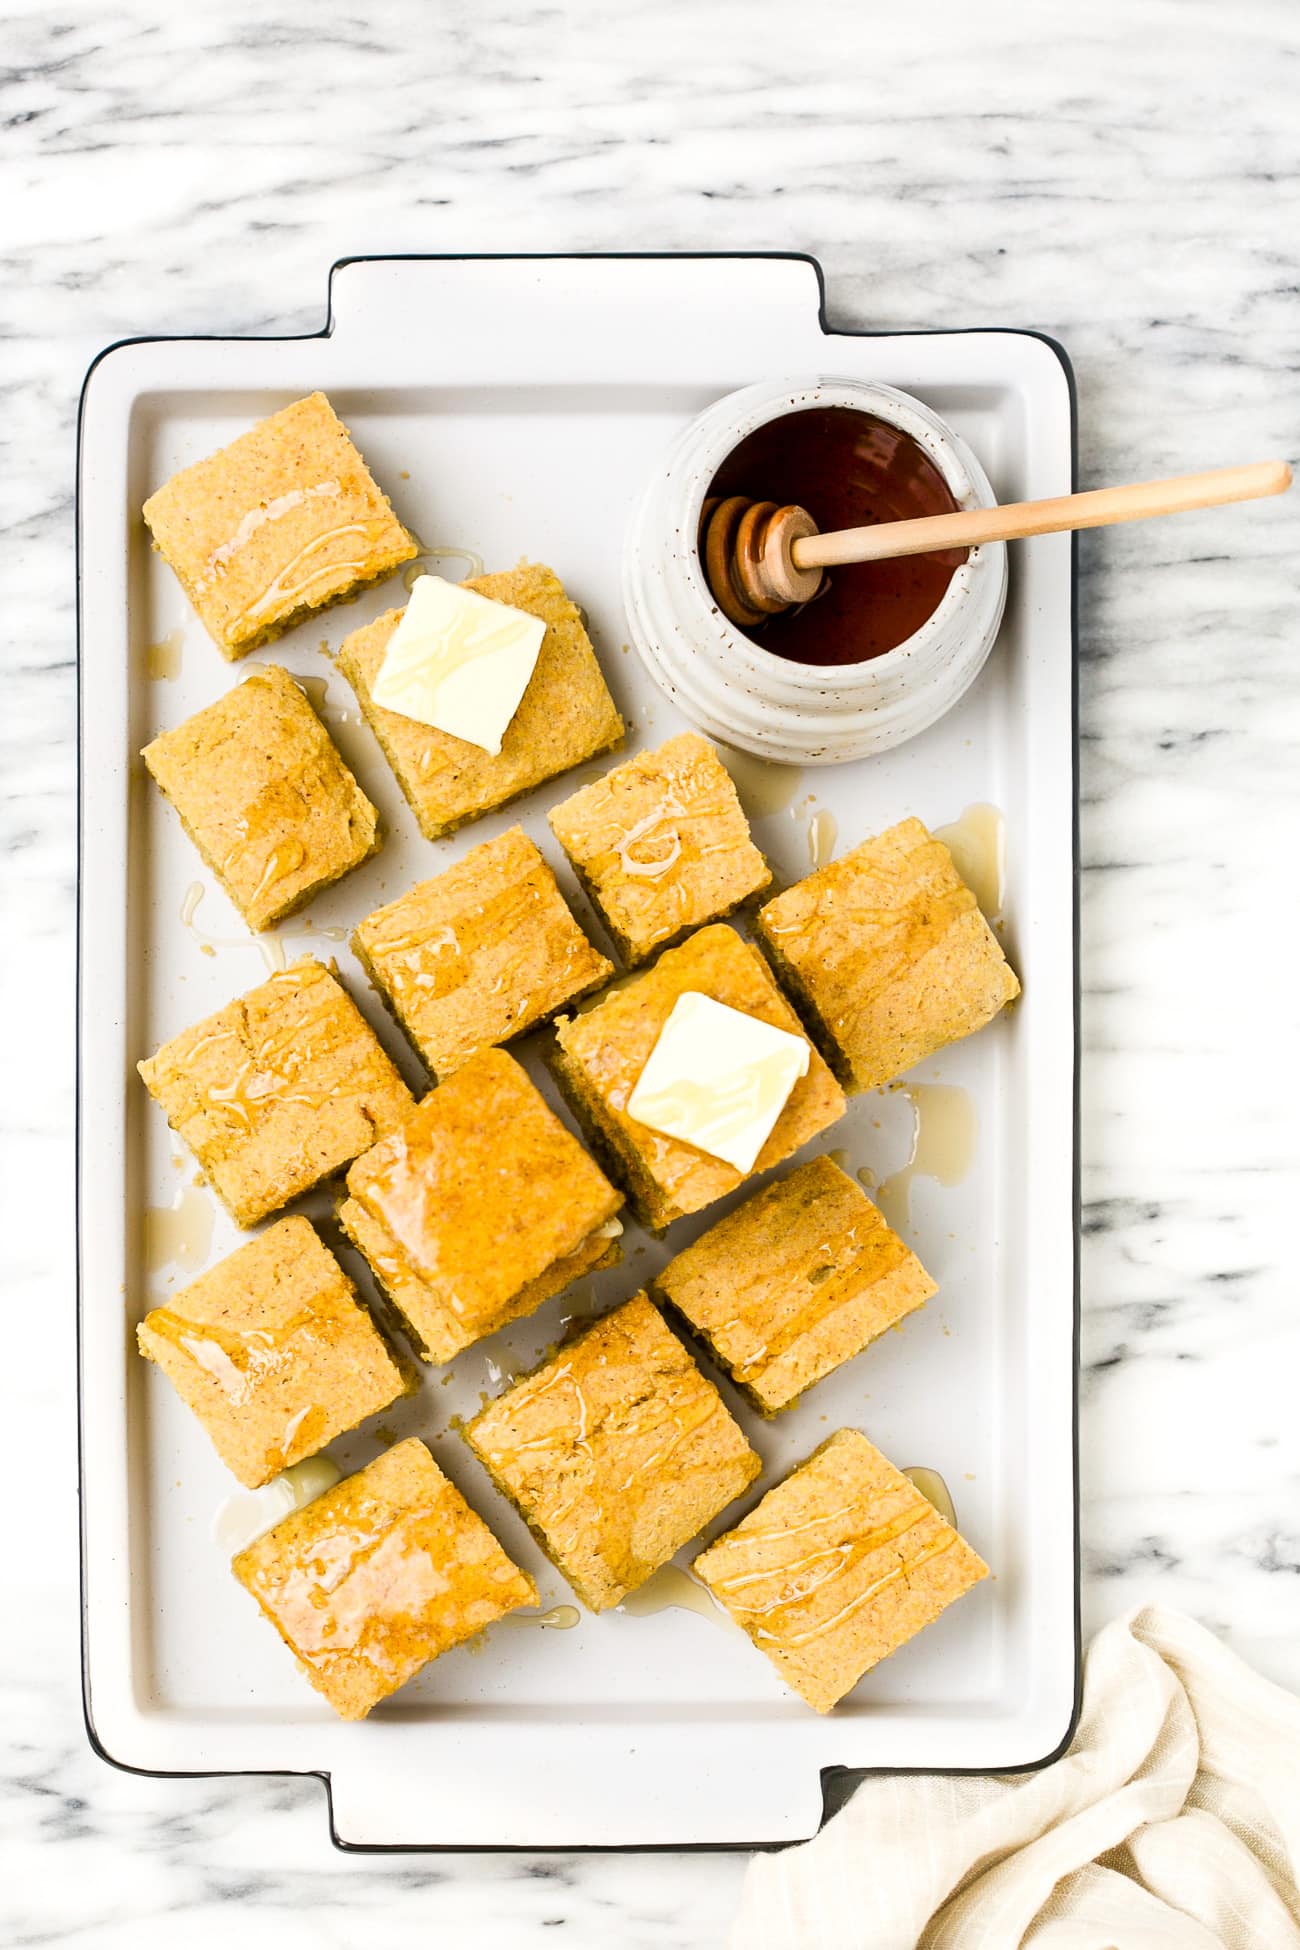
- Honey to use as topping.
Instructions
Prepare the equipment
- Preheat the oven to 350˚F.
- Grease an 8×8 square cake pan with butter, coconut oil or cooking spray. Set aside. You can also make this recipe in a cast iron skillet, cake pan to muffin tin too.
Make the batter
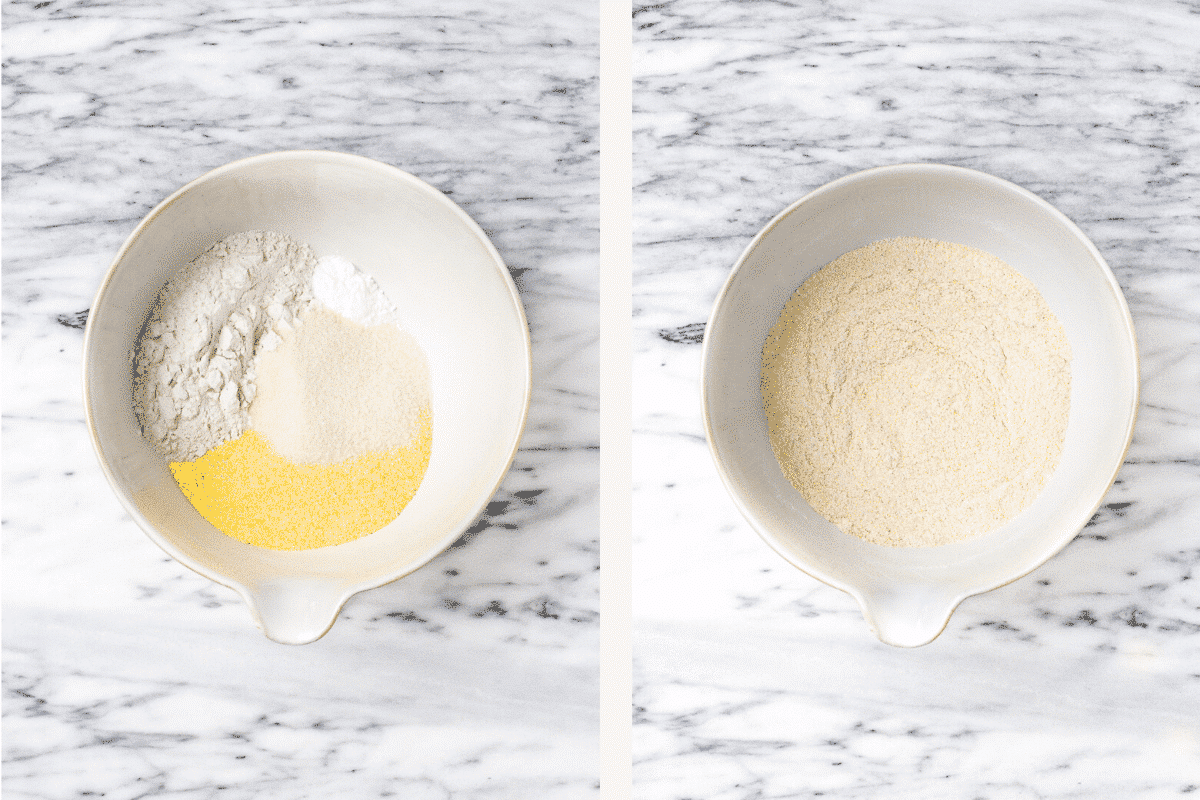
- In a medium bowl, add the all-purpose flour, cornmeal, sugar, baking powder, and salt. Whisk to combine.
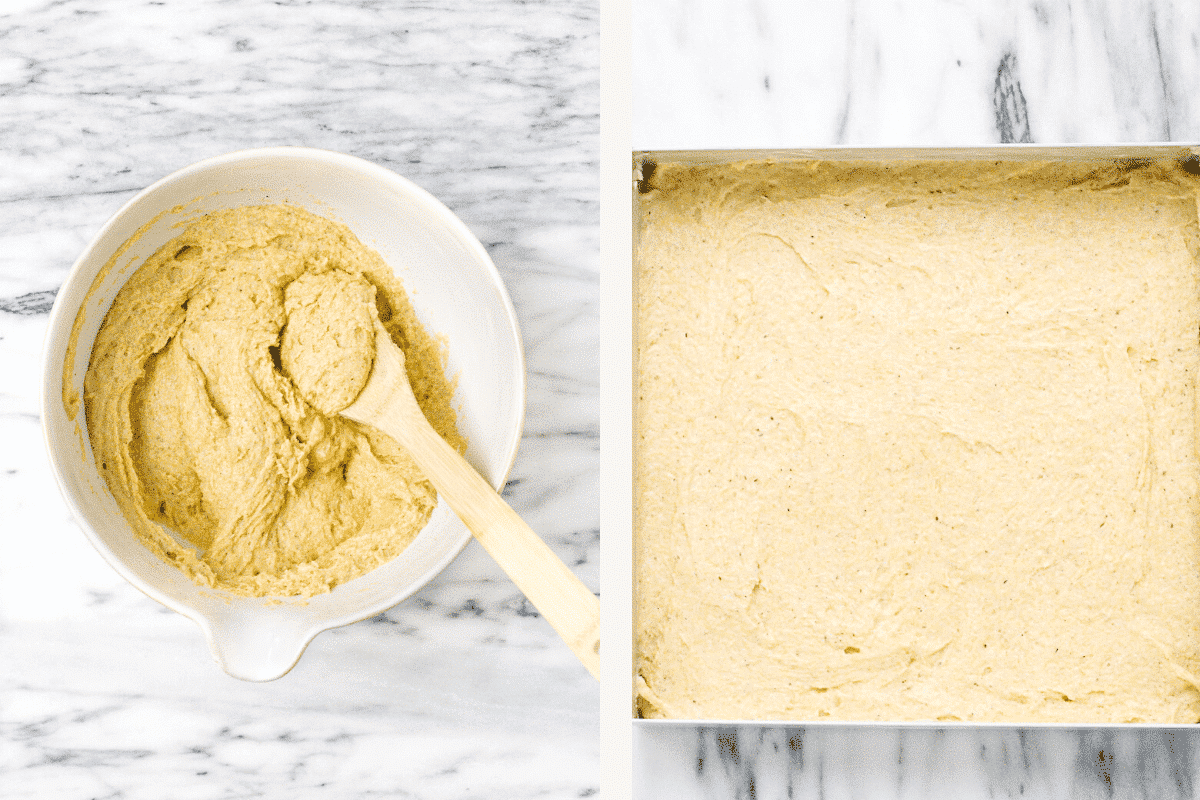
- In another medium bowl, beat together eggs, milk, and melted butter.
- Pour the wet ingredients into the dry ingredients and stir until combined. Avoid overmixing or you’ll end up with a tough gluten free cornbread.
Bake the cornbread
- Transfer the batter to the greased pan and bake for about 25-30 minutes or until a toothpick is inserted in the center and comes out clean.
- Remove the bread from the oven and cool it on a rack for 5 minutes before cutting; serve warm with butter on top.
Recipe tips
- Always avoid overmixing the batter as the gluten free cornbread will come out tough and dense.
- When measuring flour, avoid scooping the flour directly and packing it into cup. Doing so will lead to too much flour in the cup. Fluff the flour and spoon it into a measuring cup and level off the top.
- Try to have all the ingredients at room temperature before using. Room temperature ingredients combine much better.
Gluten Free Cornbread Variations
There are lots of fun things you can do with this basic cornbread recipe! If you’re feeling creative, here are some ideas for inspiration:
Add heat: Gently fold freshly chopped jalapeno peppers into your cornbread batter. Leave the seeds in if you really want a kick, or remove them if you’re just looking to add a touch of spice. A can of diced jalapenos will also work, just be sure to drain juices before adding them to your batter. You can also a pinch of cayenne pepper or red pepper flakes, if desired.
Add some sweet: Carefully stir dried fruits into your gluten free cornbread batter! Think raisins, chopped dates, chopped apricots or cranberries. If you’re going this route, a bit of ground cinnamon would also be a nice addition.
Other mix-in ideas: Chopped fresh or dried herbs such as rosemary, sage or thyme. Whole corn kernels (frozen or canned), chopped pecans or walnuts. You can even add protein like cooked sausage crumbles or bacon to your batter for a breakfast time treat! It can also be used to make a delicious gluten-free cornbread stuffing.
Toppings: Rather than honey, top your bread with maple syrup, whipped cream, chopped nuts, fresh fruit or a dusting of cinnamon. You can also go the savory route and sprinkle some freshly shredded parmesan or cheddar cheese on top.
Cornbread muffins: Instead of pouring your gluten free cornbread batter into one large casserole dish, portion it into a greased, 12 count muffin pan. Bake at the same temperature but reduce bake time down to 15-20 minutes. Remove muffins as soon as they pass the toothpick test.
How To Store Leftovers
- Storing gluten free cornbread: Allow baked cornbread to cool. Cut it into squares and transfer pieces to an airtight container or Ziploc bag. Store at room temperature for three days or in the refrigerator for up to seven.
- To Freeze: This gluten free cornbread is also freezer friendly! To protect from freezer burn in longer-term storage, I recommend cutting leftovers into squares and cloaking each in plastic wrap. For an added layer of protection, place wrapped pieces in a Ziploc bag and freeze for about 3 months.
- Note: if you’re looking to make and store a full pan of gluten free cornbread ahead of a holiday, this can definitely be done! Simply wrap your full, cooled casserole dish in plastic wrap and place it in the freezer or refrigerator. You shouldn’t need to worry as much about freezer burn with short term storage.
- To reheat: thaw in the refrigerator overnight (if frozen) and then microwave or reheat in the oven at 350°F until warmed through.
What to serve with gluten free cornbread
- Garlic Butter Turkey Breast Recipe: This oven-roasted turkey breast is cooked in a herb garlic butter sauce that everyone will love. The skin on this turkey breast is extra crispy and the inside perfectly tender and moist.
- Easy Roasted Turkey Breast: This turkey breast is cooked in a fraction of the time of a whole turkey and it’s so delicious.
- Dutch Oven Beef Stew: This old-fashioned Dutch Oven Beef Stew is a staple in my kitchen. It is so hearty, comforting, and perfect for when winter rolls around.
- Instant Pot Keto Chili Recipe: Keto chili has all the great flavors of traditional chili without the extra carbs. Enjoy this healthy recipe that gives you everything you crave on cold evenings.
Frequently Asked Questions
I do not recommend using different flour. This gluten free cornbread recipe is meant to use be baked with gluten free flour. Almond flour makes the cornbread heavy and coconut flour makes the cornbread spongey.
While cornmeal is made of corn and is naturally gluten free, not all packaged cornmeals are gluten-free due to cross-contamination at packaging facilities. It is safest to buy cornmeal that is labeled gluten-free. I use Bob’s Red Mill’s gluten free cornmeal.
You can swap out the eggs for an egg replacement such as flaxegg or chia-egg.
Leftover gluten free cornbread can be covered or placed in an airtight container at room temperature for 3 days. If you would like for it to last longer, store them in the fridge. You can reheat leftover cornbread in the oven or microwave. I very much prefer them warm than room temperature. Butter also spreads much smoother on a warm piece of cornbread! You can also make gluten-free cornbread stuffing with the leftovers.
Cornbread can be gluten-free if made with gluten-free ingredients, such as using cornmeal and a gluten-free flour substitute. Traditional recipes may contain wheat flour and gluten.
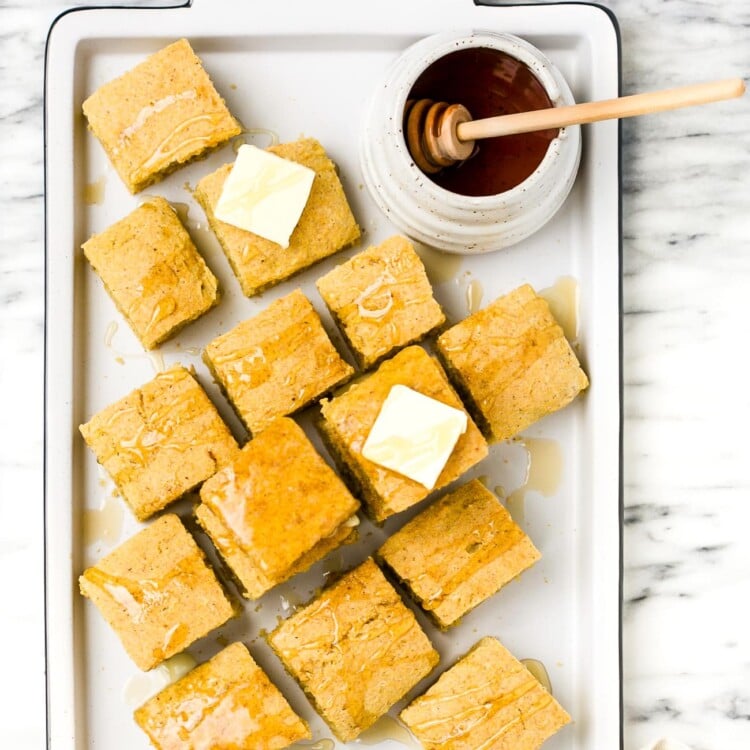
Gluten Free Cornbread Recipe
Want to Save This Recipe?
Enter your email & I’ll send it to your inbox. Plus, get great new recipes from me every week!
By submitting this form, you consent to receive emails from Primavera Kitchen.
Video
Ingredients
- 1 cup gluten-free all propose flour
- 1 cup gluten-free corn meal
- ¼ cup granulated sugar
- 2 teaspoons gluten-free baking powder
- ½ teaspoon salt
- 2 eggs room temperature
- 1 cup dairy-free milk
- ¼ cup melted butter
Instructions
- Preheat the oven to 350˚F and grease an 8×8 square cake pan with butter or coconut oil. Set aside.
- In a medium bowl, add all propose flour, corn meal, sugar, baking powder and salt. Mix well until combined.
- In another medium bowl, beat together eggs, milk and melted butter. Pour the wet ingredients into the dry ingredients and stir well.
- Transfer the batter to the greased pan and bake for about 25-30 minutes or until a toothpick is inserted in the center and comes out clean.
- Remove the bread from the oven and cool it on a rack for 5 minutes before cutting; serve warm with butter on top.
Tips
- Do not overmix the batter as it’ll lead to a tough cornbread.
- Avoid overpacking the flour when measuring it as it will lead to a dense cornbread.
- Make sure the pan is greased or lined so the cornbread doesn’t stick to the pan.
- To store: Put leftover pieces of cornbread into an airtight glass container at room temperature, it can last up to 3 days. Store in the fridge if you want it to last longer.
- To reheat: Rewarm leftover cornbread quickly in the microwave or bake at 350°F until warmed through.
- To freeze: Wrap individual pieces or the entire pan of cornbread in plastic and freeze.
Nutrition Information
Nutrition information is calculated using an ingredient database and should be considered an estimate.

Felyce Spears says
I love this recipe so so much! It was really easy to make and it wasn’t confusing at all! I 100% recommend this recipe
Olivia says
That’s amazing! Happy you liked it!