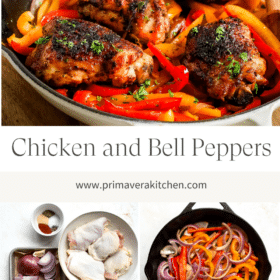
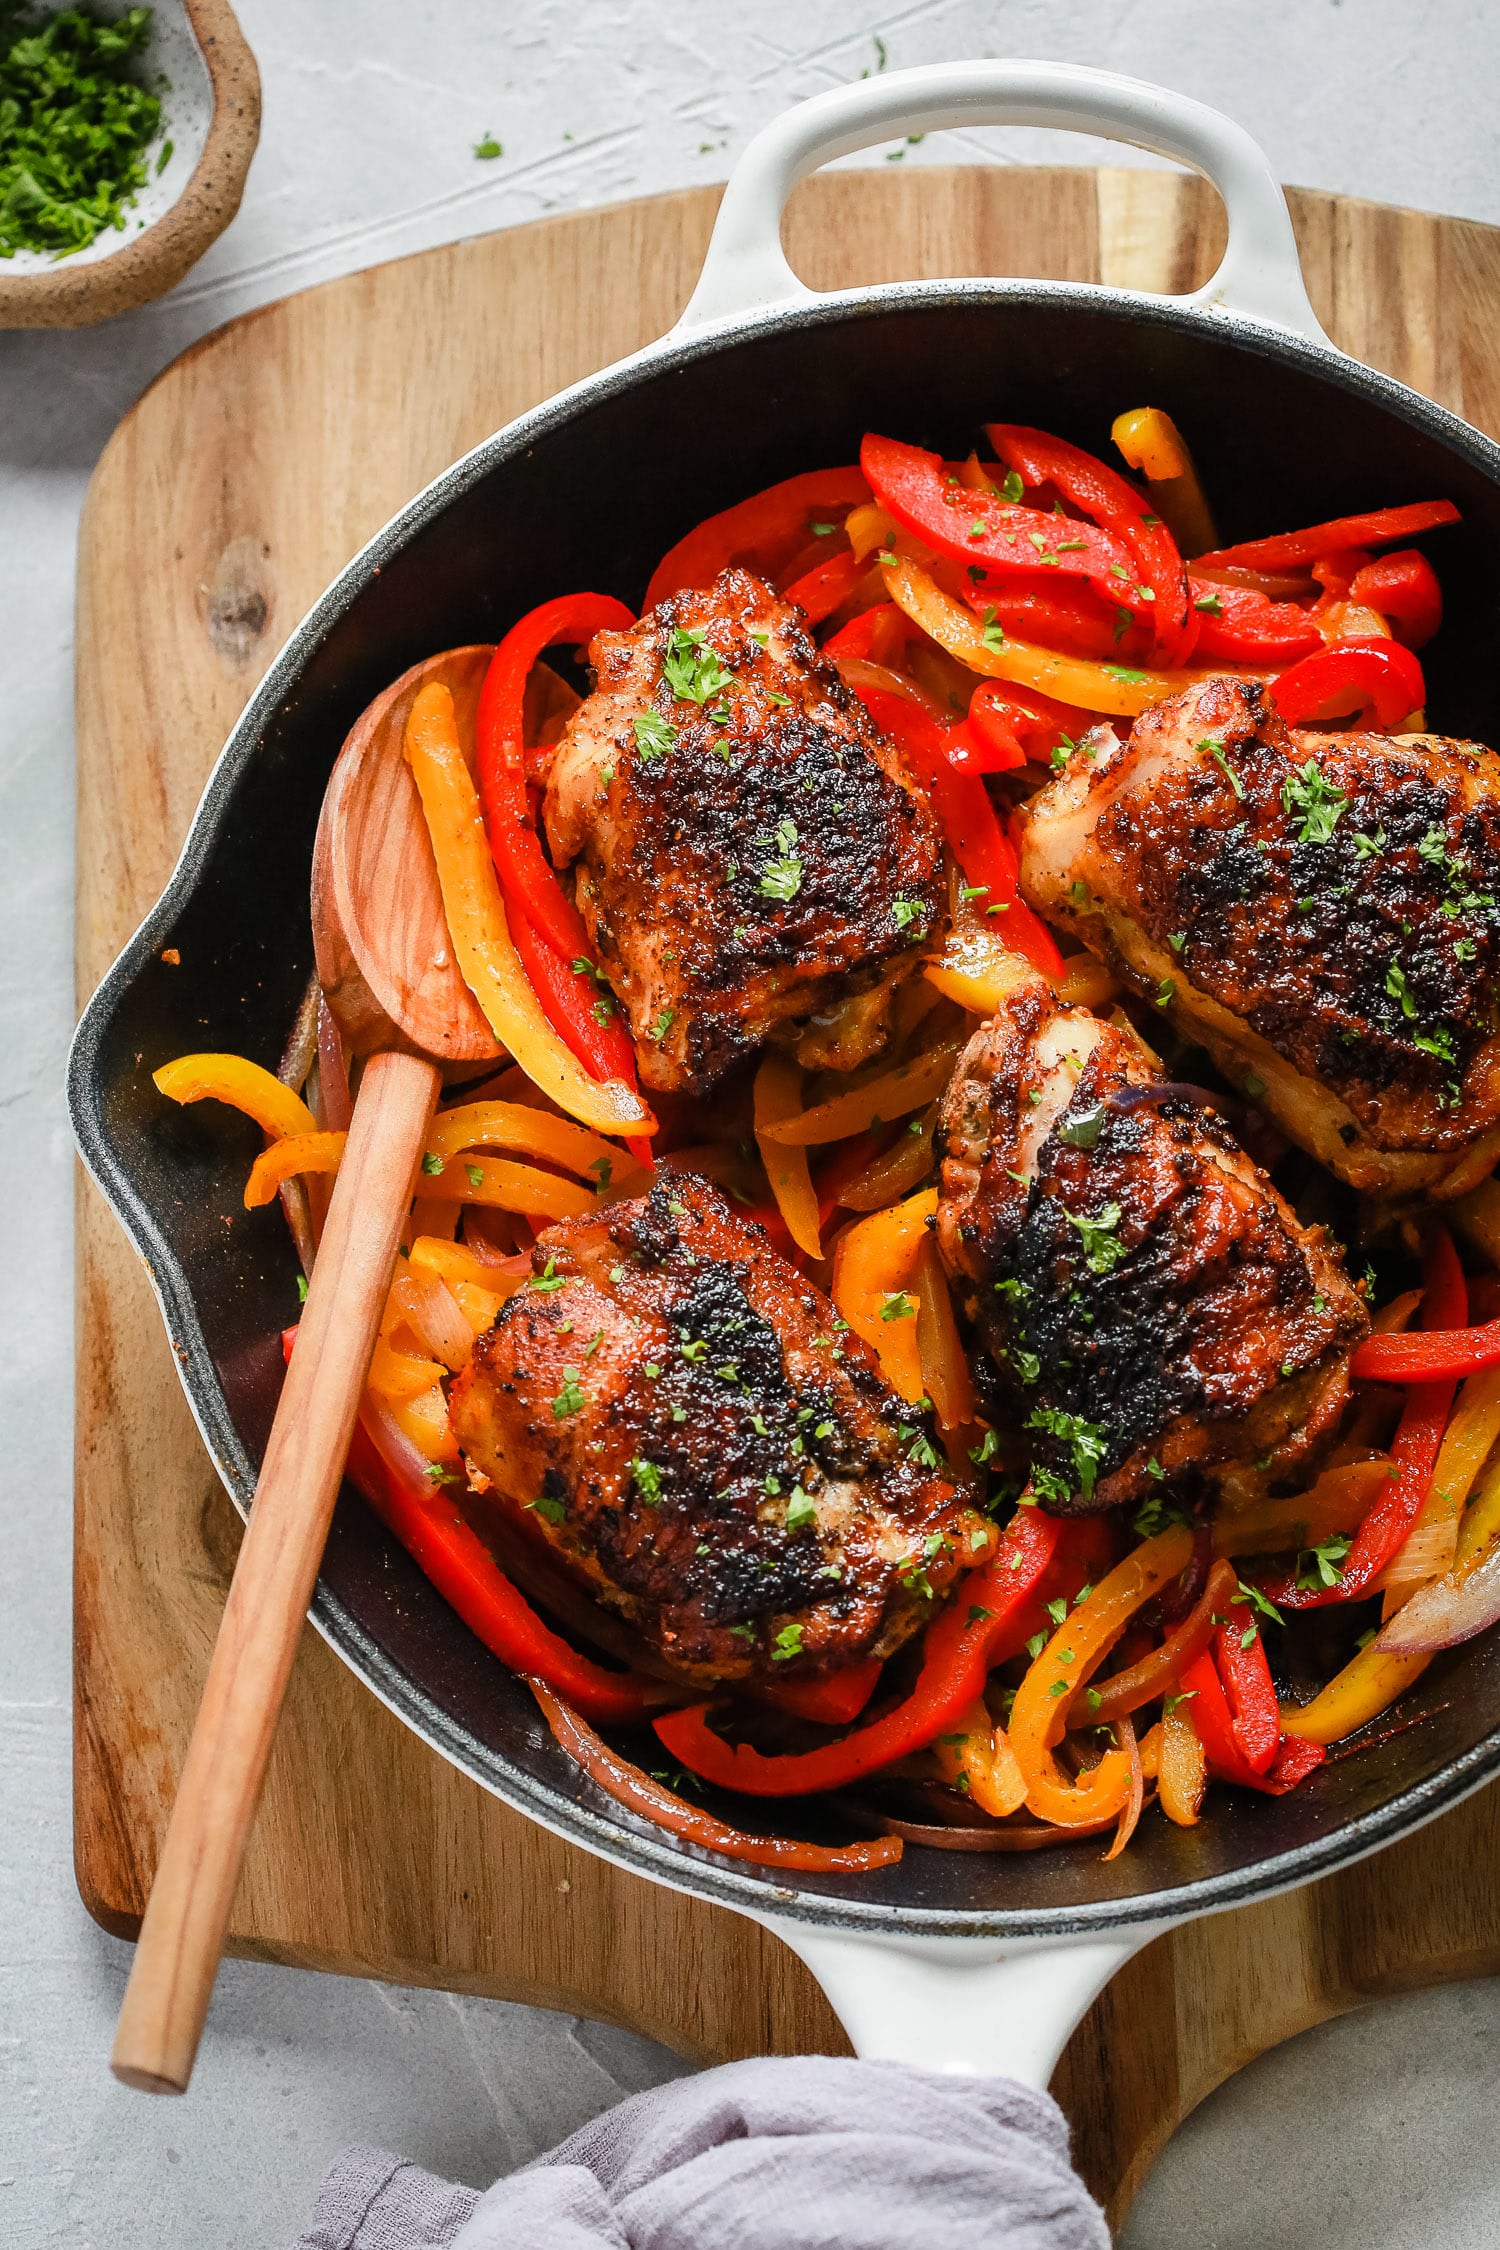
Chicken and Bell Peppers Skillet is one of those dishes that will go into your family dinner rotation because it happens to please everyone. It’s seasoned with lots of spices, and it’s delicious.
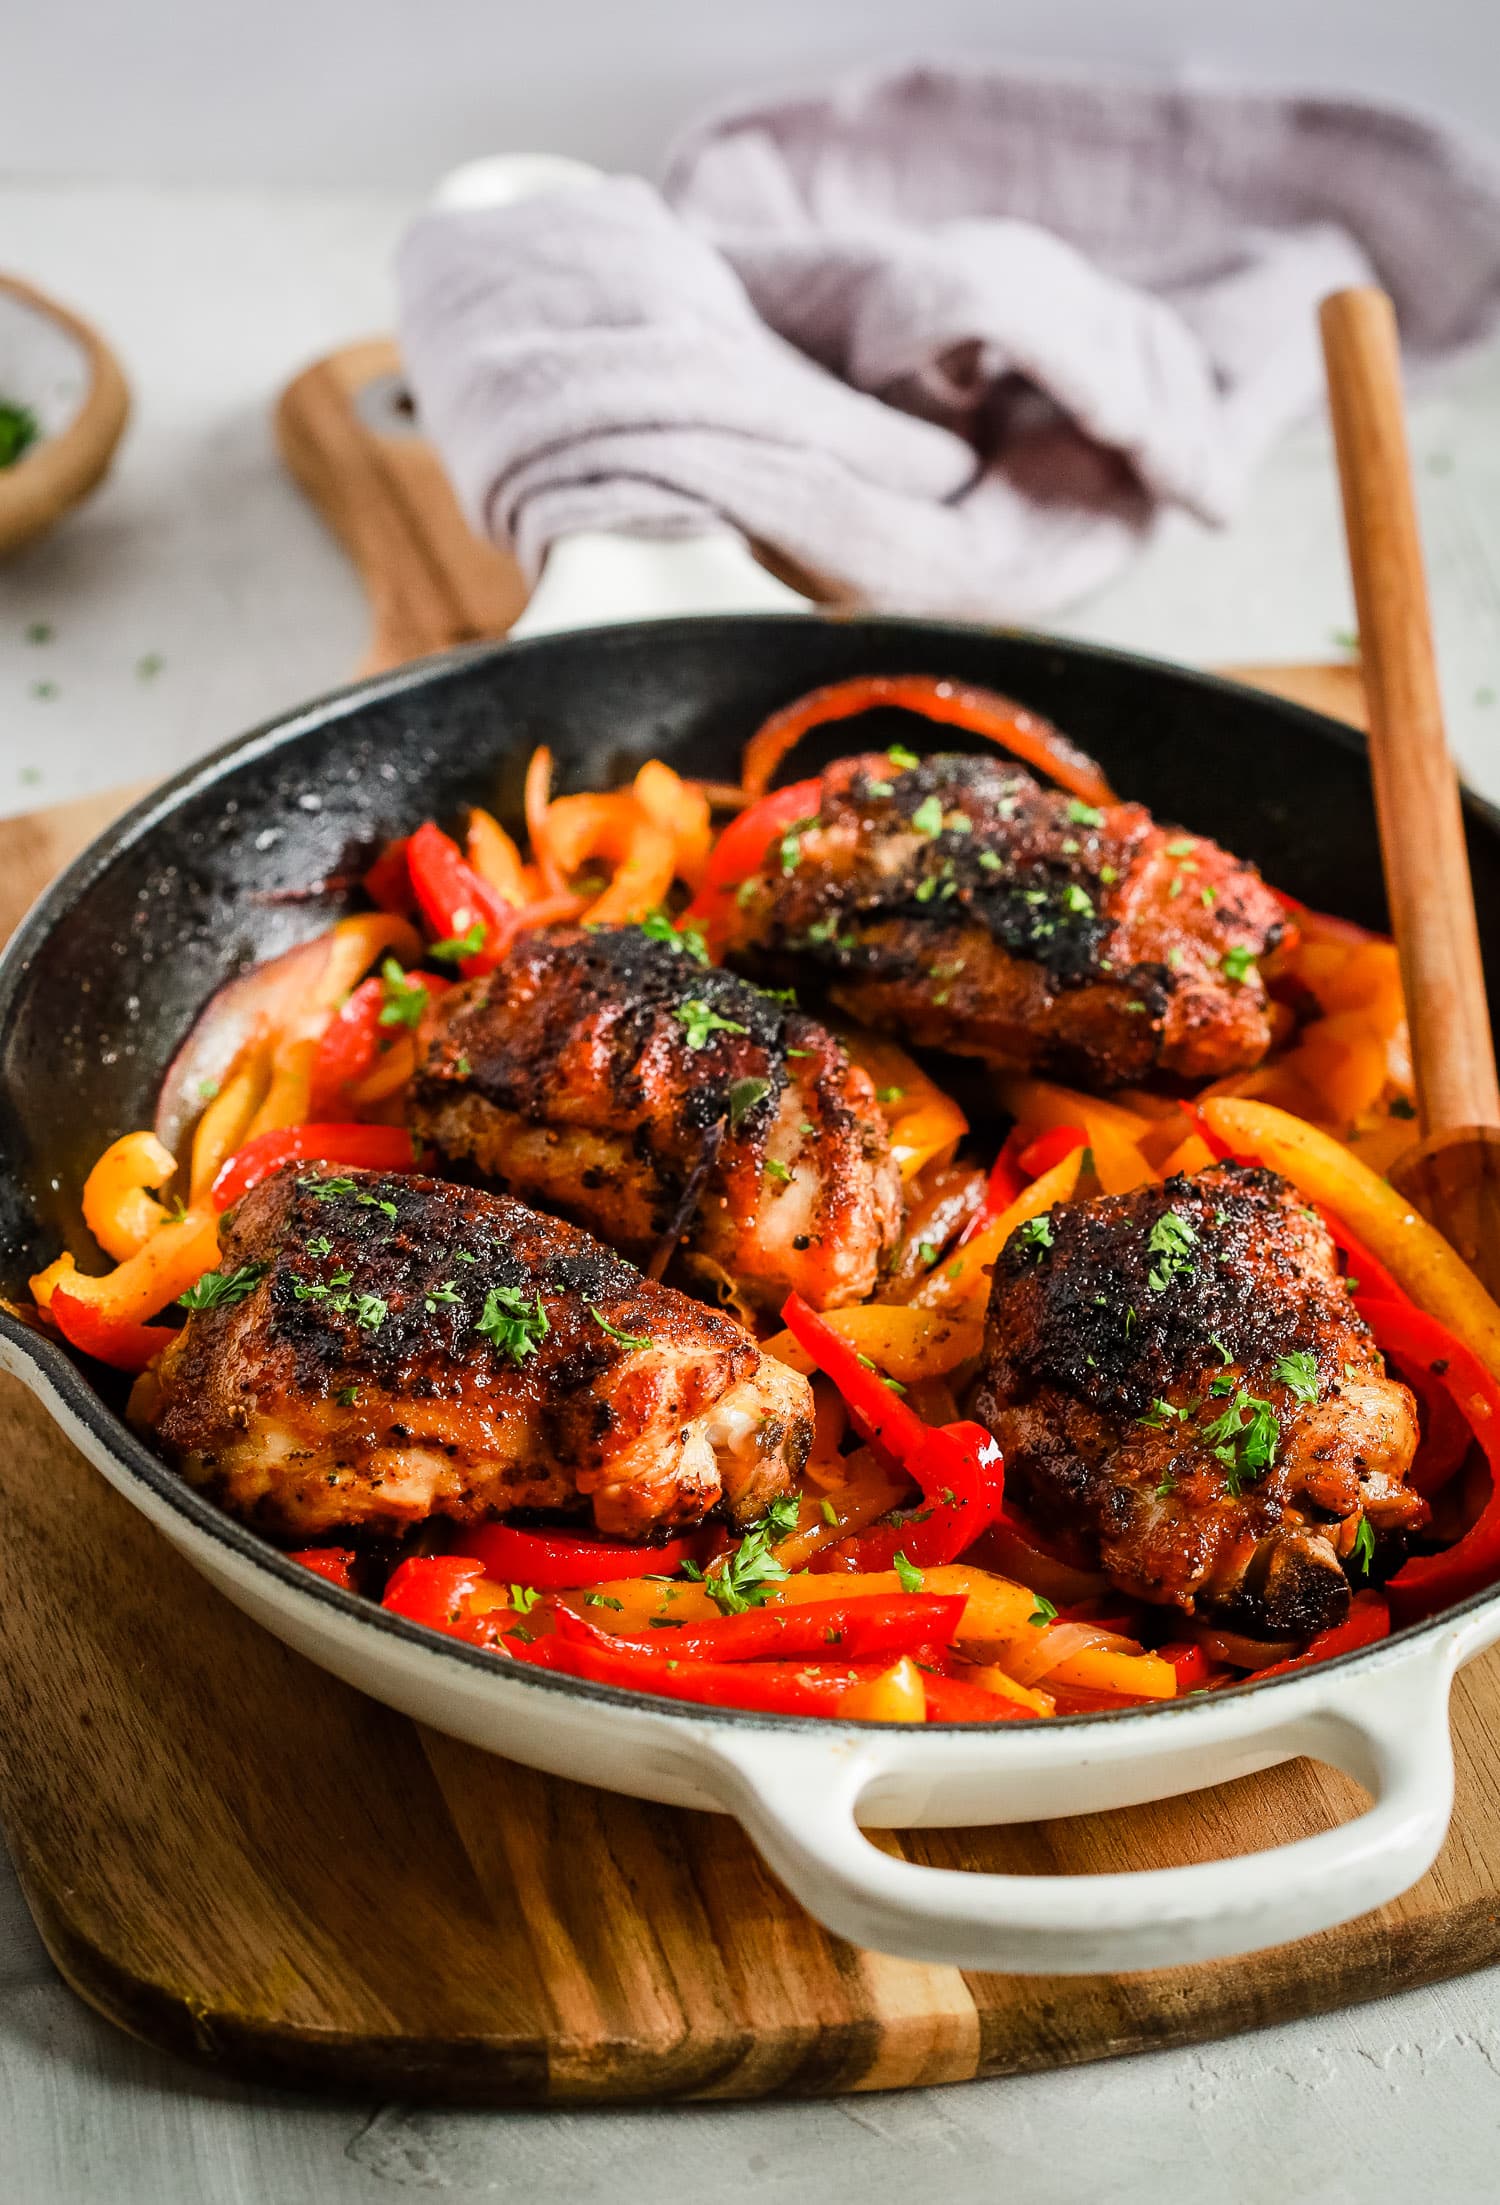
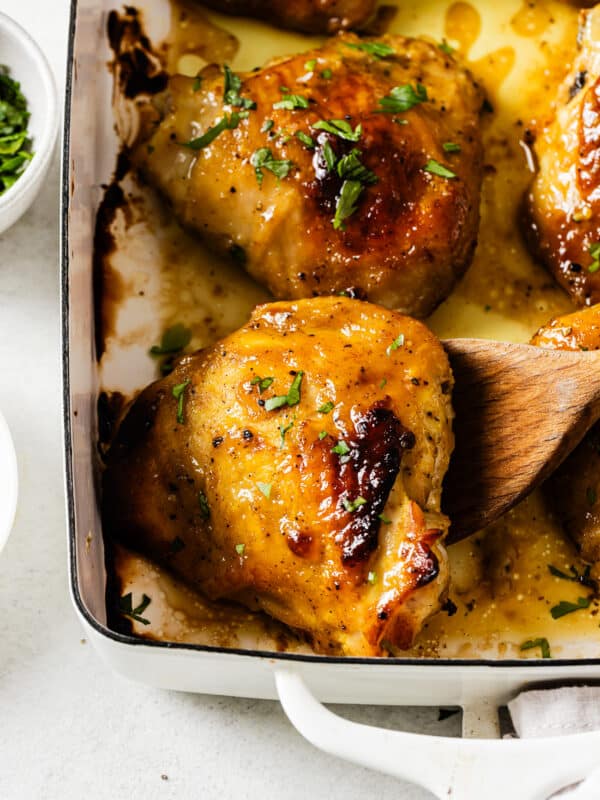
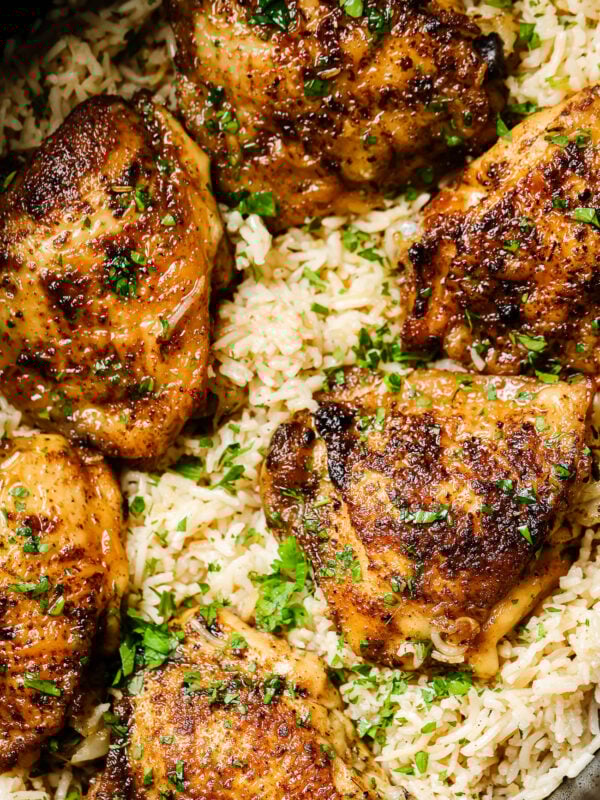
This is a delicious chicken dish with lots of flavors that is easy and quick to make and will please you and your family. Why? Have you looked at these crispy chicken thighs? So yummy! The skin is very crispy, and the meat is moist and tender. It’s everything we want in a chicken recipe!
Also, this chicken and bell peppers skillet is great for the busy weeknight dinnertime since it’s ready in less than 30 minutes.
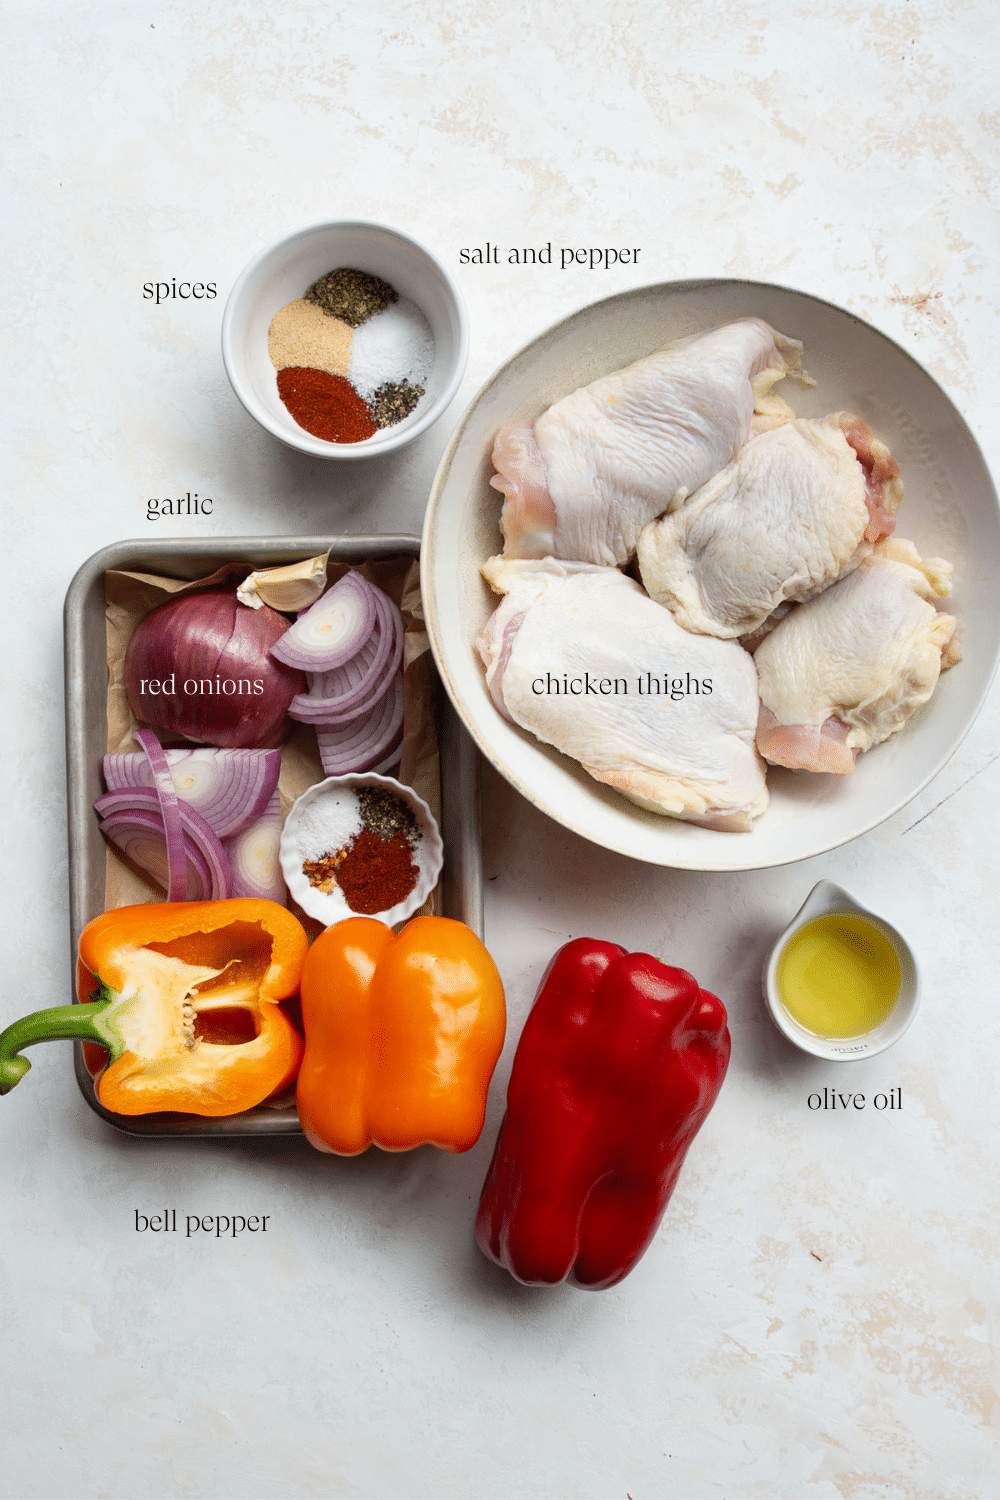
What You’ll Need
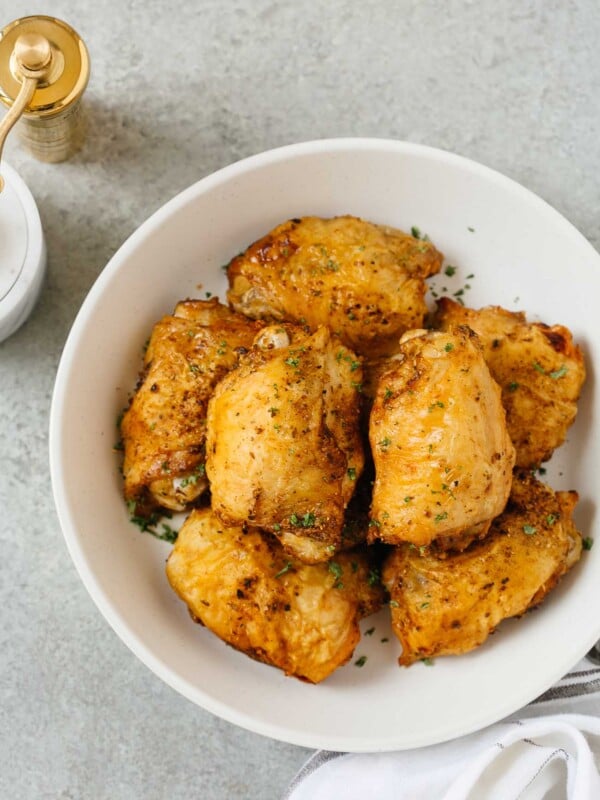
Chicken thighs — I use bone-in, skin-on, free-range organic chicken. Got extra chicken thighs? You need to try my Baked Chicken Thighs! You can also make this recipe with skinless chicken thighs.
Seasoning — I use paprika, garlic powder, Italian seasoning, salt, pepper, and red chili flakes (or red pepper flakes).
Olive oil
Bell peppers — you can use whatever bell pepper you prefer, but I recommend red and orange as they are sweeter than green bell peppers. Got extra bell peppers? Try making my Shrimp, Bell Pepper and Onions Skillet. Cut into strips.
Medium onion — I like to use red onions, also cut into strips.
Garlic clove — minced
Fresh basil – garnish with basil or fresh parsley.
How Can I Make Chicken and Bell Peppers?
For this recipe, you will use bone-in, skin-on chicken thighs, lots of spices, and a good cast iron skillet.
1. It all starts with you heating a large skillet over medium-high heat. It needs to be very hot before you pour olive oil and chicken. This step is important to give the chicken skin the brown look we’re going for.
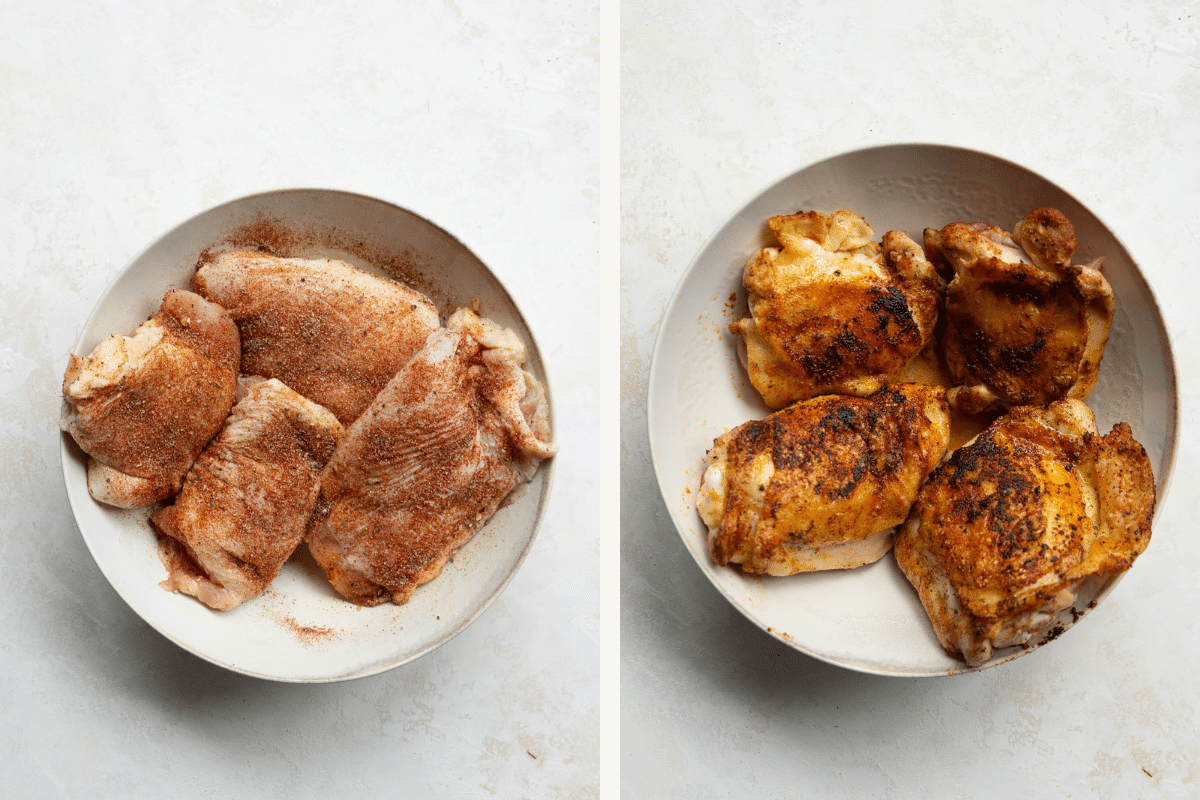
2. Then, place chicken in a bowl and season with all your favorite spices. You can’t go wrong here. Add all the spices you prefer. I love using paprika, garlic powder, salt, and black pepper to taste.
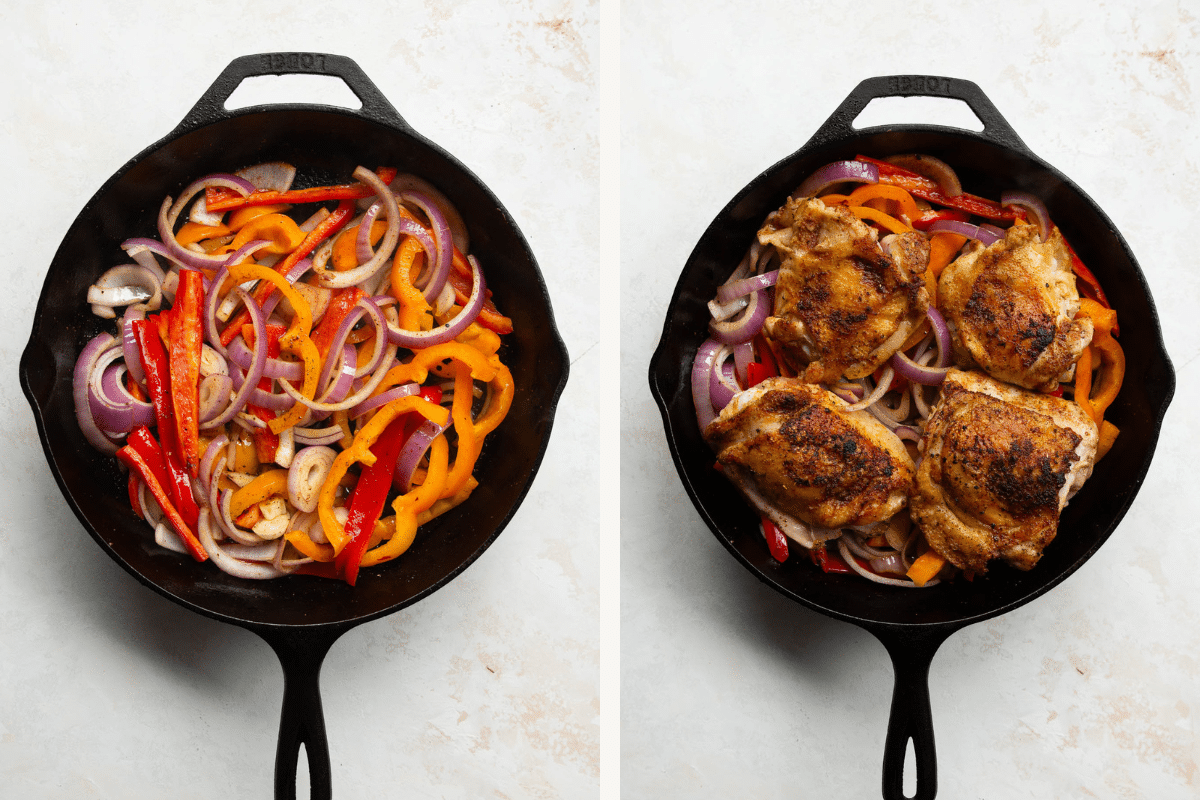
3. Pour olive oil into the skillet and then add chicken to the skillet, skin side down, and cook 4-6 minutes or until browned. The time will depend on how hot your skillet is. Turn the chicken over and cook for 1 minute. Set aside. At this point, your chicken won’t be completely cooked.
4. Remove skillet from the heat, place on your countertop, and add all the ingredients for the peppers (red bell pepper, yellow or green bell pepper) and onion in the same skillet you cooked the chicken. Stir everything well to combine and bring the chicken back to the skillet on top of the peppers and onions.
5. Place the skillet in the preheated oven and bake at 400°F for 15-25 minutes or until the chicken reaches an internal temperature of 165ºF.
What to serve with chicken and bell peppers?
One of the reasons you’ll love this recipe is that this easy Chicken and Bell Peppers Skillet goes well with almost everything. I mean, the list is endless.
· Mashed cauliflower, mashed butternut squash, or regular mashed potatoes
Expert Tips
Chicken thighs are cooked through once the internal temperature is 165°F. An instant-read thermometer is a very useful kitchen tool.
Make sure to cut onions and bell peppers into similar-sized pieces. This helps ensure they are cooked evenly.
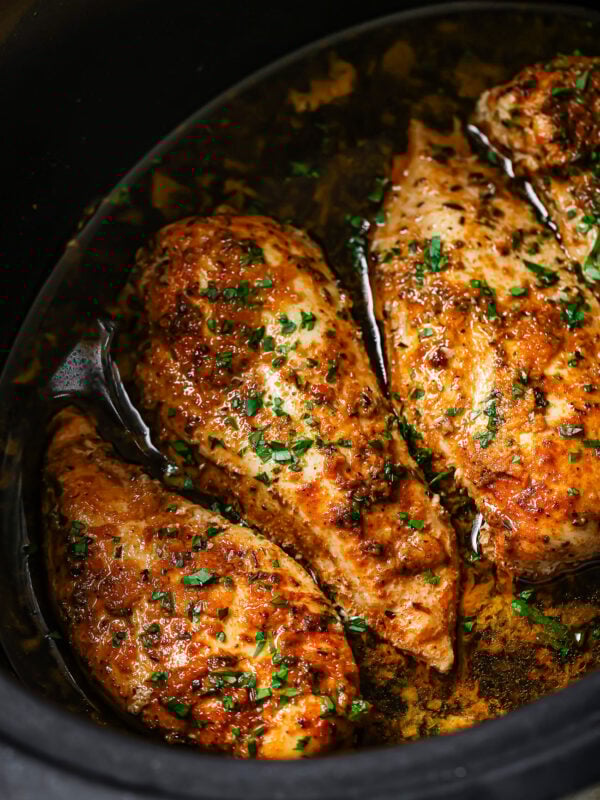
I love cooking chicken with the bone in because it keeps the chicken moist, juicy and brings more flavor to the dish. But of course you can use a chicken breast if you prefer.
More Chicken Recipes


Chicken and Bell Peppers Skillet
Video
Ingredients
For the chicken
- 4 chicken thighs bone-in and skin-on
- 1 teaspoon paprika
- 1 teaspoon garlic powder
- ½ teaspoon Italian seasoning
- Salt and black pepper
- 1 tablespoon olive oil
For the bell peppers
- 2 large bell peppers 1 red and 1 orange, sliced
- 1 small red onion sliced
- 1 teaspoon garlic clove minced
- ½ teaspoon paprika
- 1/8 teaspoon red chili flakes or ground chili pepper
- Salt and black pepper
Instructions
- Heat a cast iron skillet over medium-high heat in the stove. Meanwhile, in a large bowl place chicken and all the seasonings for the chicken. Mix everything well to combine.
- Add olive oil to skillet. Add chicken in skillet, skin side down, and cook 4-6 minutes or until browned. Turn chicken over and cook for 1 minute. Set aside (chicken won’t be totally cooked yet).
- Remove skillet from the heat and add peppers, onion, garlic, paprika, red chili flakes and salt and peppers. Stir everything well to combine.
- Arrange chicken on top of the peppers and onions and place the skillet in the pre-heat over. Bake at 400°F for 15-20 minutes or until chicken gets the internal temperature of 165ºF. Enjoy!
Notes
- Pat dry the chicken beforehand so the oil and seasoning will stick better.
- I like using red and orange bell peppers because they’re sweeter than green bell peppers.
- An instant-read thermometer is a very useful kitchen tool as you can quickly check if the chicken is cooked through to 165F.
- To store: Store the chicken and bell peppers in the fridge for up to 4 days in airtight containers.
- To reheat: Reheat in the microwave until heated through.
- To freeze: Freeze everything in a freezer-safe bag or container for up to 3 months.
Nutrition
Nutrition information is automatically calculated, so should only be used as an approximation.
Did You Make This?
Follow @primaverakitchen on Instagram, snap a photo, and tag it #primaverakitchen. We’d love to see your recreation.


Absolutely Delicious! I usually never leave reviews on recipes, but this dish is one I’m going to make regularly. It’s easy, delicious, and goes with almost anything. Thank you Olivia!
That’s awesome! I am so happy to know that you enjoyed this recipe!
Simplest,most rewarding dish you’ve added to my GF repertoire. Second only to a Châteaubriand losing Wow-presentation points but it actually packs more mouth watering, jaw-dropping flavor that’s unbelievable.
Sub: aji peppers for bells and omitted chili flake ‘cuz latin peppers brought the heat
Happy you liked it 😉
What’s a good side?
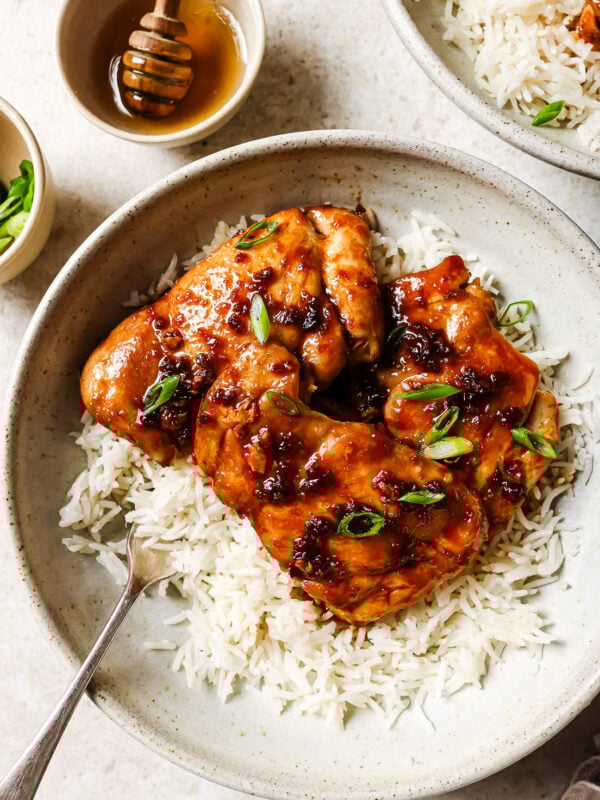
You can serve it with roasted potatoes, mashed potatoes, fluffy rice and pasta or even on top of tortillas.
Great recipe, I added crushed pineapple on top and a few jalapenos for seasoning. Thank you for sharing!
You’re so welcome!
Fabulous! Far better than I thought it would be and pretty simple. And I’m not much of a cook at all. I did substitute shallots for onion and chicken breast as that’s what I had on hand. The only problem was it was so good I couldn’t stop eating it!
Thank you so much! I’m thrilled to hear you enjoyed it, especially since you don’t cook often—that’s a huge compliment! Love the idea of using shallots and chicken breast; it’s always great when a recipe can work with what you have on hand. And hey, I totally get it… it’s hard to stop when it’s that tasty! 😊 Thanks for sharing your feedback!
I make at least twice a month. Was one of the first things I learned how to cook and really enjoy this dish.
That’s amazing! It’s so special when a dish becomes a regular favorite. I’m thrilled that this recipe has been part of your cooking journey. Thank you for sharing! 😊
Not as tasty as i was expecting unfortunately, maybe it was the use of chicken breast as theres no skin on these days. I would try again, with much more seasoning!
Thank you for your feedback! Using chicken breast can affect the flavor. This recipe is always flavorful every time I make it, and I think adding more seasoning will definitely enhance the taste to your liking. Hope it turns out even better next time! 😊
I’m cooking this tonight. Will rate then.
Great! Let me know how it turned out!
Lovely and my husband loved it!
Happy you liked it!!