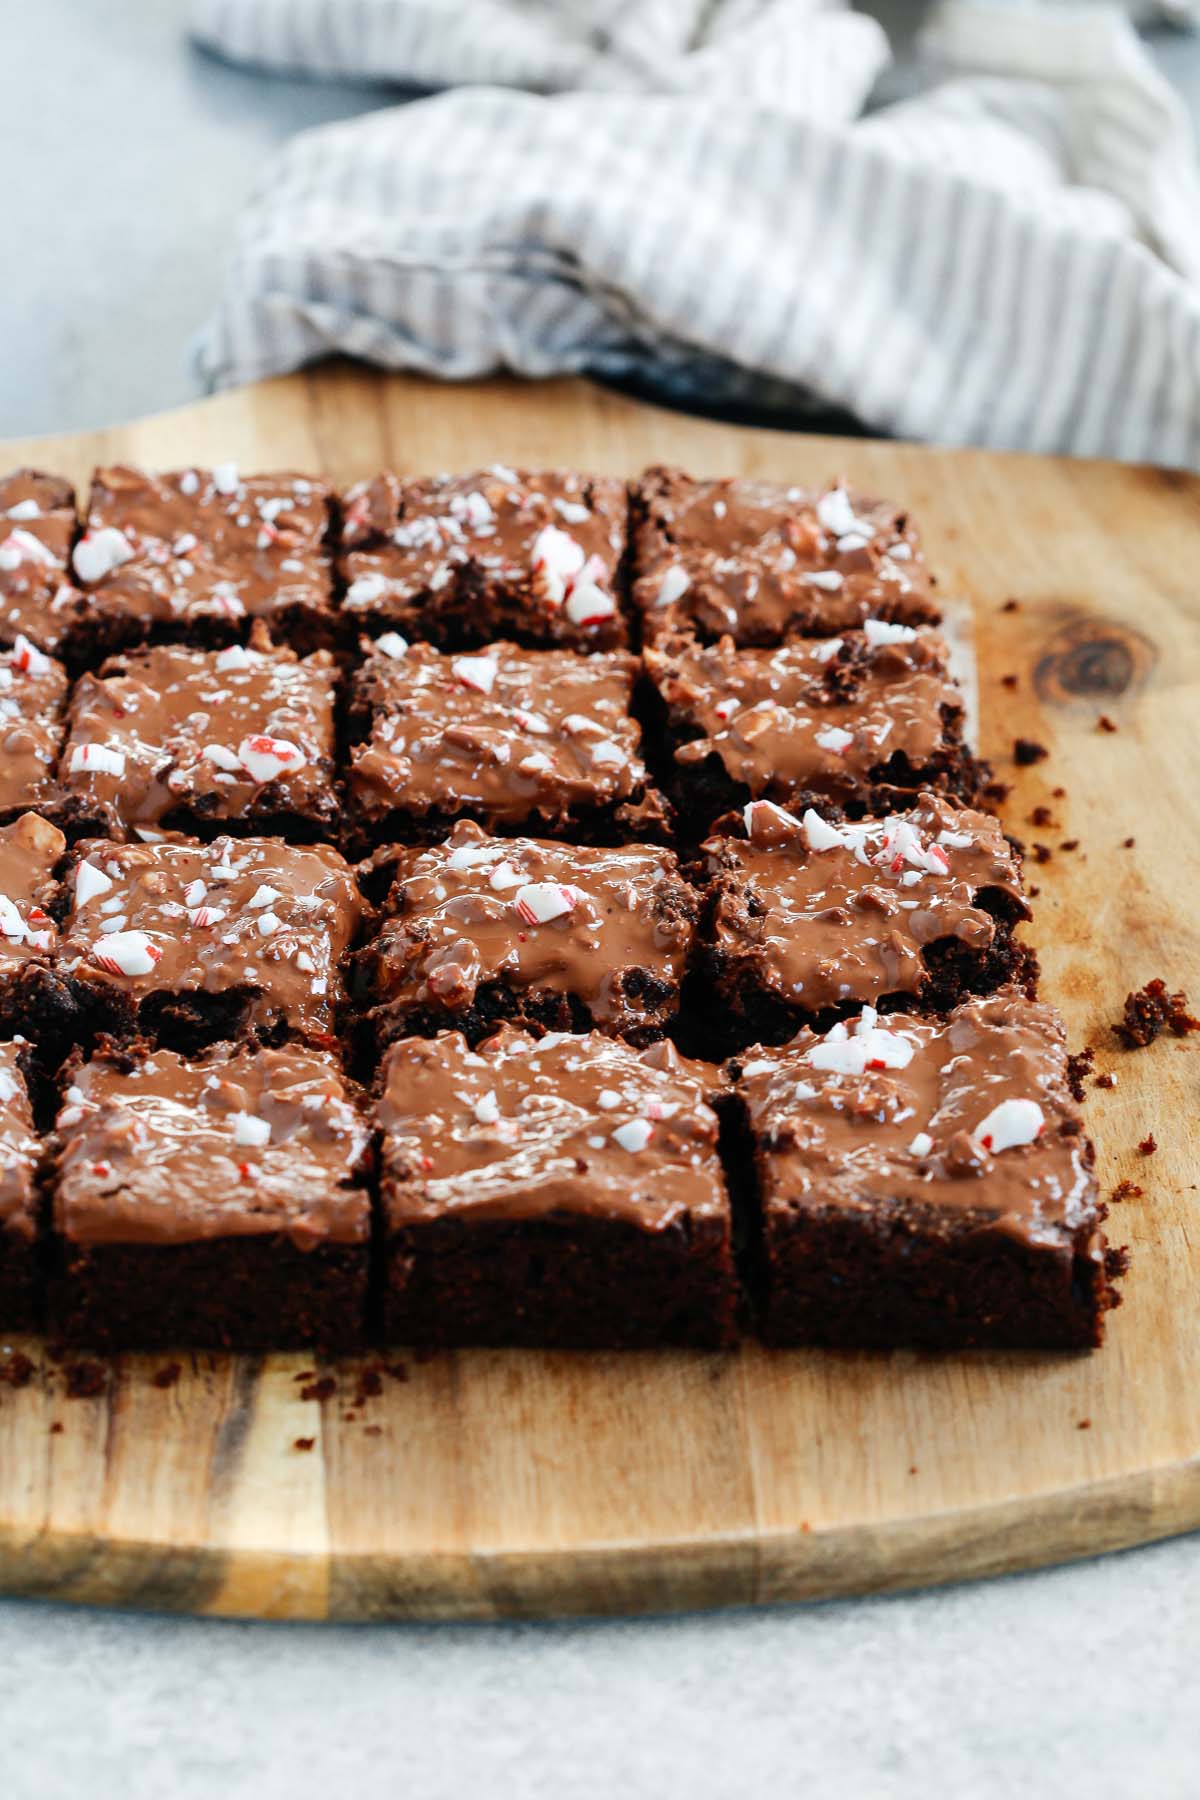
These flourless Gluten-free Peppermint Brownies are rich, moist, and delicious. These chewy ultra-easy to make brownies are topped with melted dark chocolate and crushed candy canes to make them more festive!
Chewy, fudgy, and full of chocolatey flavour, these gluten-free peppermint brownies are a holiday favourite! Whenever we have extra candy canes lying around, we like to make a batch of these to use them up. Peppermint can be an overwhelming flavour but these brownies have just perfect amount of peppermint flavour. Not a huge fan of peppermint? Try my Gluten-free Halloween Brownies or Flourless Chocolate Chip Brownies instead!
We love how easy this brownie recipe is to make. It takes 35 minutes to prep and bake and then all you’ve got to do is top it with melted chocolate! The hardest part is waiting for the chocolate to cool on the brownie since we’re always tempted to eat it immediately. Nothing gets your appetite going like the smell of freshly baked brownies coming out of your oven!
Want more ideas of what to bake this holiday season? Try my Coconut Flour Chocolate Chip Cookies, Low-Carb Peanut Butter Cookies, Gluten Free Chocolate Chip Cookies, or my Healthy Pumpkin Chocolate Chip Bread.
How to Make this Gluten-free Peppermint Brownies
Ingredients
- Peanut butter
- Eggs — for the best results, bring your eggs to room temperature.
- Honey — or maple syrup.
- Vanilla extract
- Cocoa powder — make sure to have a quality cocoa powder as it’s what determines the flavour of the brownies.
- Baking soda
- Salt — salt helps balance the sweetness of the brownies and enhance the flavour of the chocolate.
- Semi sweet chocolate chips — or chocolate chips of your choice!
- Dark chocolate chips or chocolate chunks
- Crushed candy canes
Instructions
Prepare the oven
- Pre-heat oven to 325F. Grease a 8×8 inch baking dish with cooking spray, line it with parchment paper, and set aside..
Prepare the Batter and Bake the Brownies
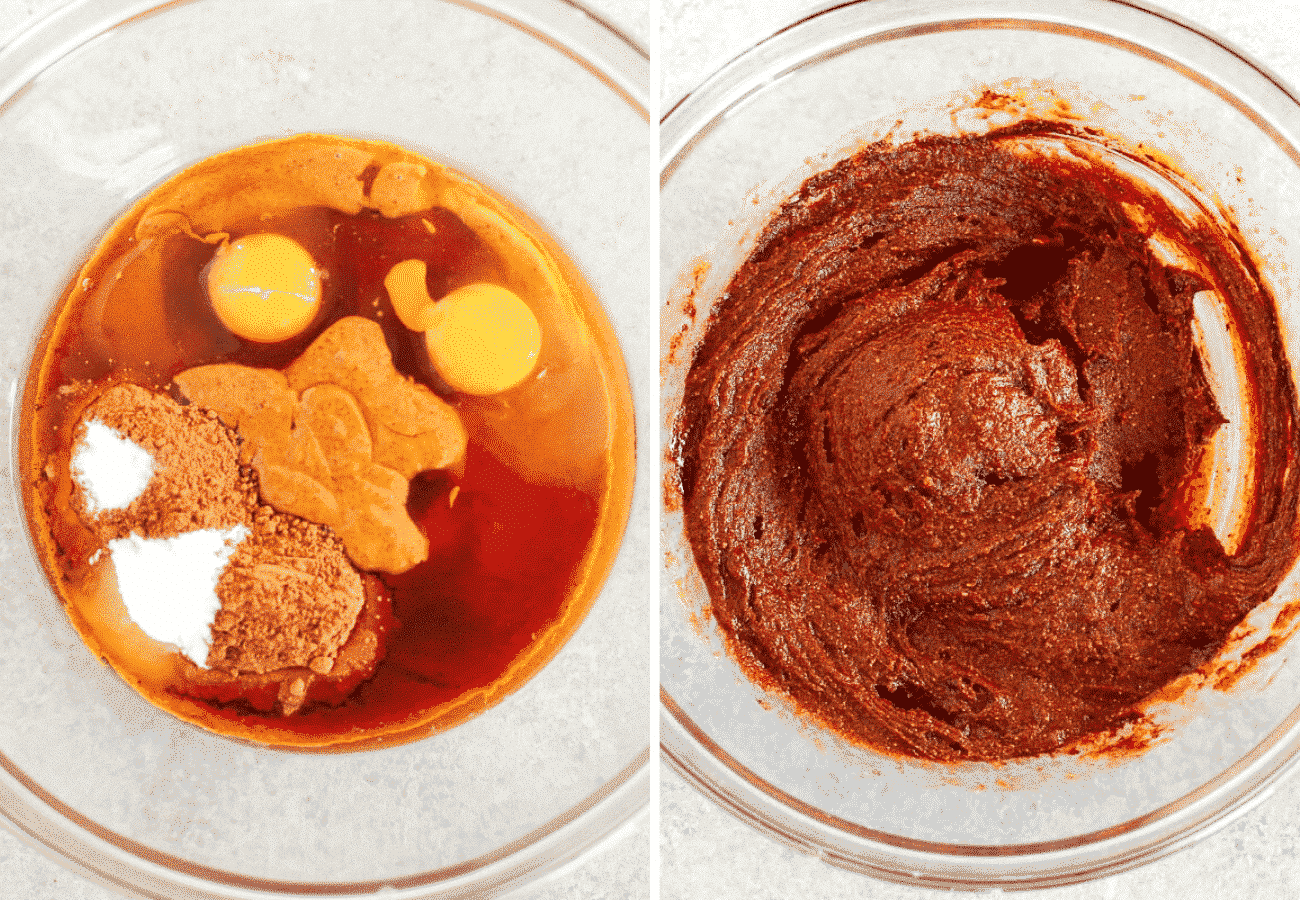
- In a large bowl, pour peanut butter and mix well with a hand blender or spatula until smooth.
- Add all the remaining ingredients, except the chocolate chips and mix well to combine.
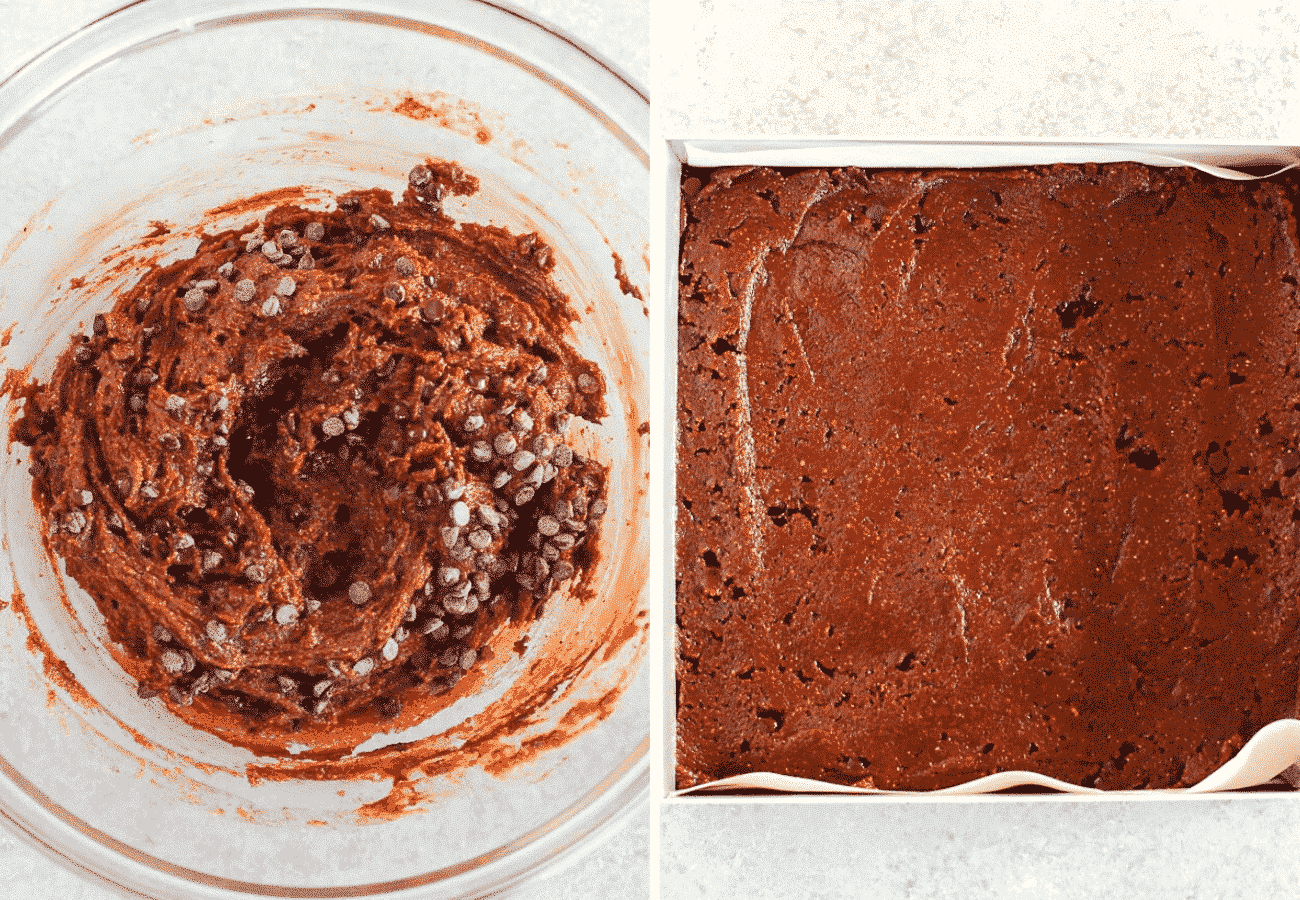
- Fold in chocolate chips.
- Spread the dough out in the prepared baking pan.
- Bake for about 20-30 mins or until the brownies are cooked through.
Prepare the Melted Chocolate and Peppermint
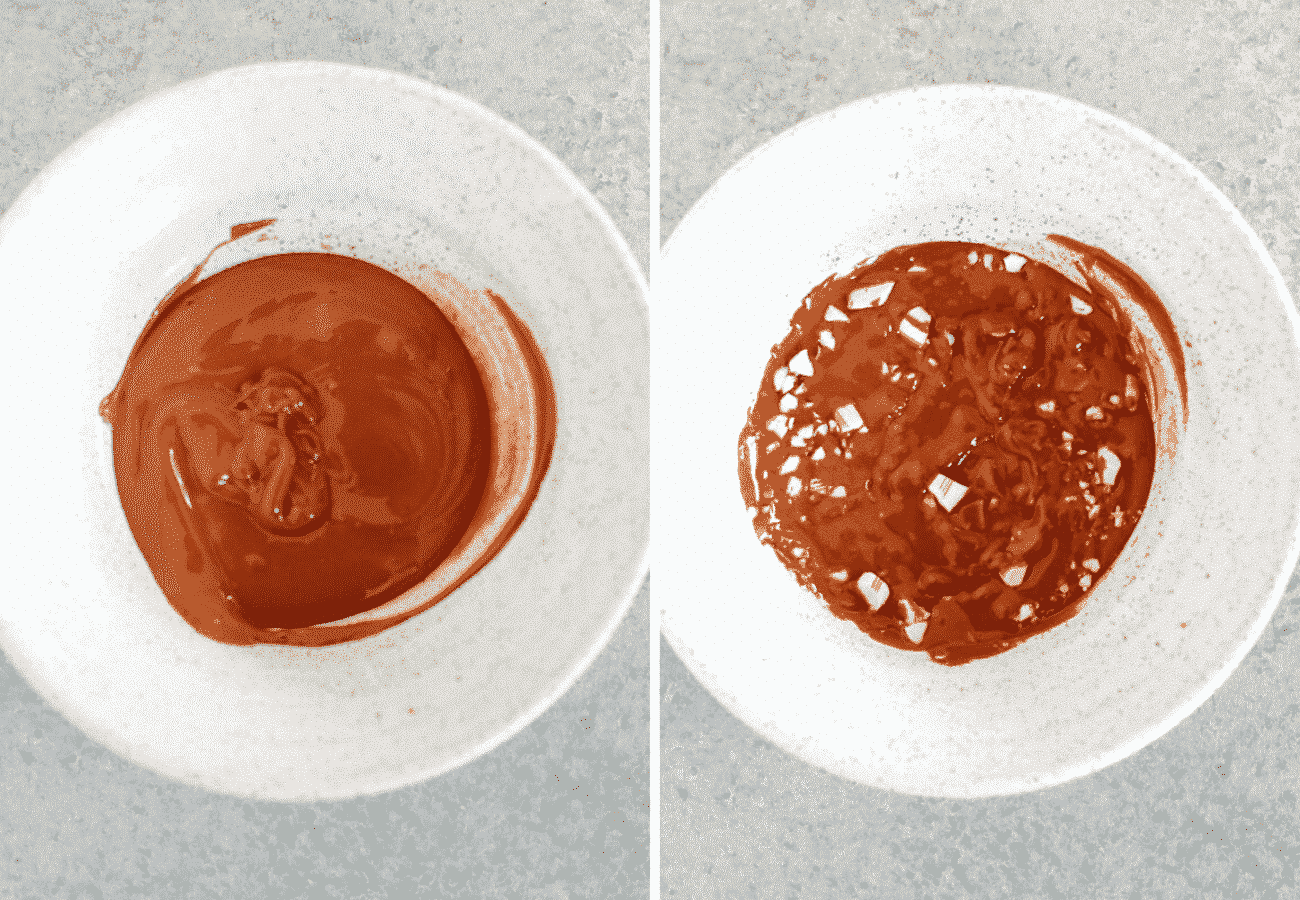
- While the brownie is baking add chocolate chips in a heat-proof medium bowl and melt the dark chocolate in a microwave.
- Every 20 seconds stir the chocolate and put again in the microwave and continue repeating until the dark chocolate is melted. When it’s the chocolate is completely melted add crushed candy canes and mix well.
- Spread evenly over the cooled brownies and then sprinkle more crushed candy canes on top.
- Place them in the refrigerator for 15-20 minutes or until the melted dark chocolate is set before cutting the gluten-free peppermint brownies into squares.
FAQs for These Gluten-free Peppermint Brownies
Can I Use a Different Chocolate in This?
Yes — if you prefer to use white chocolate chips, milk chocolate chips, dark swirled chips, etc feel free to do so! For a stronger peppermint flavours, you can even top with some peppermint chips!
Can I Add Nuts or Other Mix Ins?
If you want to add some crushed nuts or mix ins like M&Ms to the top of the brownies along with the crushed candy canes, you can! We always have nuts lying around and if we aren’t making this for a school event, crushed nuts go really well on top!
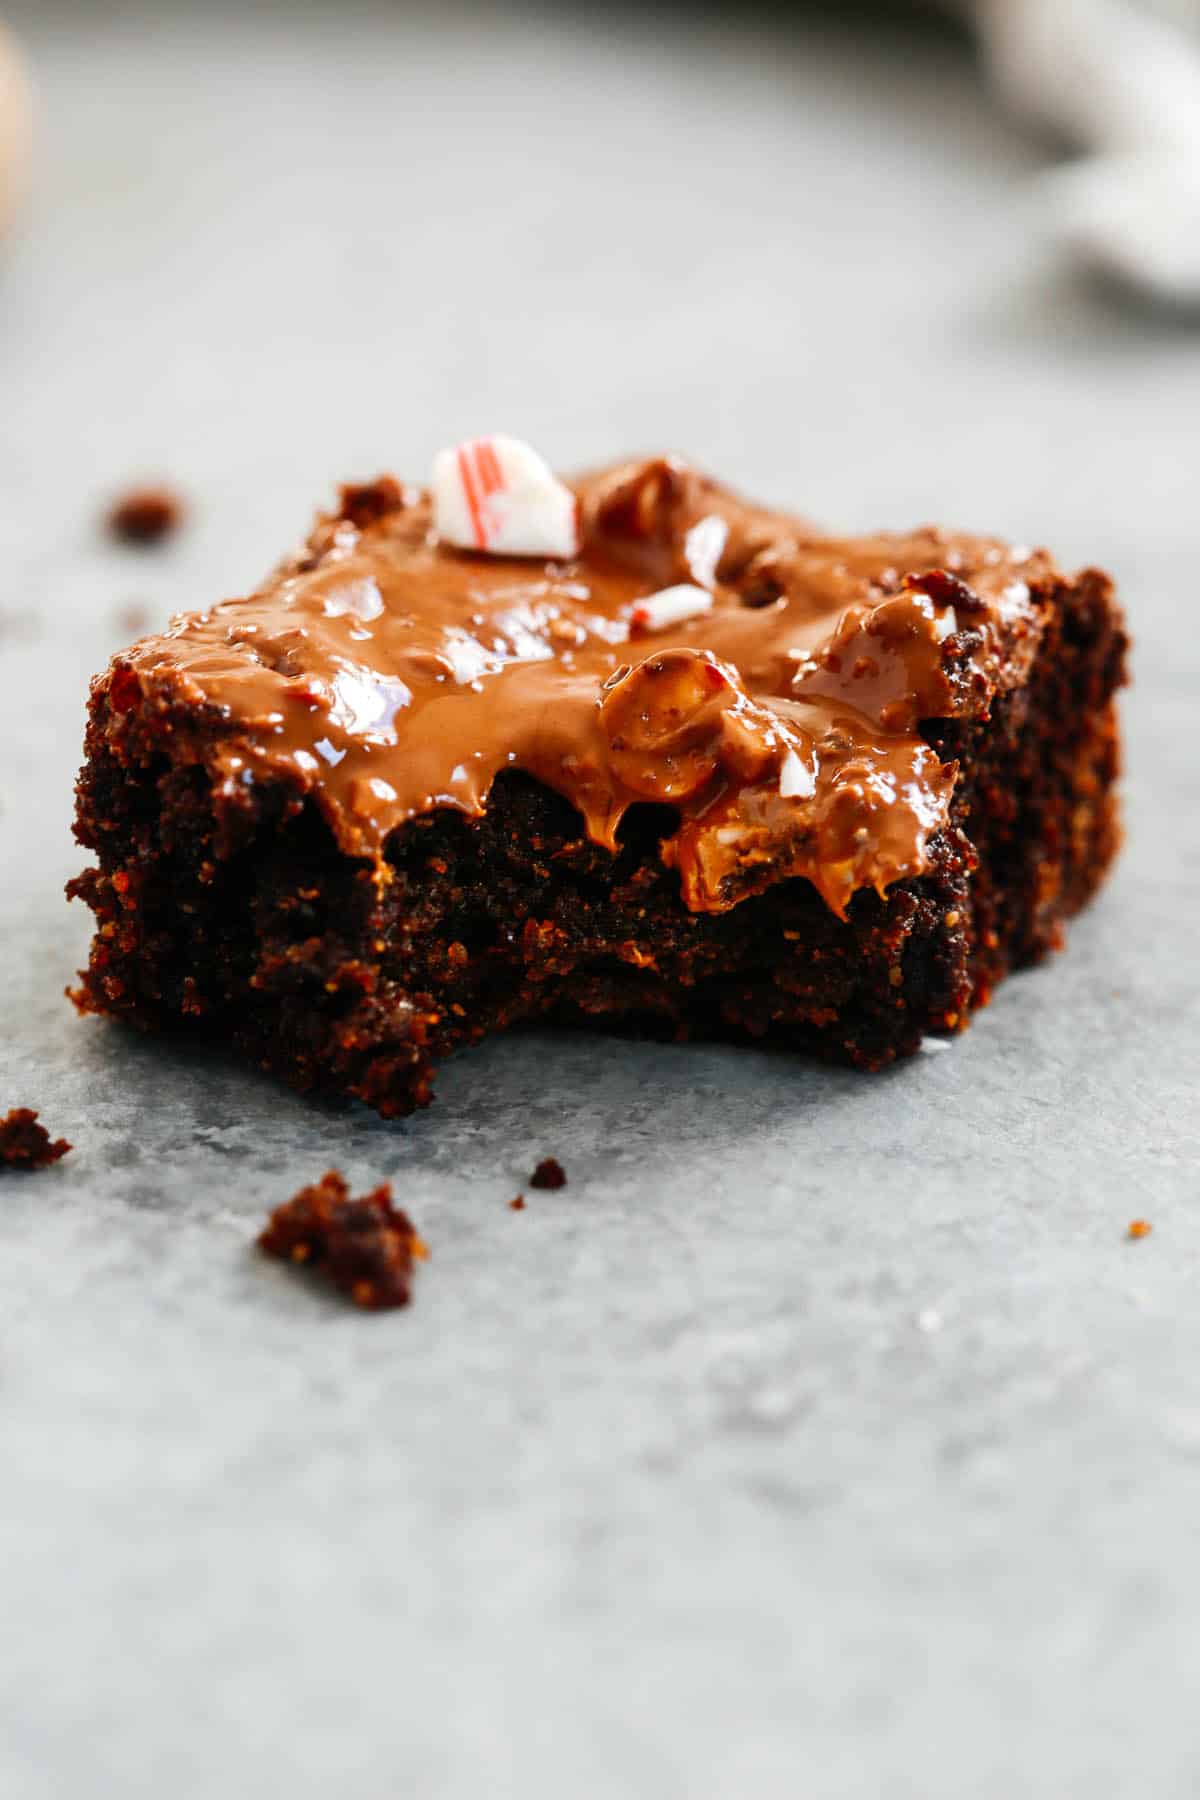
How Long Do Brownies Keep For?
You can leave these gluten-free peppermint brownies on your kitchen counter covered with plastic for up to 2 days. Brownies placed in an airtight container can last for up to a week in the fridge.
Always wrap your brownies and or store them in airtight containers after they’ve been cooled. If they aren’t wrapped, these brownies can dry out!
Can You Freeze Brownies?
These gluten-free brownies can be frozen for up to 3 months! Make sure they are cooled and then wrap them up tightly in plastic wrap before placing them in a freezer safe bag or container to avoid freezer burn.
Can I Use a Microwave to Melt the Chocolate?
You can definitely melt the chocolate for your brownies in a microwave instead of the stovetop. Add the chocolate chips to a microwave-safe bowl. Cook in 20-second intervals until just melted, stirring after each time.
Can I Use Peppermint Extract?
If you want to add extra peppermint flavour to your brownies, you can add a small splash of peppermint extract to your batter before baking. Make sure you stir it in well alongside your vanilla extract.
More Desserts That You’ll Love
- Snowman Chocolate Cups
- Christmas Dulce de Leche Cashew Turtles
- Christmas Almond Chocolate Cups
- 4-Ingredient Christmas Chocolate Banana Treats
Watch Peppermint Brownies Web Stores.
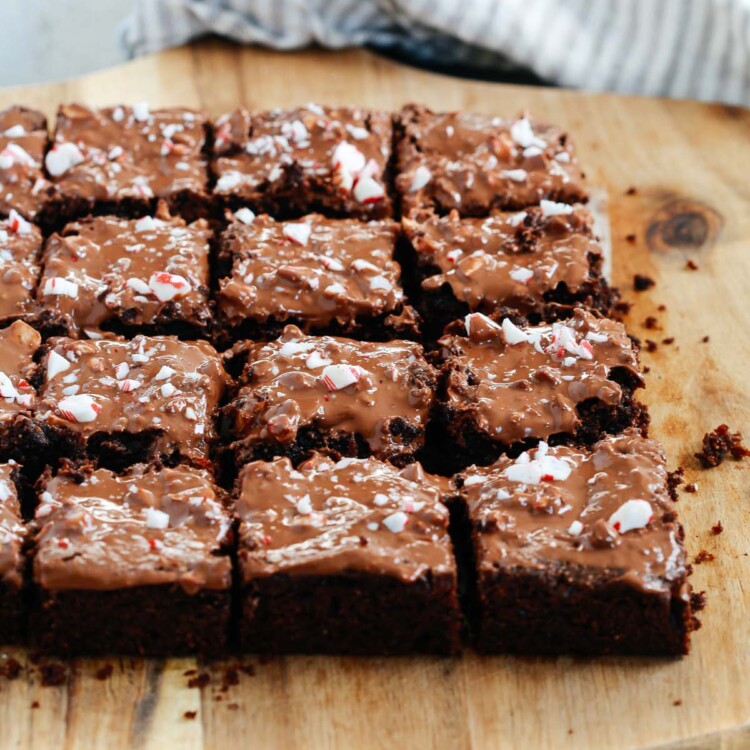
Gluten-free Peppermint Brownies
Want to Save This Recipe?
Enter your email & I'll send it to your inbox. Plus, get great new recipes from me every week!
By submitting this form, you consent to receive emails from Primavera Kitchen.
Ingredients
- 1 16 ounce (16 ounce) jar organic peanut butter
- 2 eggs
- ¾ cup of honey
- 1 tbsp vanilla extract
- ½ cup cocoa powder
- 1 tsp baking soda
- ½ tsp. kosher salt
- 1 cup semi sweet chocolate chips
For the topping
- 1 cup dark chocolate chips or chocolate chunks
- 1/2 cup crushed candy canes
Instructions
- Pre-heat oven to 325F. Grease a 9x9 inch baking dish with cooking spray, line it with parchment paper, and set aside.
- In a large bowl, pour peanut butter and mix well with a hand blender or spatula until smooth.
- Add all the remaining ingredients, except the chocolate chips and mix well to combine.
- Fold in chocolate chips.
- Spread the dough out in the prepared baking pan.
- Bake for about 20-30 mins or until the brownies are cooked through.
For the topping:
- While the brownie is baking, add chocolate chips in a heat-proof medium bowl and melt the dark chocolate in a microwave.
- Every 20 seconds stir the chocolate and put again in the microwave and continue repeating until the dark chocolate is melted. When all the chocolate is melted, add crushed candy canes and mix all together.
- Spread evenly over the cooled brownies and sprinkle more crushed candy canes on top.
- Place them in the refrigerator for 15-20 minutes or until the melted dark chocolate is set before cutting into squares.
Tips
- Bring cold ingredients, such as eggs, to room temperature before mixing. This helps them mix better into the batter.
- Sift the cocoa powder beforehand if it's lumpy.
- Do not over-mix the batter as it'll lead to a dense and dry brownie.
- To store: Place brownies in the fridge in an airtight container for up to 5 days.
- To freeze: Place brownies in a freezer-safe bag and freeze for up to 3 months.
Nutrition Information
Nutrition information is calculated using an ingredient database and should be considered an estimate.
Sues says
Welcome home!! What a delicious first recipe back 🙂 Just in time for the holidays! And I’m pretty jealous you have such awesome in-laws!!
Olivia Ribas says
Thanks a lot, Sues 😉
Priscila says
It looks amazing, as always!
We miss you here in Brazil.
Olivia Ribas says
We miss you guys too. Love you 😉
Michell Hortman says
When you 500 g, I have no earthly idea how much that actually is.
J. C. says
Too difficult to weigh it?
Olivia Ribas says
It is 1 16 ounce jar of peanut butter, Michell. I just correct that on the recipe.
Joanna Dipalma says
The ingredients said peanut butter but the directions almond butter. I’m sure you can use either but want one did you use?
Olivia Ribas says
Both work. But thanks for pointing it out. I will adjust the recipe to clear further confusion.
Tom Byrd says
WHAT ? ? ? 500g’s of peanut butter in a Gluten-free brownie ? ? ?
I want to eat brownies, not ‘peanut butter’ brownie.