A Classic Chili Recipe with a rich, slow-cooked flavor that comes together in about 30 minutes. This recipe checks all of the boxes for the perfect cozy weeknight dinner! It is a crowd pleaser every time, requires very little prep work, and cooks in just one pan.
If you want to make a different kind of chili, you can also try this White Chicken Chili.

This dish is also packed with protein, veggies, and warm spices, so it’s a great family-friendly meal that is both healthy and so delicious. Plus, you can easily adjust this classic chili recipe to fit your family’s needs. Feeding a crowd? No problem! Try doubling the recipe. Want to sneak in extra veggies? Add ‘em in, they’ll taste great!
Best Chili Recipe
I love easy, cozy, comforting dinners like this classic chili recipe. If you’re looking for more chili recipes to try, I’ve got you covered!
Let the slow cooker do all of the work with my Super Easy Slow Cooker Chili, Slow Cooker Beet Chili, and Slow Cooker Chicken Chili. Looking for a leaner chili recipe? Try my Extra Lean Turkey Chili with Kale, Easy Whole30 Sweet Potato Chili, or No Bean Whole30 Butternut Squash Chili.
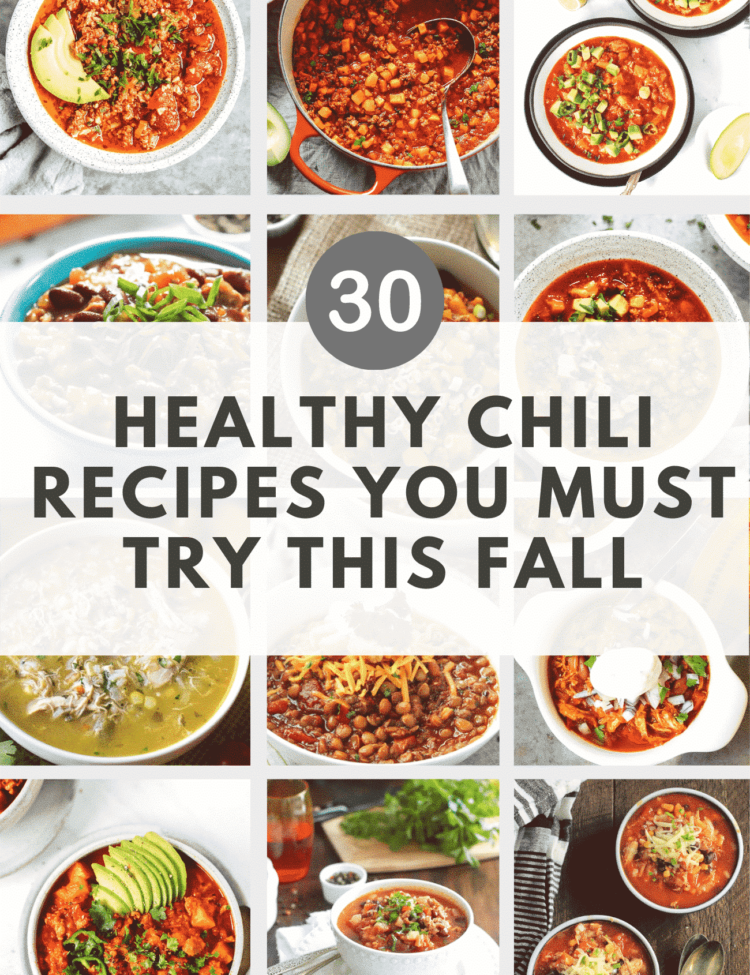
For even more chili inspiration, check out my Top 30 Healthy Chili Recipes.
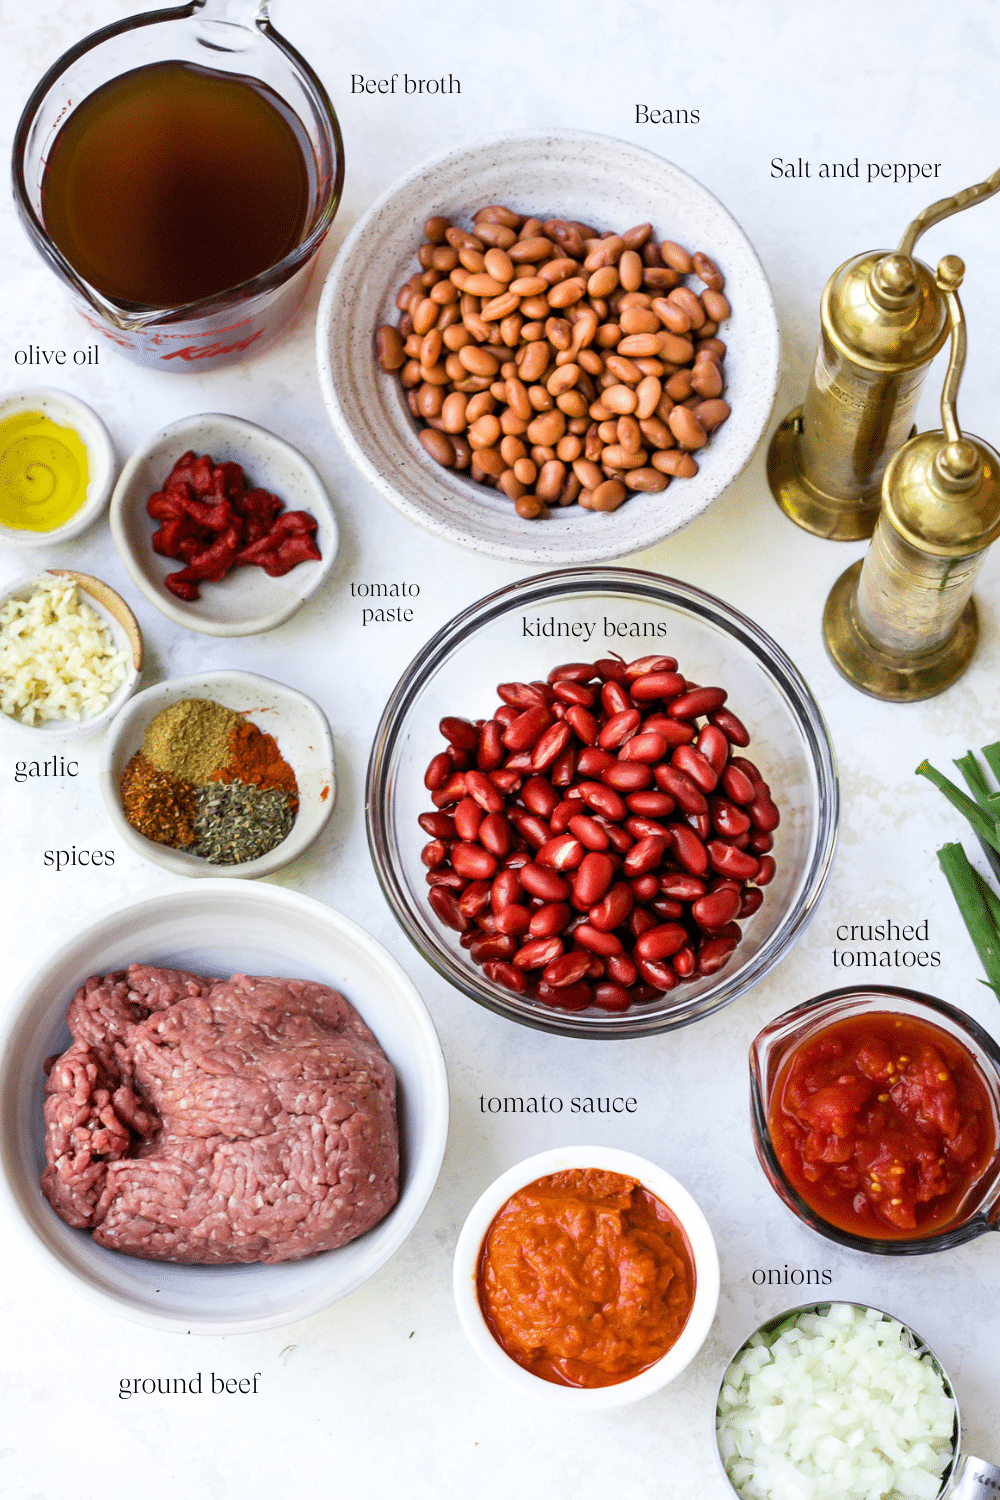
Ingredients To Make Classic Chili Recipe
- Extra virgin olive oil — You can also use avocado or grapeseed oil.
- Onion — This recipe calls for a white onion; a yellow onion would also work.
- Garlic — Feel free to adjust the garlic level to your preference; you can use fresh cloves or a jar of minced garlic also works.
- Ground beef — I like to use extra lean ground beef.
- Tomato paste — A little tomato paste adds a surprising amount of flavor.
- Crushed tomatoes — Any canned, crushed tomato will work just fine.
- Beans — I generally use canned kidney and pinto beans.
- Tomato sauce — Use your favorite brand from the store or try my easy homemade tomato sauce recipe.
- Beef broth — I like to use regular beef broth, but you can also use a low sodium option.
- Seasonings — A blend of chili powder, oregano, cumin, paprika, cayenne pepper, kosher salt, and freshly ground black pepper.
- Toppings — Serve with shredded cheddar cheese, sour cream, tortilla chips and chopped green onion or cilantro.
Instructions to Make Chili Recipe
Sauté onion and garlic:
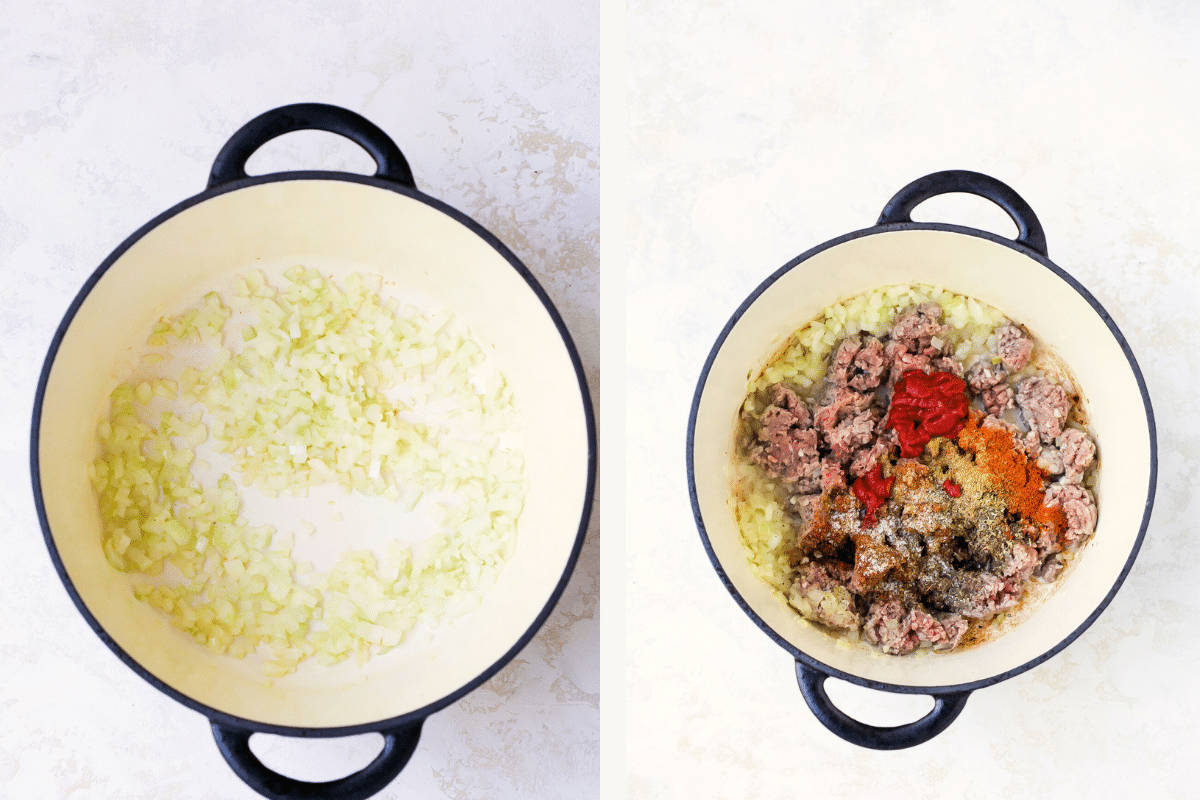
- Heat olive oil in a large pot or large Dutch oven over medium heat.
- Add the onions and cook for about 3-5 minutes, stirring occasionally until they become soft and translucent.
- Then, stir in the garlic and cook for an additional minute.
Add tomato paste and ground beef:
- Mix the tomato paste in with the onion and garlic, and stir until the vegetables are coated well.
- Then, add the ground beef, breaking it up with a wooden spoon as it cooks.
- Cook for about 7 minutes or until the meat is no longer pink, then drain any excess fat.
Sprinkle in seasonings:
- Season generously with kosher salt and freshly ground black pepper.
- Then, add chili powder, oregano, cumin, paprika, and cayenne (which is optional).
- At this point, taste and adjust to your preference.
Add beans, tomatoes, and broth:
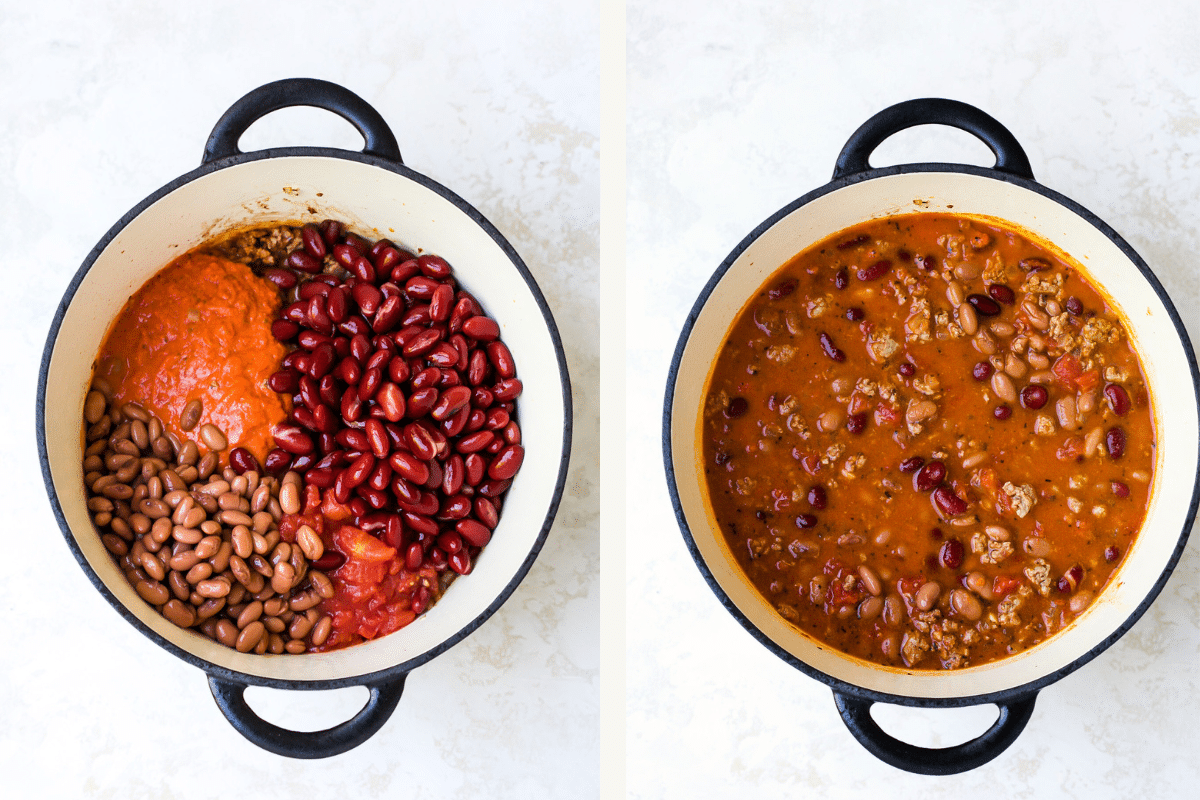
- Pour in the canned crushed tomato, tomato sauce, pinto beans, kidney beans, and beef broth, then stir to combine.
Boil and simmer:
- Bring everything to a boil, and then reduce the heat to medium-low heat.
- Simmer for about 20 minutes, stirring occasionally until the flavors meld together and the liquid reduces slightly.
- Add more salt and pepper if needed.
Add toppings and enjoy:
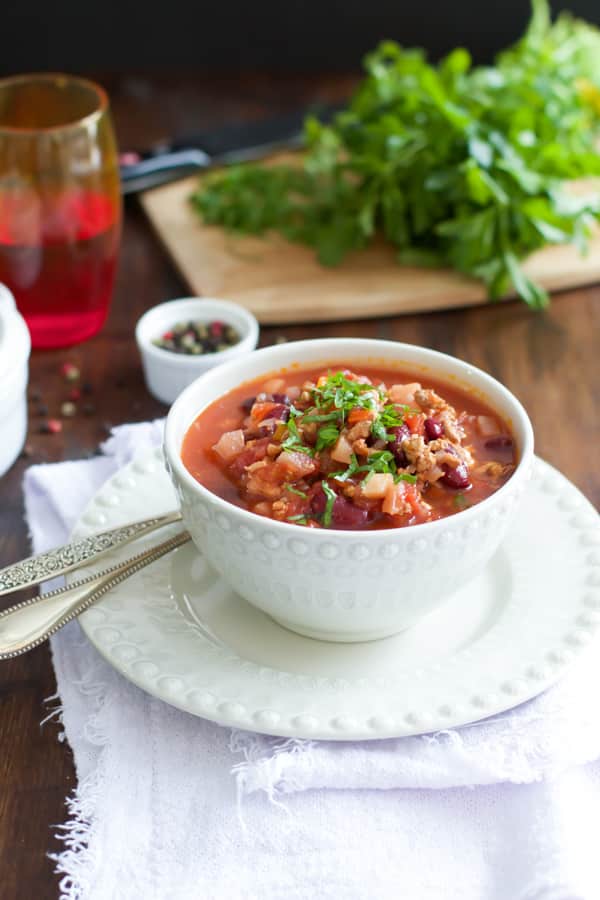
- Top your beef chili recipe with shredded cheddar cheese, sour cream, and sliced green onion.
- Serve and enjoy!

Recipe Tips
- If you prefer a leaner protein, feel free to swap the beef in this recipe for ground turkey or chicken.
- Remember not to skip the sauté and browning steps for the onions, garlic, and ground meat. This step adds a lot of depth to the overall flavor of the dish.
- If you’re keeping an eye on your sodium intake, try using a low sodium broth.
- Swap the beans for a different variety like black beans or navy beans.
- Make a double batch of this classic chili recipe and freeze half for a quick and delicious meal ready to go.
How to Store Leftovers
- To Store: Allow your leftover chili to cool and store in an airtight container in the fridge for up to 4 days. Store any leftover toppings separately.
- To Freeze: Store your leftovers in a freezer-safe container or Ziploc bag (freezer bags) and freeze for up to 3 months. You can save space in your freezer by taking the Ziploc bag route!
- To Reheat: Reheat leftover chili in the microwave or on the stovetop. If your chili is on the thick side after being in the fridge, you can also add a little water to help.
What to Serve With Classic Chili
- Bread: Fresh, warm bread is the coziest accompaniment to this classic chili recipe. Serve it alongside toasty garlic bread, gluten-free cornbread, or low-carb dinner rolls and garlic butter.
- Toppings: The right toppings will make a good bowl of chili even better. I like to serve mine with sour cream, cheddar cheese, and green onions. You can also try it with your favorite hot sauce, fresh herbs, or sliced avocado.
- Crunchy crackers: Add flavor and texture to your dish with crunchy oyster crackers, saltines, or low-carb almond flour crackers.
- Side Salad: This rich, hearty chili goes great with a light, fresh side salad. Try it with my parmesan Brussels sprouts salad, easy broccoli salad recipe, or coleslaw recipe.
Recipe Variations
- Add veggies: This easy chili recipe is such a great dish if you want to load up on the veggies or use up what you have in the fridge. Make this classic chili recipe with extra veggies and legumes or try my equally delicious Sweet Potato Chili.
- Whole30 or Keto: With just a couple of adjustments, you can make a delicious chili that fits your dietary needs. For inspiration on Keto or Whole30 variations, check out my Instant Pot Keto Chili or Easy Whole30 Pumpkin Chili recipes.
- Deepen the flavor: The great thing about chili is that it can handle a lot of flavors. Do you like your chili especially spicy? Add some red pepper flakes or hot sauce. Prefer it on the sweeter side? Try it with sweet paprika and a little cinnamon.
- Top it off: One of my favorite ways to eat this classic chili recipe is on top of a baked potato. Each dish is cozy on its own, and even better together! Try making a variation of my taco stuffed sweet potatoes using this classic chili recipe instead of the taco filling.
Recommended Tools
- Large Pot or Dutch Oven: For this recipe, you’ll want a big, heavy-bottomed pot with plenty of room and a lid to cover as it simmers.
- Colander: You’ll use a colander to drain your canned beans.
- Sharp Knife: This classic chili recipe doesn’t have much prep work, but a nice sharp knife will make all the difference when you’re chopping the onions and garlic.
Frequently Asked Questions
Chili is typically served on the thick side, but you can adjust the consistency to be as thick or soupy as you’d like. If your chili is too thick, add some extra beef broth or water a little at a time until you have reached the consistency you want. If your chili is too soupy, simmer it low and slow uncovered to let some of the liquid evaporate.
Certainly! It does take a little extra prep work, but you can make this classic chili recipe using dried beans instead of canned. Just make sure that you have washed, soaked, and cooked your beans first. For a step-by-step tutorial on this process, check out my post on How to Make Beans in a Pressure Cooker. Once your dried beans are cooked and ready to go, you can follow this classic chili recipe as is.
If you want to turn up the flavor on this classic chili recipe, you can add more salt and pepper, and adjust the seasonings to fit your preferences. If you like your chili spicy, feel free to add more cayenne pepper or even some crushed red pepper flakes. Just remember that chili will become more flavorful the longer it sits.
Watch the Classic Chili Recipe Web Stories.

Classic Chili Recipe
Want to Save This Recipe?
Enter your email & I’ll send it to your inbox. Plus, get great new recipes from me every week!
By submitting this form, you consent to receive emails from Primavera Kitchen.
Ingredients
- 1 tbsp extra-virgin olive oil
- 1 cup white onion chopped
- 3 cloves garlic finely chopped
- 2 tbsp tomato paste
- 1 lb ground beef
- 1 tsp chili powder
- 1 tsp ground coriander
- 1 tsp ground cumin
- 1/2 tsp paprika
- 1/4 tsp cayenne pepper optional
- Kosher salt and freshly ground black pepper to taste
- 1 cup can crushed tomatoes
- 1 15-oz. can kidney beans drained
- 1 15-oz. can pinto beans drained
- 1 cup tomato sauce
- 1 cup beef broth
- Shredded cheddar, sour cream and chopped green onions for serving
Instructions
- Heat oil in a large pot over medium heat.
- Add onions and cook for about 3-5 minutes, stirring occasionally until they become slightly soft and translucent.
- Stir in garlic and cook for an additional minute until it becomes fragrant.
- Mix in the tomato paste, ensuring it coats the vegetables.
- Add ground beef, breaking it up with a spoon, and cook for roughly 7 minutes until it’s no longer pink. Drain any excess fat.
- Sprinkle in chili powder, oregano, cumin, paprika, and cayenne (if using). Season generously with salt and black pepper.
- Pour in tomatoes, beans, tomato sauce and beef broth. Then bring the mixture to a boil.
- Reduce the heat to medium and let it simmer for about 20 minutes, stirring occasionally, until the flavors meld and the liquid reduces slightly. Adjust the seasoning with more salt and black pepper if necessary.
- Serve the chili in bowls and top with cheese, sour cream, and scallions. Enjoy!
Tips
- Feel free to swap the beef in this recipe for ground turkey or chicken.
- Sautéing onions, garlic, and ground meat adds a lot of depth to the overall flavor of the dish.
- Try a low sodium broth in if you’re watching your salt intake.
- Swap the beans for a different variety like black beans or navy beans.
- Make a double batch of this classic chili recipe and freeze half.
- To Store: Store in an airtight container in the fridge for up to 4 days. Store any leftover toppings separately.
- To Freeze: Store your leftovers in a freezer-safe container or Ziploc bag and freeze for up to 3 months.
- To Reheat: Reheat leftover chili in the microwave or on the stovetop.
Nutrition Information
Nutrition information is calculated using an ingredient database and should be considered an estimate.







Teresa Gilland says
I’d like to read comments that others have made, especially those related to the rating. How do I do that?
Olivia says
There is no comment for this recipe yet. Yours is the first one.